Yarn Hat Ornaments Christmas Craft
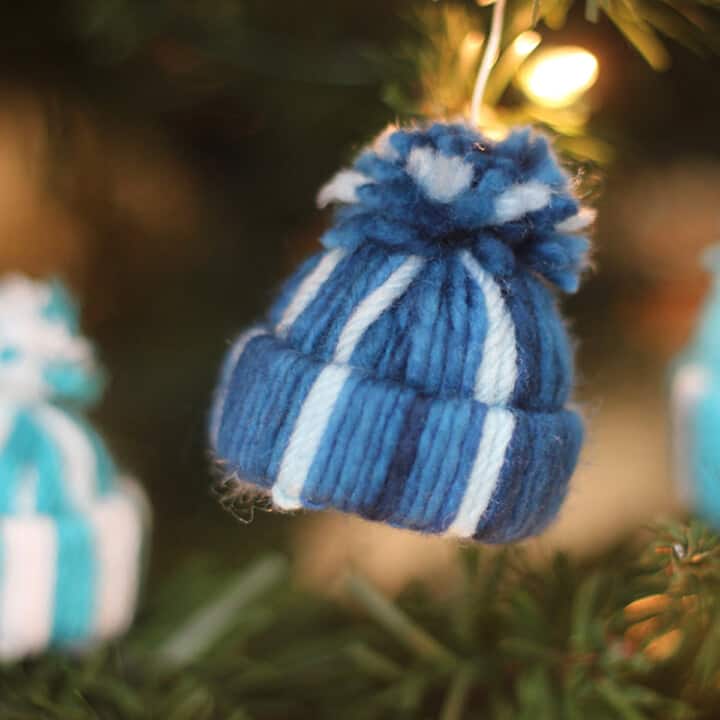
Winter Yarn Hat Ornaments make a fun, festive DIY craft project, perfect for all ages and skill levels—no knitting skills needed! With just a few simple supplies, you can create these cute ornaments as holiday decorations or personalized gifts.
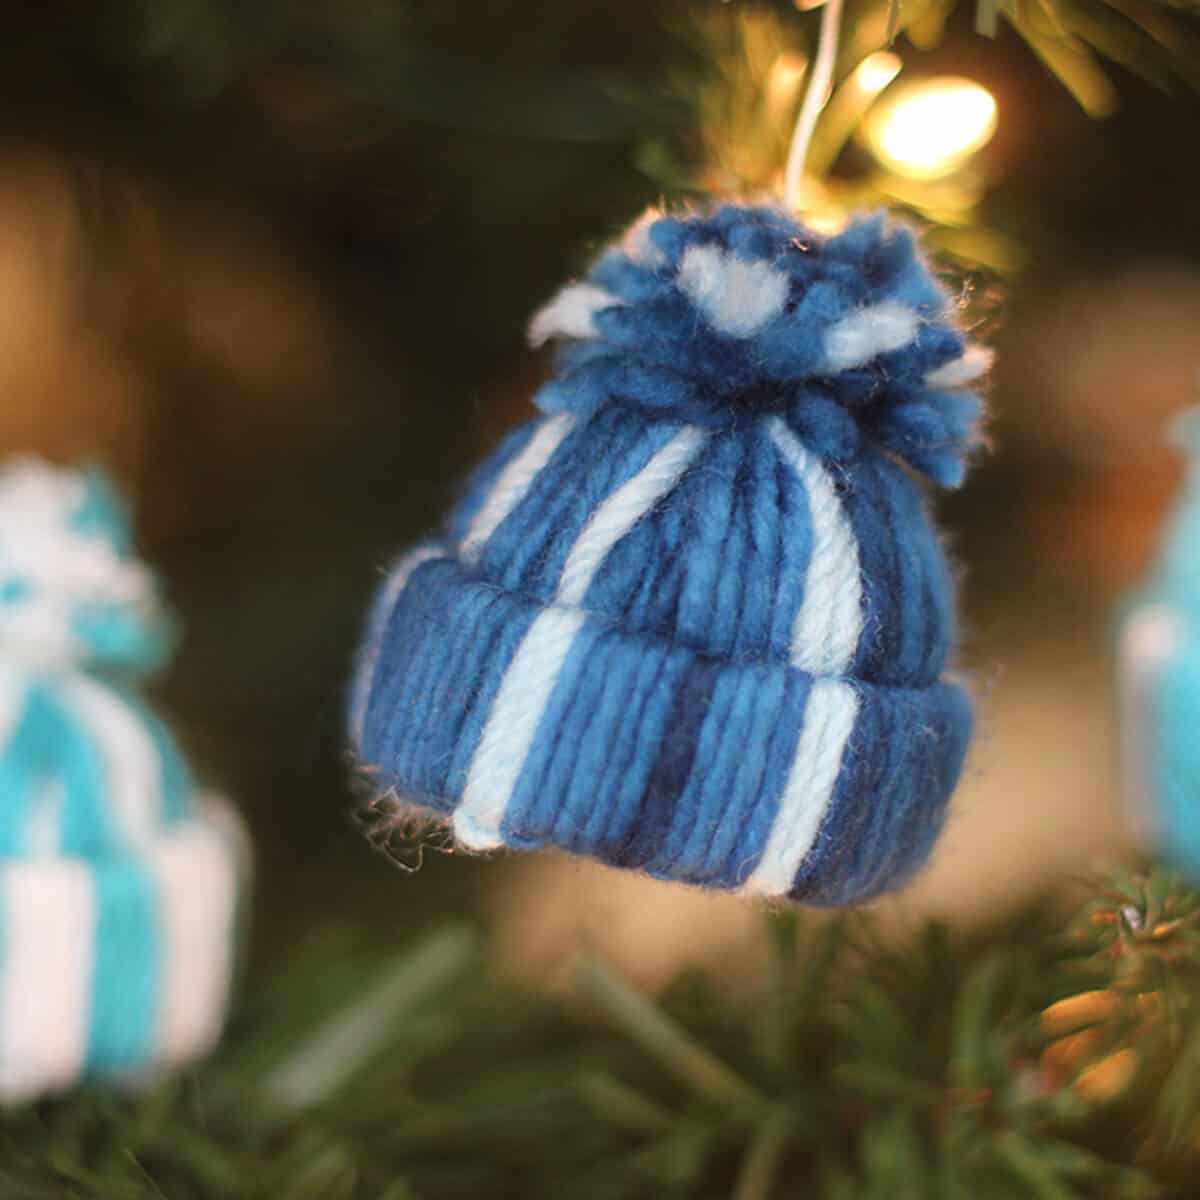
Table of Contents
Craft Supplies
Gather some yarn, a toilet paper roll, and stuffing, and get ready to create adorable mini hats in minutes. Feel free to mix and match colors, like those from your favorite sports team, to make each hat unique!
This is a quick, budget-friendly project that also uses up leftover yarn!
As an Amazon Associate, I earn from qualifying purchases.
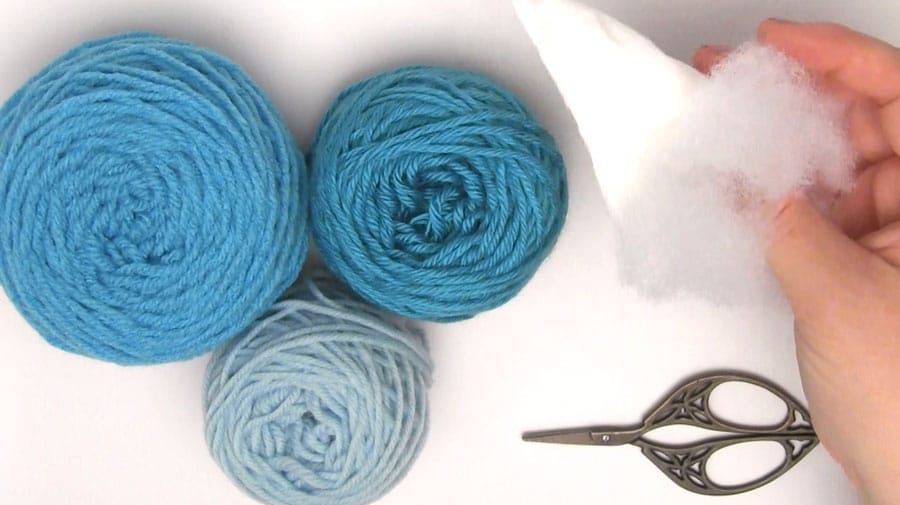
- Empty Toilet Paper Roll
- Yarn in Medium Aran/Worsted Weight (any fiber or colors you like)
- Scissors
- Polyfill stuffing or tissues
Watch Video Tutorial
Step-by-Step Craft Construction
Step 1: Cut Materials
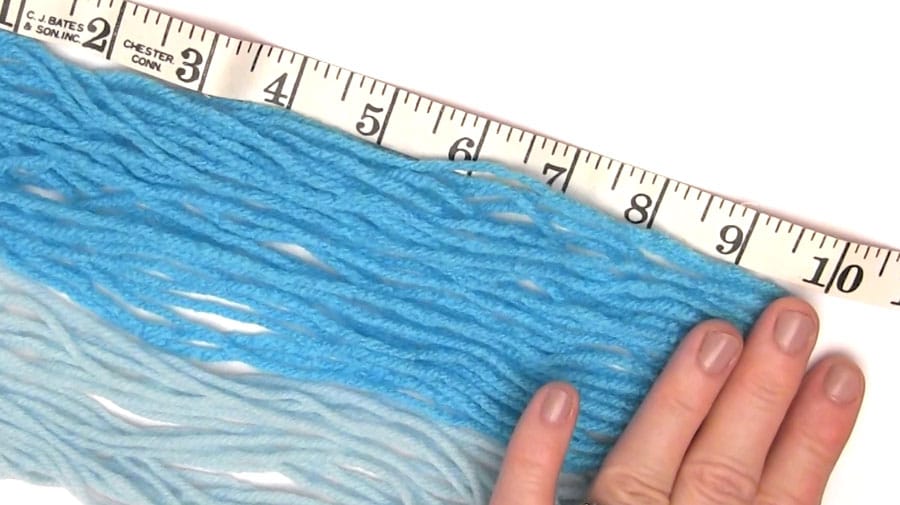
Cut a ¾ inch (2 cm) ring from your toilet paper roll. Then, cut several 12-inch (30 cm) strands of yarn to get started.
Step 2: Wrap and Cinch Yarn
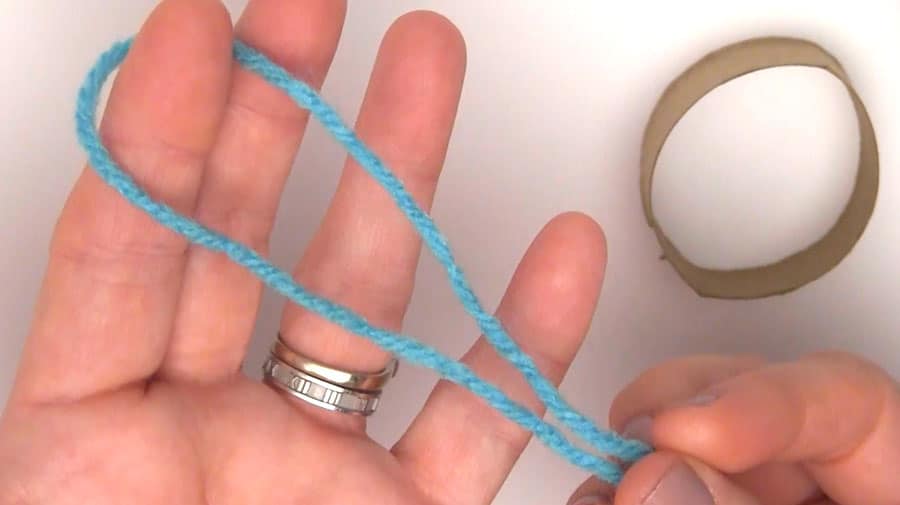
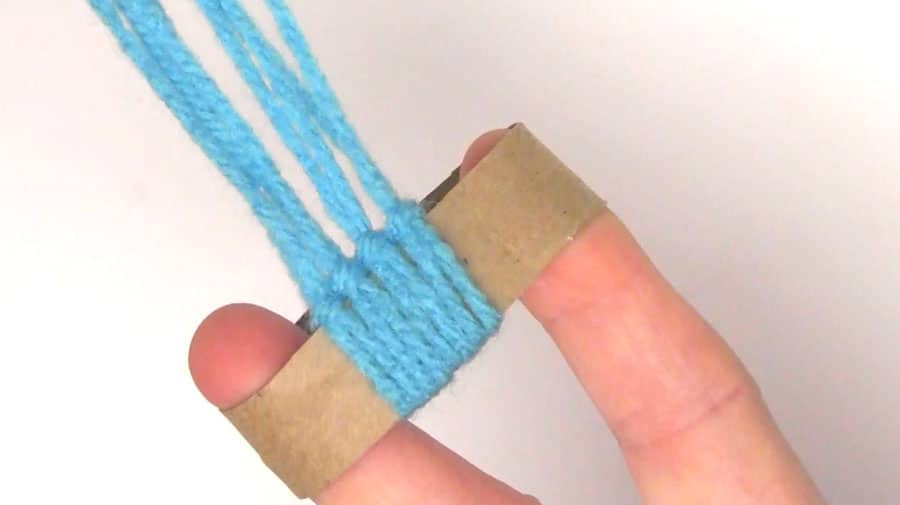
- To begin creating the hat, make a loop with a strand of yarn and slip it inside your paper ring.
- Pull the ends of the yarn over the outside edge and cinch it tight.
- Repeat this all the way around the ring, filling it evenly with yarn loops.
Step 3: Yarn Ends Through the Other Side
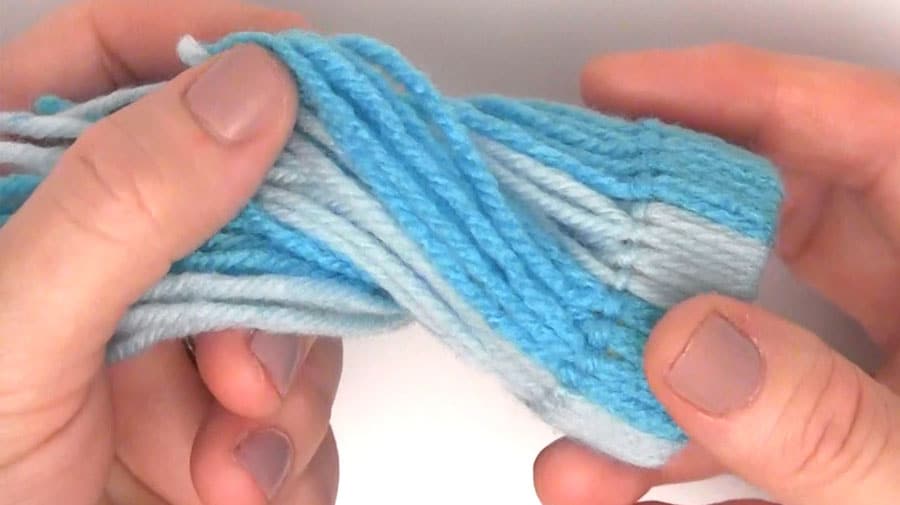
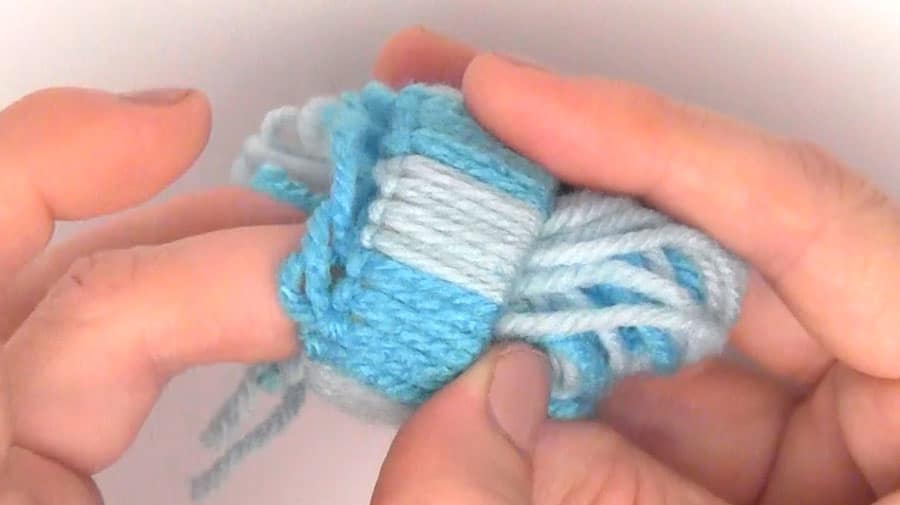
Once the ring is covered, push all the yarn ends through the opposite side. This simple step will start to form the shape of a tiny winter hat.
Step 4: Shape the Hat
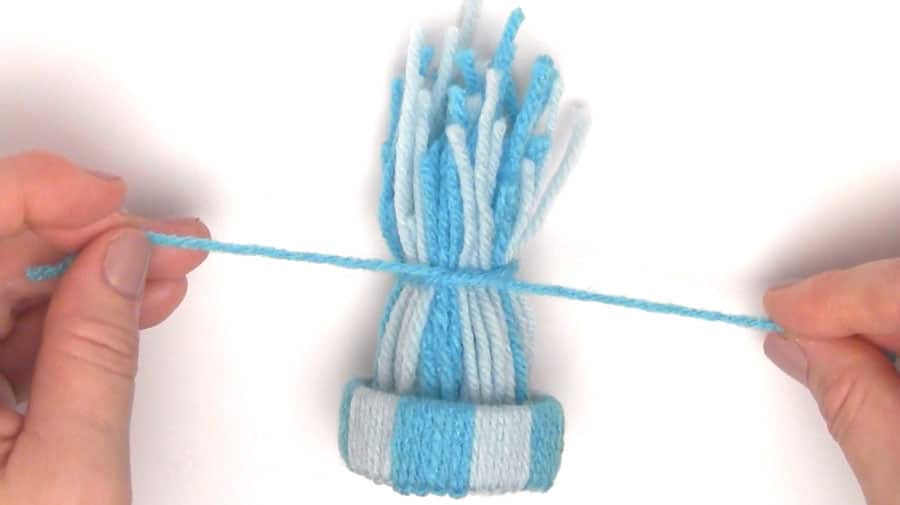
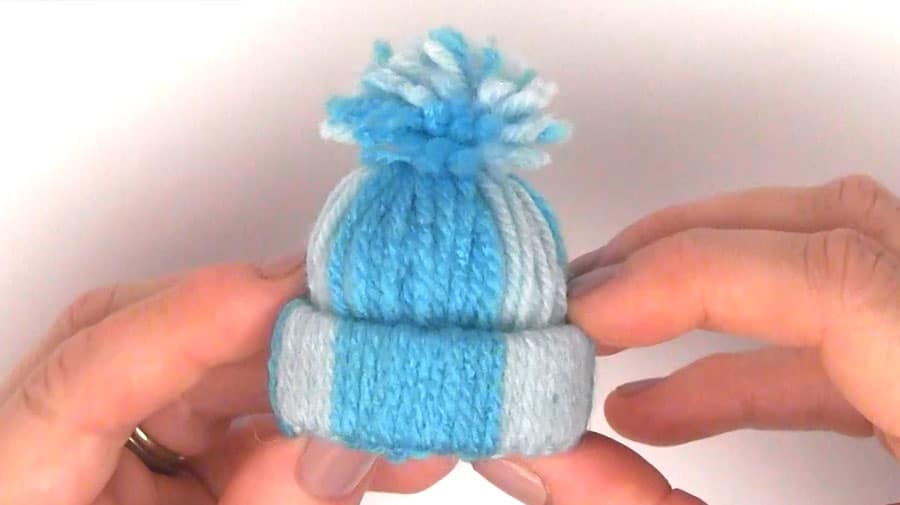
After you’ve pulled the yarn ends through, straighten them out neatly. Take another piece of yarn and tie it around the top of the yarn to cinch it closed, forming the shape of a hat.
Step 5: Make Pom Pom Top
Trim the ends of the yarn at the top to create a fluffy pom-pom. This is the finishing touch to give your yarn hat a festive look.
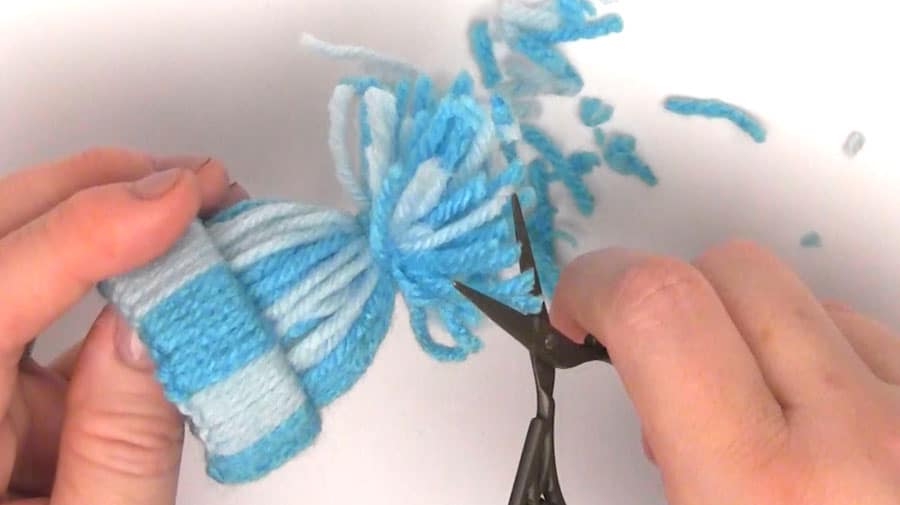
Step 6: Stuff to Finish
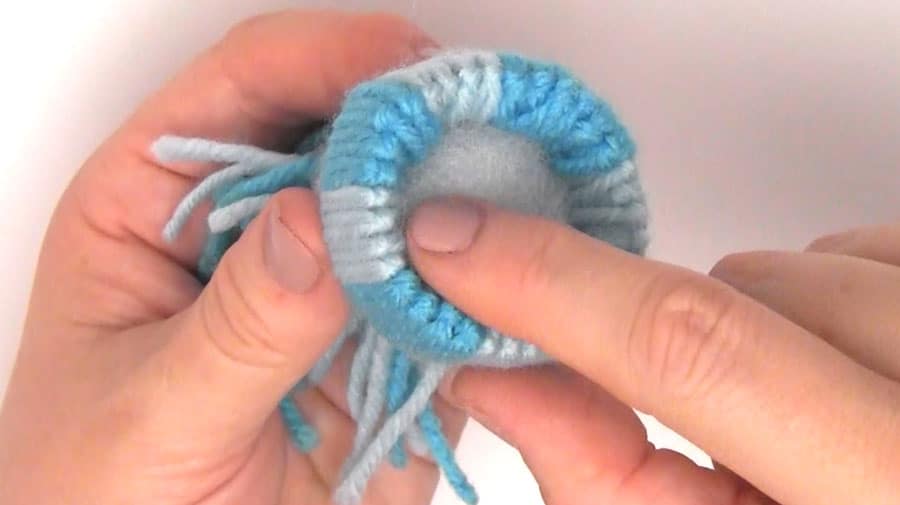
Add a small amount of stuffing inside the hat to keep it from collapsing and to give it a cozy, full look.
Yarn Gnome Ornaments
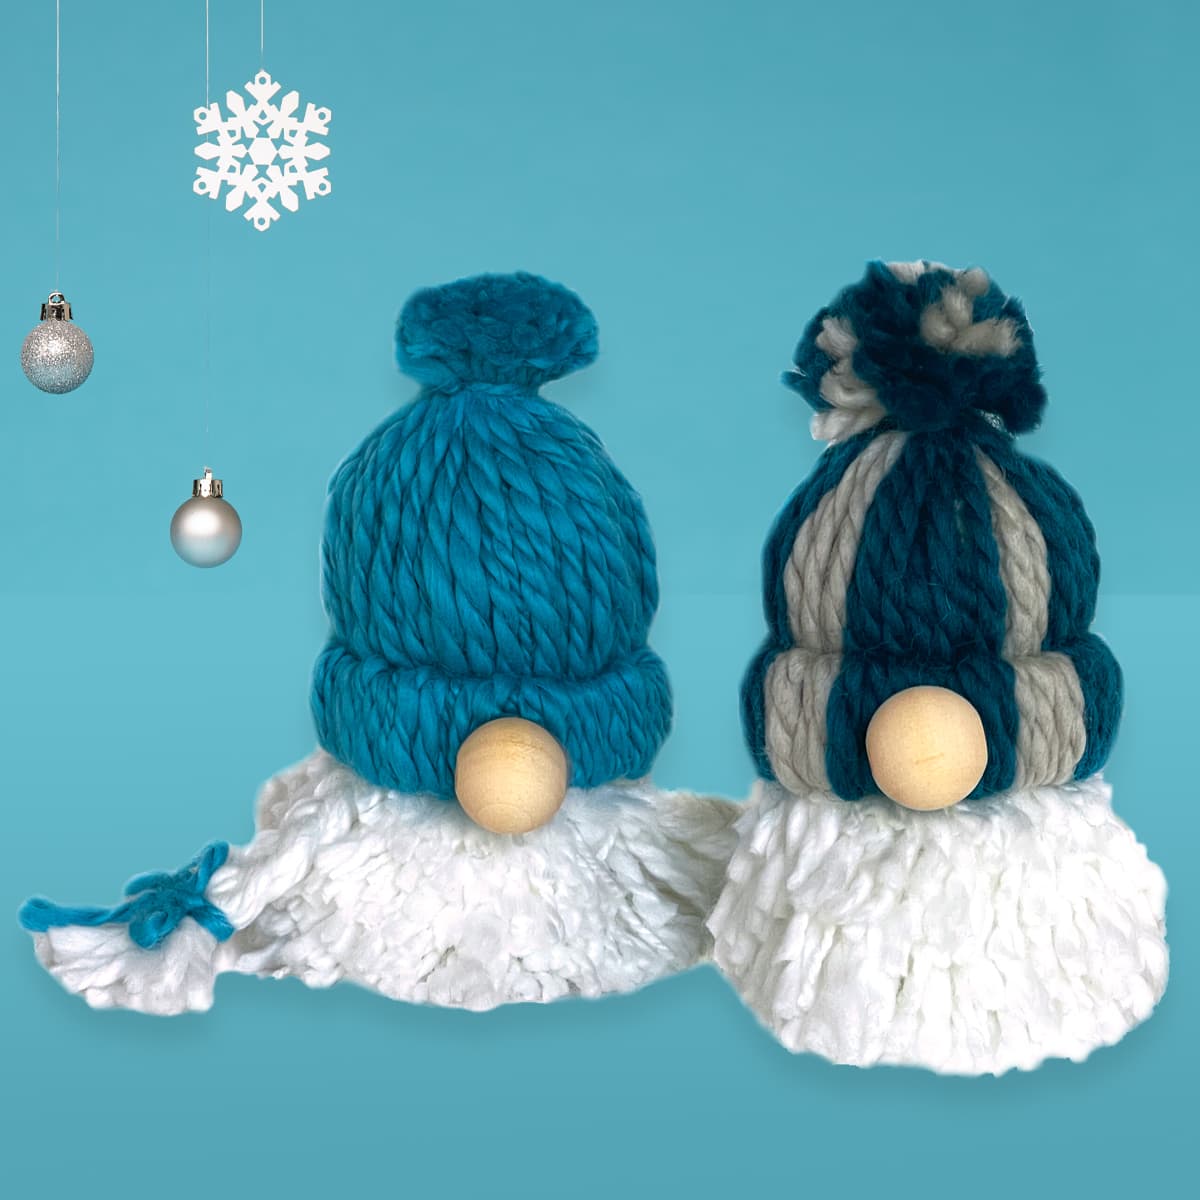
Turn your yarn hat into a charming Yarn Gnome Ornament with just a few extra steps and supplies. Adding a beard and nose transforms your yarn hat into a cute holiday gnome that’s full of character!
Yarn Gnome Craft Supplies
In addition to the supplies above, you’ll need:
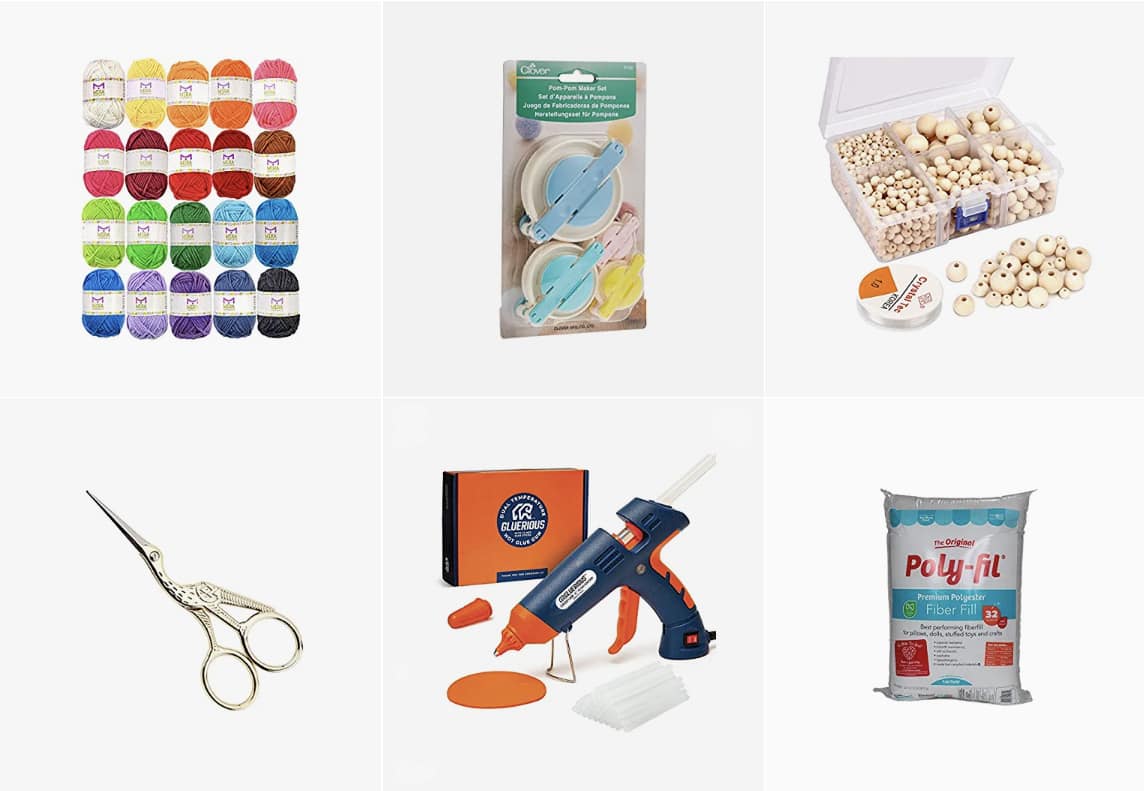
- Pom Pom Maker: The 2.5-inch maker is my choice for this project.
- Glue Gun and Glue Sticks: The lowest temperature setting is my favorite.
- Wooden Craft Beads: I like this selection of sizes and used the 16 mm size for my noses.
Shop the entire Yarn Gnome Ornaments craft supplies collection in my Amazon Shop.
How to Make Yarn Gnome Ornaments
Feel free to get really creative, adding glitter or tinsel to make your gnome character festive and unique.
1. Yarn Hat: Follow the steps above to create a yarn hat.
2. Pom Pom Beard: Use a pom-pom maker to craft a beard. You can keep it neat or trim it to look rustic for extra character.
If you’re new to crafting these cute embellishments, I love my friend Robert Mahar’s video tutorial How to Make Yarn Pompoms.
3. Attach Hat and Beard Together: Apply hot glue around the inside rim of the hat, then press the pom-pom beard securely to the hat and hold for 10 seconds to set.
4. Add Gnome’s Nose: Dab a little glue on a wooden bead and attach it to the brim of the hat, just above the beard. Hold in place until secure.
These Winter Yarn Hat and Yarn Gnome Ornaments make for delightful holiday decorations and thoughtful handmade gifts. Get creative with colors and materials—add glitter, tinsel, or any embellishments you like to make each one unique.
Printable Knitting Instructions
Printable Craft Instructions
These adorable Yarn Hat Ornaments are a great craft project to make with your friends and family because there are NO knitting skills required.
Materials
- Yarn - Aran or Worsted Weight
- Poly-fill
- Toilet Paper Roll
Tools
- Scissors
Instructions
- CUT MATERIALS: To begin, cut ¾ inch (2 cm) from your paper roll, as well as about 12 inches (30 cm) strands of yarn.
- WRAP AND CINCH YARN: Make a loop and we put it inside your little circle. Take the yarn ends, putting them on the outside and then cinching it up. And this is all we do, we go all the way around.
- YARN ENDS THROUGH OTHER SIDE: Take your yarn ends and simply push them through the other side. Super simple.
- MAKE HAT SHAPE: Straighten out your yarn end colors. Taking one bit of yarn, cinch up to make the top of our hat.
- MAKE POMPOM: Using your scissors, just shape to make the pompom at the top of your hat.
- STUFF TO FINISH: Because it's a little flat, add a tiny bit of stuffing and it just stays right inside.

Kristen McDonnell
Author • Designer • Teacher
Kristen from StudioKnit LLC produces knitting video lessons and pattern designs from her vibrant production studio on Half Moon Bay’s California coast.
Kristen McDonnell is the author of the highly acclaimed book Knit Stitch: 50 Knit + Purl Patterns featuring vintage and unique designs.

