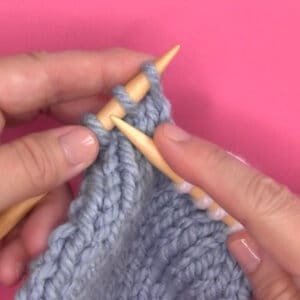
Slip Stitch Knitting Techniques (Purlwise and Knitwise)
The Slip Stitch Knitting technique pulls the fabric inward by moving a stitch from one needle to the next. See how to easily slip a stitch with all variations: knitwise and purlwise on both the knit and purl sides of your work. We also will review how to do so with yarn forward and yarn back.
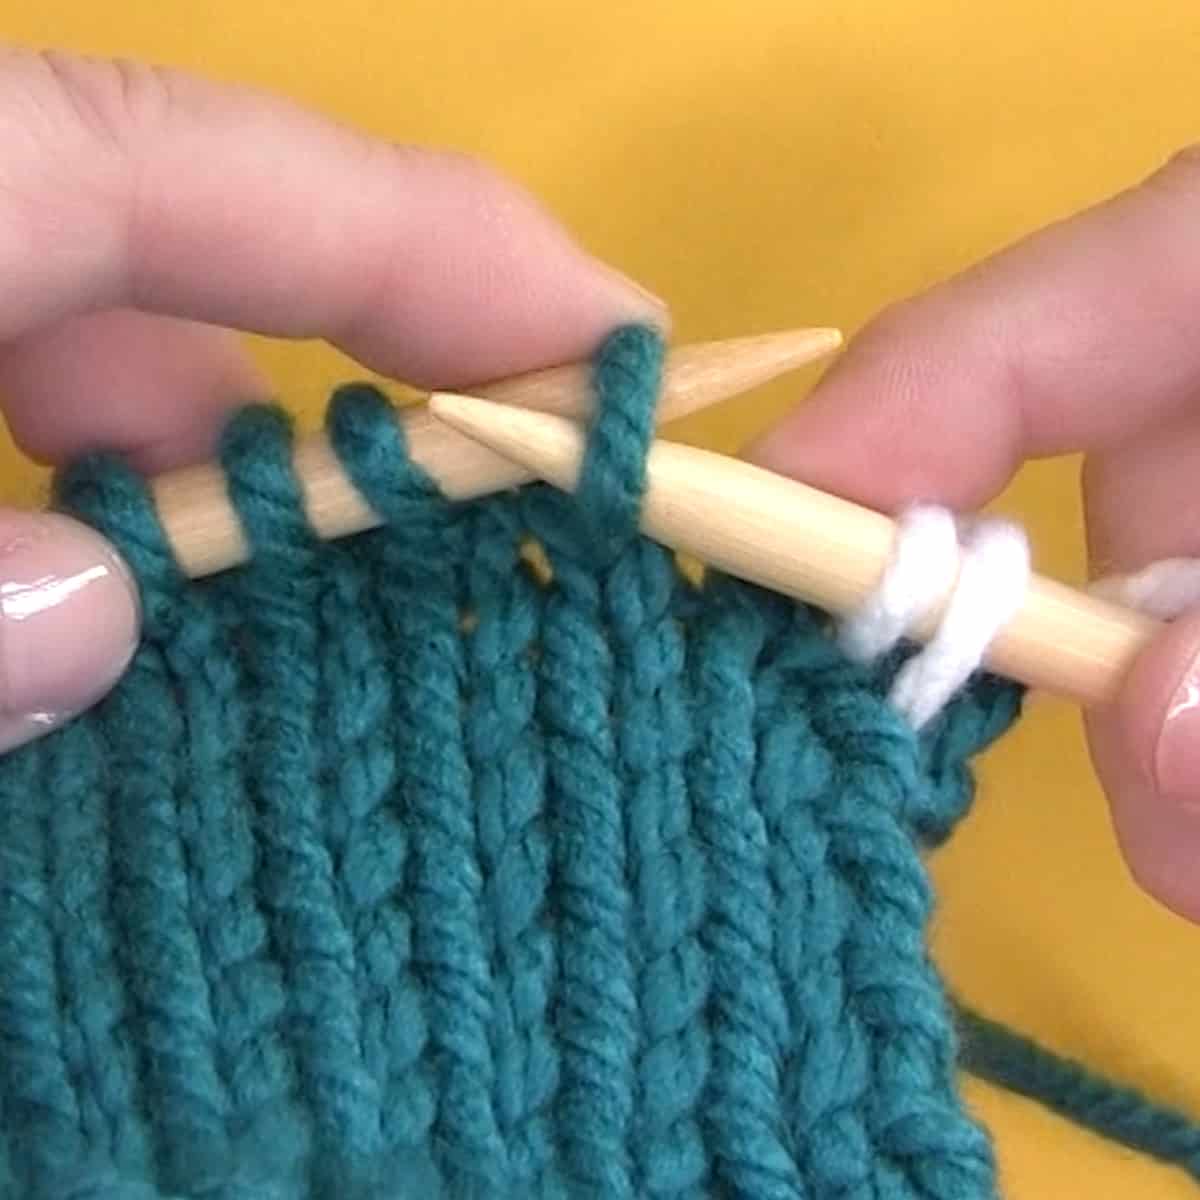
Table of Contents
Helpful Close-Up Knitting Instructions
Below, I hope my written and photographic demonstrations are helpful to you. I’ve also included video tutorials for both right and left-handed knitters.
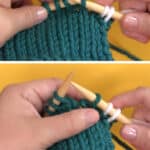
In the photos and video, you will see that I have switched my working yarn color from blue to white. This allows you to easily differentiate a knit or purled stitch (white) versus a slipped stitch (blue). Hope it’s helpful to you!
Watch Video Tutorial
How to Slip Stitch Purlwise
Slip Stitch Purlwise on a Knit Row with Yarn in Back (Most Common)
Slipping a Stitch Purlwise is the most common technique. In fact, When your pattern simply says to slip a stitch without specifying the different variations detailed below, the default is to Slip Purlwise with the working yarn in back.
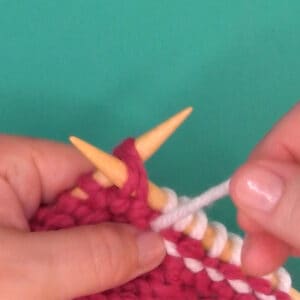
Technique: With your working yarn in the back of your knit row, insert your right-hand needle into the next stitch on the left-hand needle as if to purl. Slip it to the right-hand needle without any additional action.
Knitting Abbreviation: Sl1 or Sl1P WYIB
Yarn Color Help: Notice that the white stitches on the right-hand needle have been knit, while the slipped stitch remains in the original yarn color of blue.
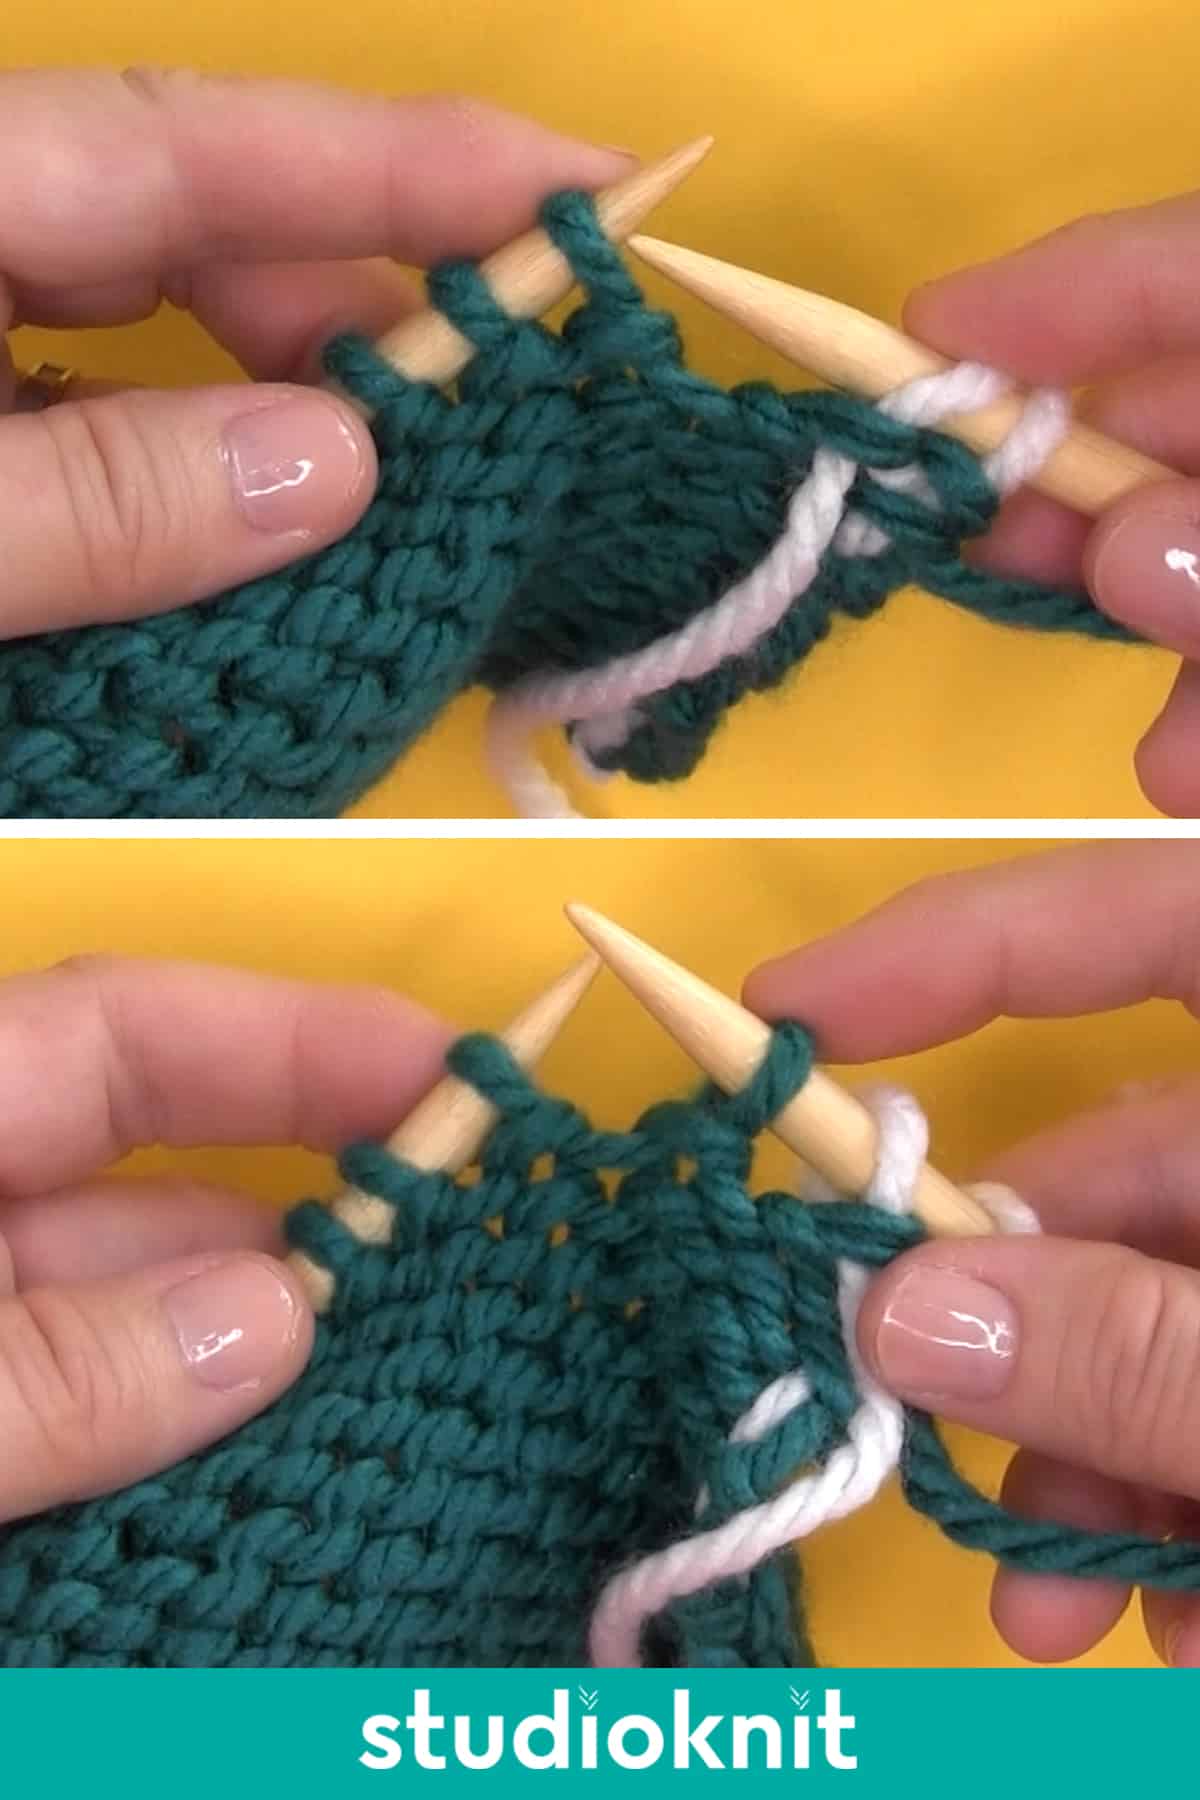
Slip Stitch Purlwise on a Knit Row with Yarn in Front
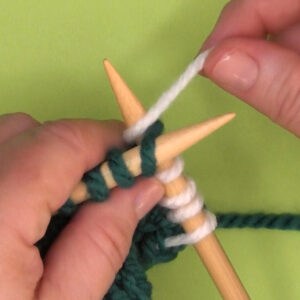
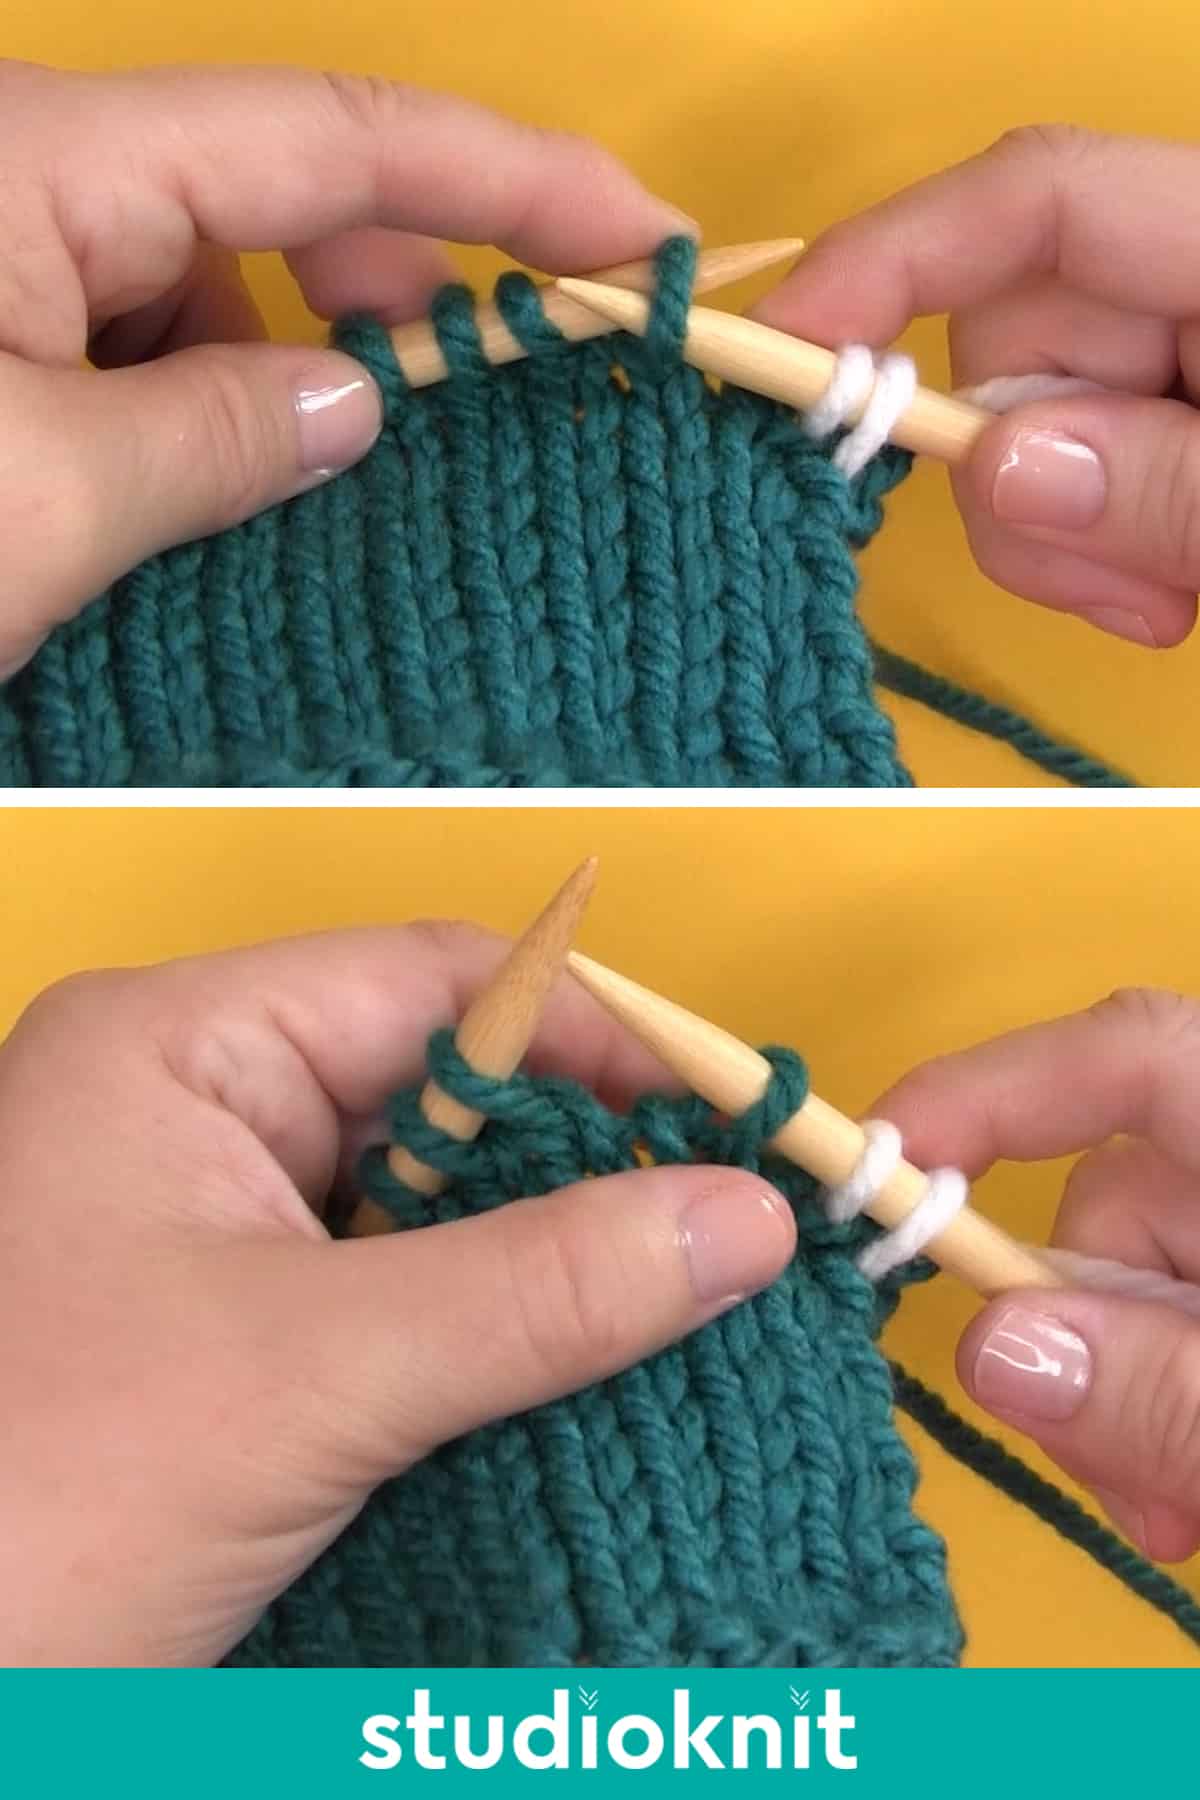
Technique: Bring your working yarn between your needles to the front of your knit row. Insert your right-hand needle into the next stitch on the left-hand needle as if to purl. Slip it to the right-hand needle, then bring the yarn between the needles to the back again in preparation to knit.
Your slipped stitch is now wrapped. You can see there is a little bar of yarn in the front of that slipped stitch on the knit row’s right side of our work.
Knitting Abbreviation: Sl1 or Sl1P WYIF
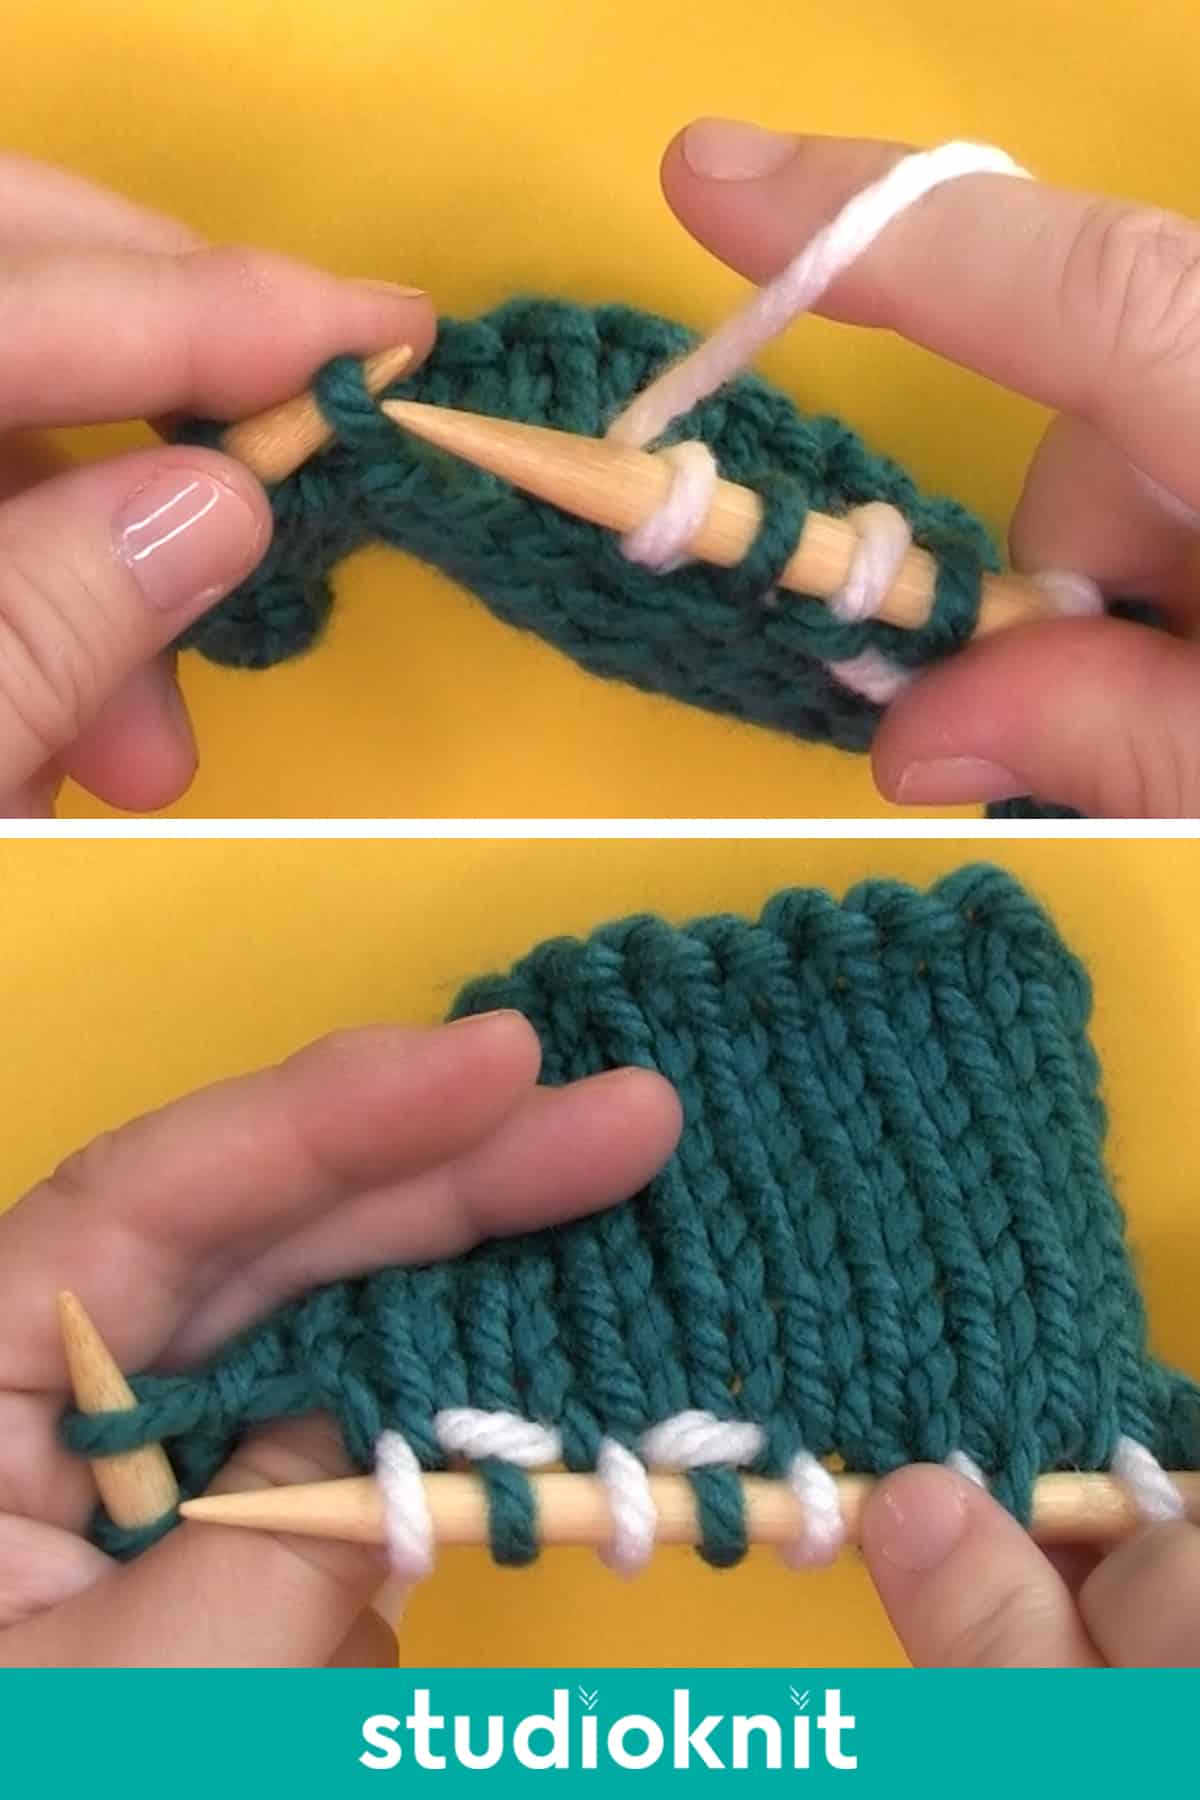
Slip Stitch Purlwise on a Purl Row with Yarn in Front
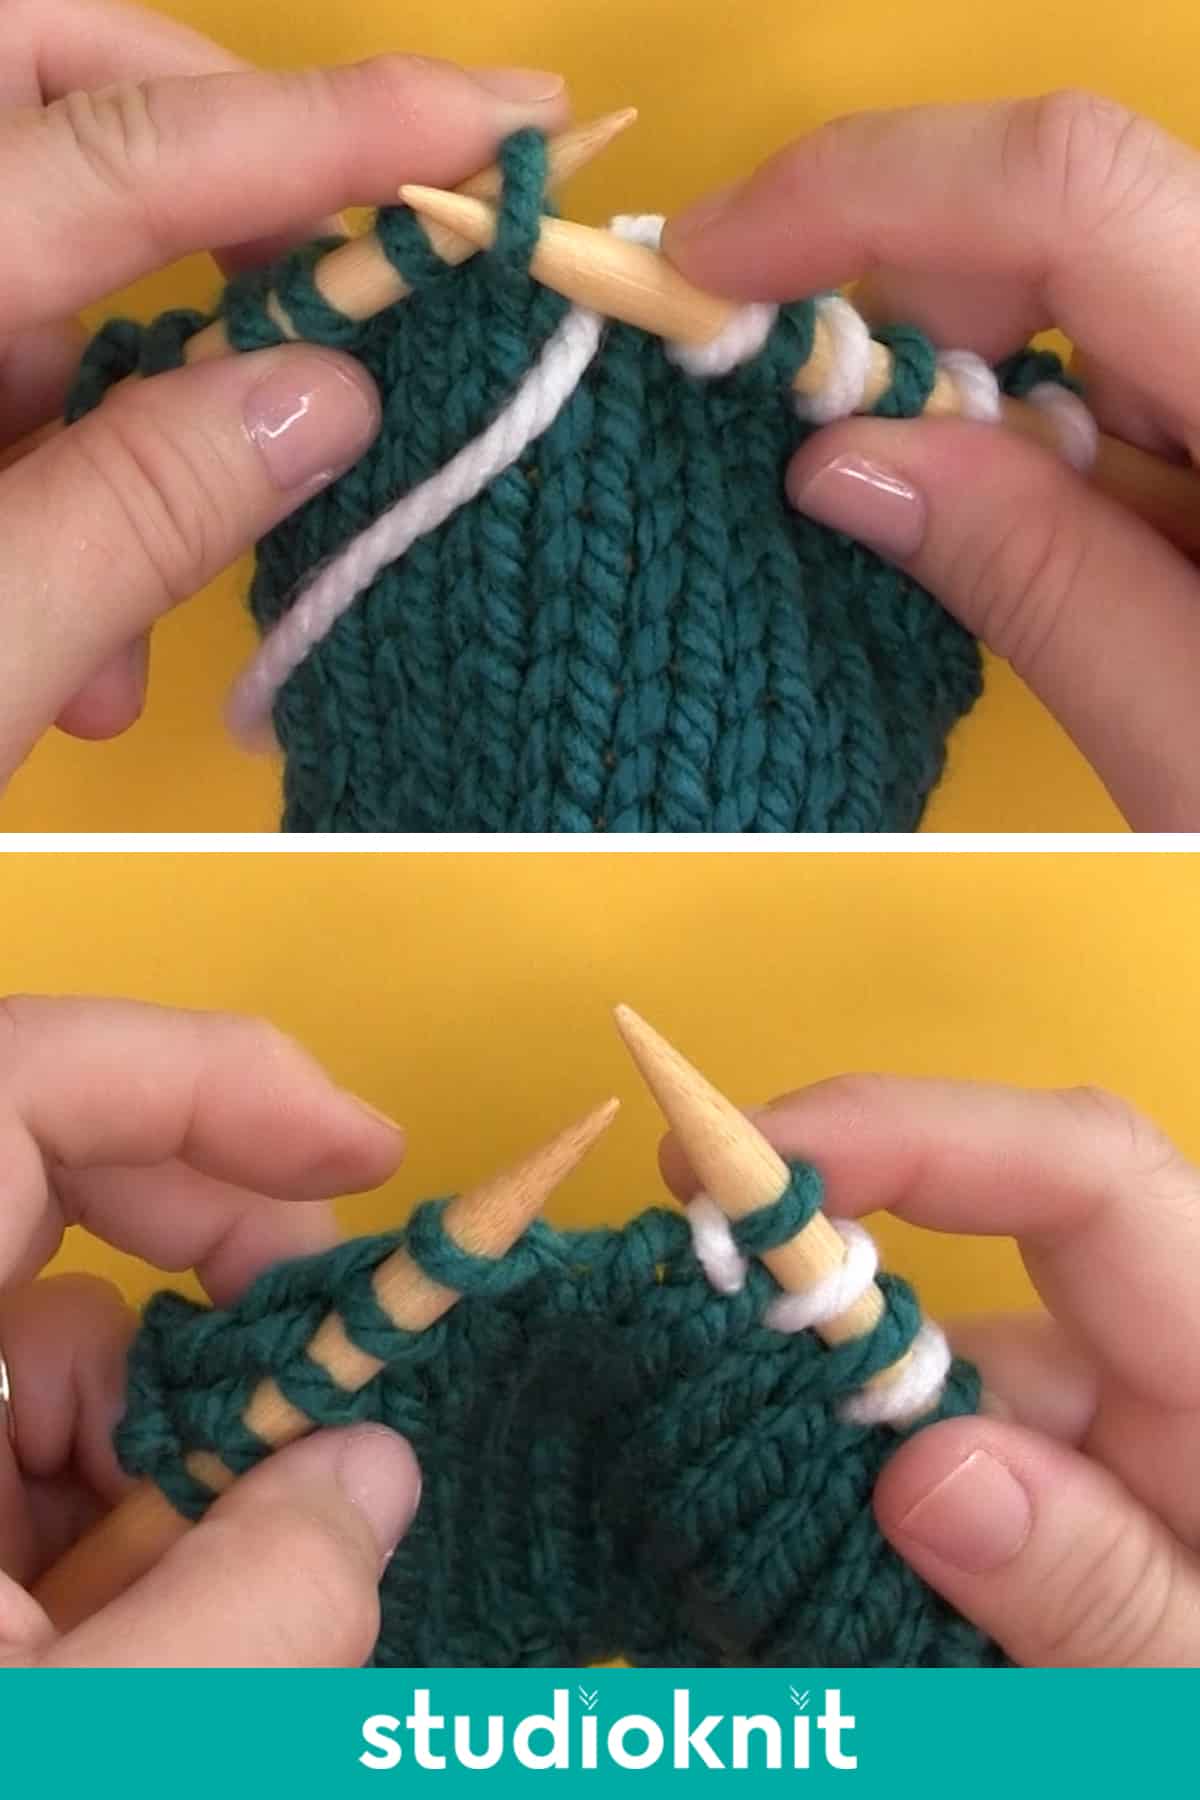
Technique: With your working yarn in the front of a purl row, insert your right-hand needle into the next stitch on the left-hand needle as if to purl. Slip it to the right-hand needle without any additional action.
Knitting Abbreviation: Sl1 or Sl1P WYIF
Slip Stitch Purlwise on a Purl Row with Yarn in Back
Technique: Bring your working yarn between your needles to the back of your purl row. Insert your right-hand needle into the next stitch on the left-hand needle as if to purl. Slip it to the right-hand needle, then bring the yarn between the needles to the front again in preparation to purl.
Your slipped stitch is now wrapped. You can see there is a little bar of yarn of that slipped stitch on the knit row’s right side of our work.
Knitting Abbreviation: Sl1 or Sl1P WYIB
How to Slip Stitch Knitwise
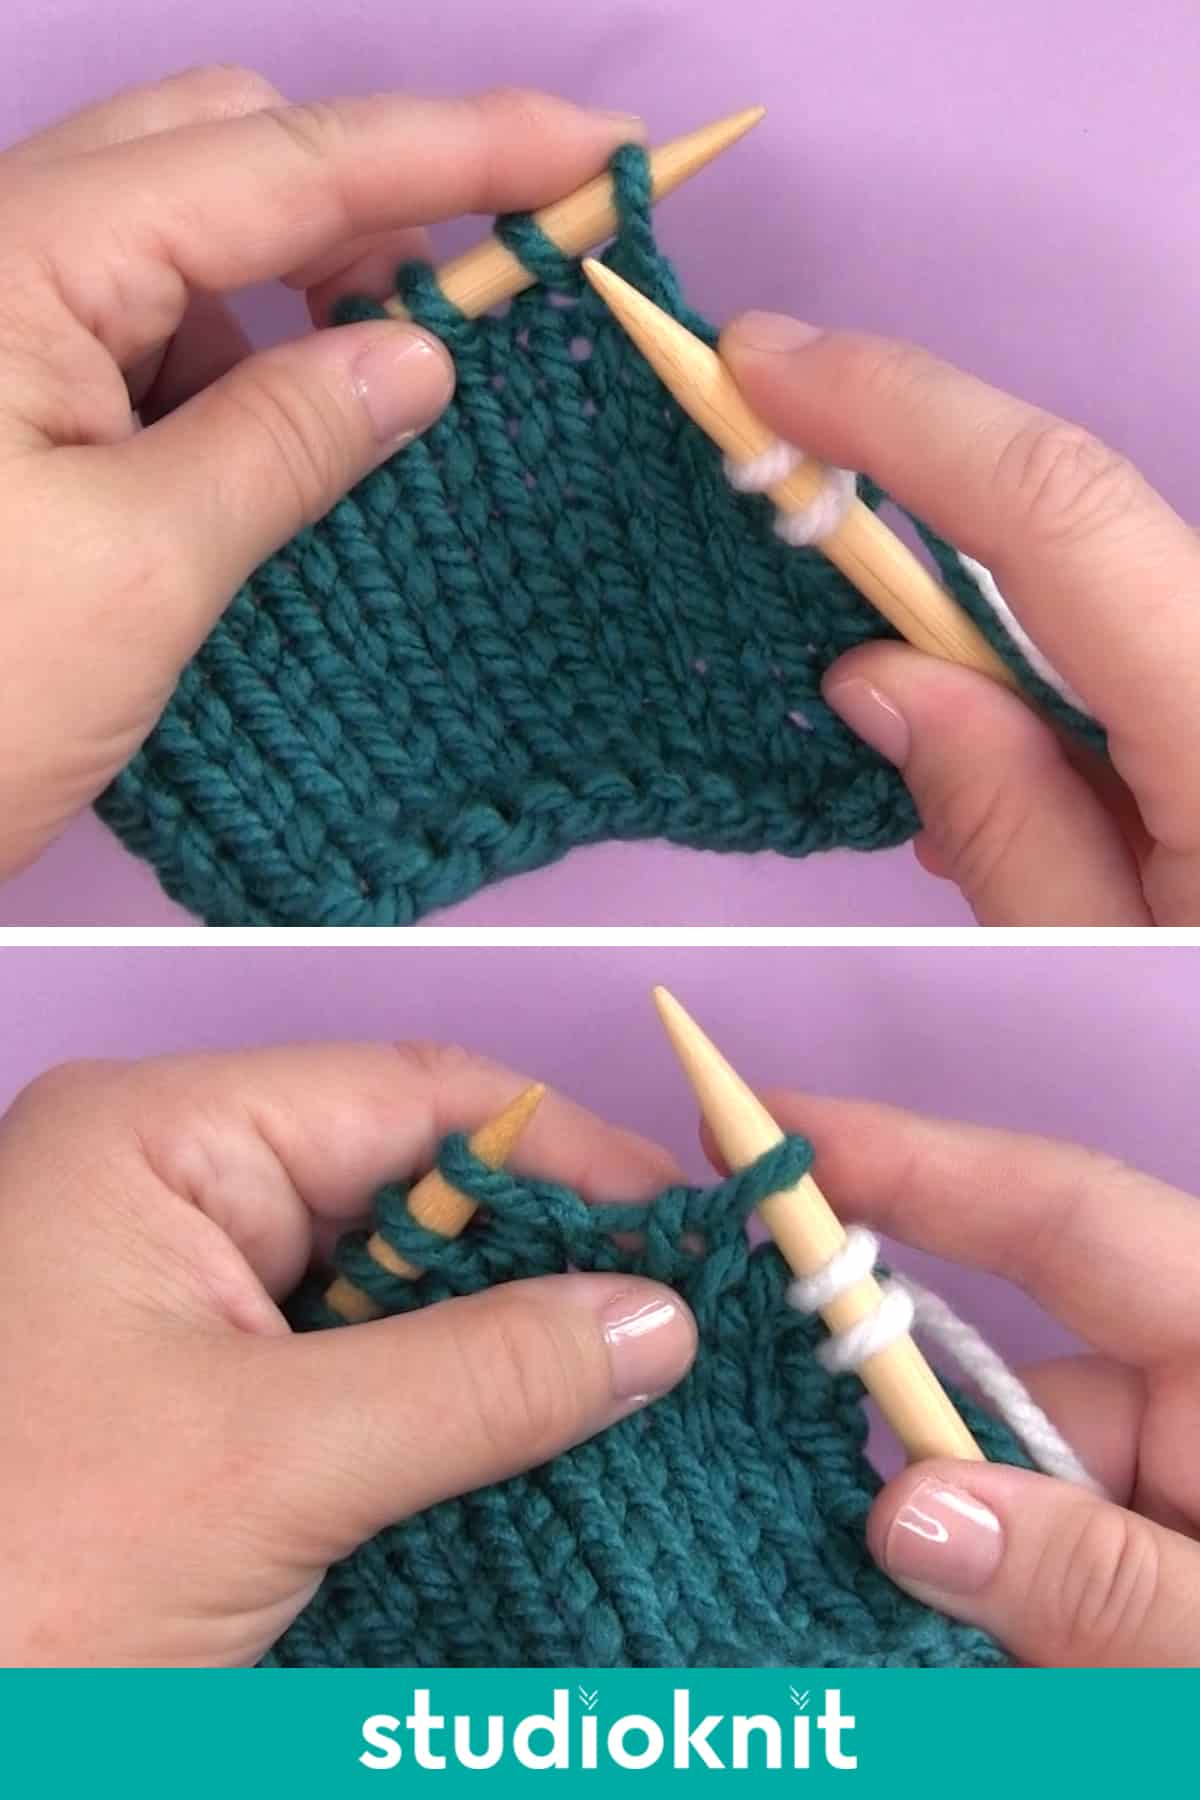
Slip Stitch Knitwise on a Knit Row with Yarn in Back
Slipping a stitch knitwise is used less often. It twists the stitch, often for texture purposes.
Technique: With your working yarn in the back of your knit row, insert your right-hand needle the the left and inside the next stitch on the left-hand needle as if to knit. Slip it to the right-hand needle without knitting it.
Knitting Abbreviation: Sl1K WYIB
Slip Knitwise for an SSK Decrease: When your pattern decreases specifies Slip Slip Knit (SSK), slip your stitches knitwise.
_____
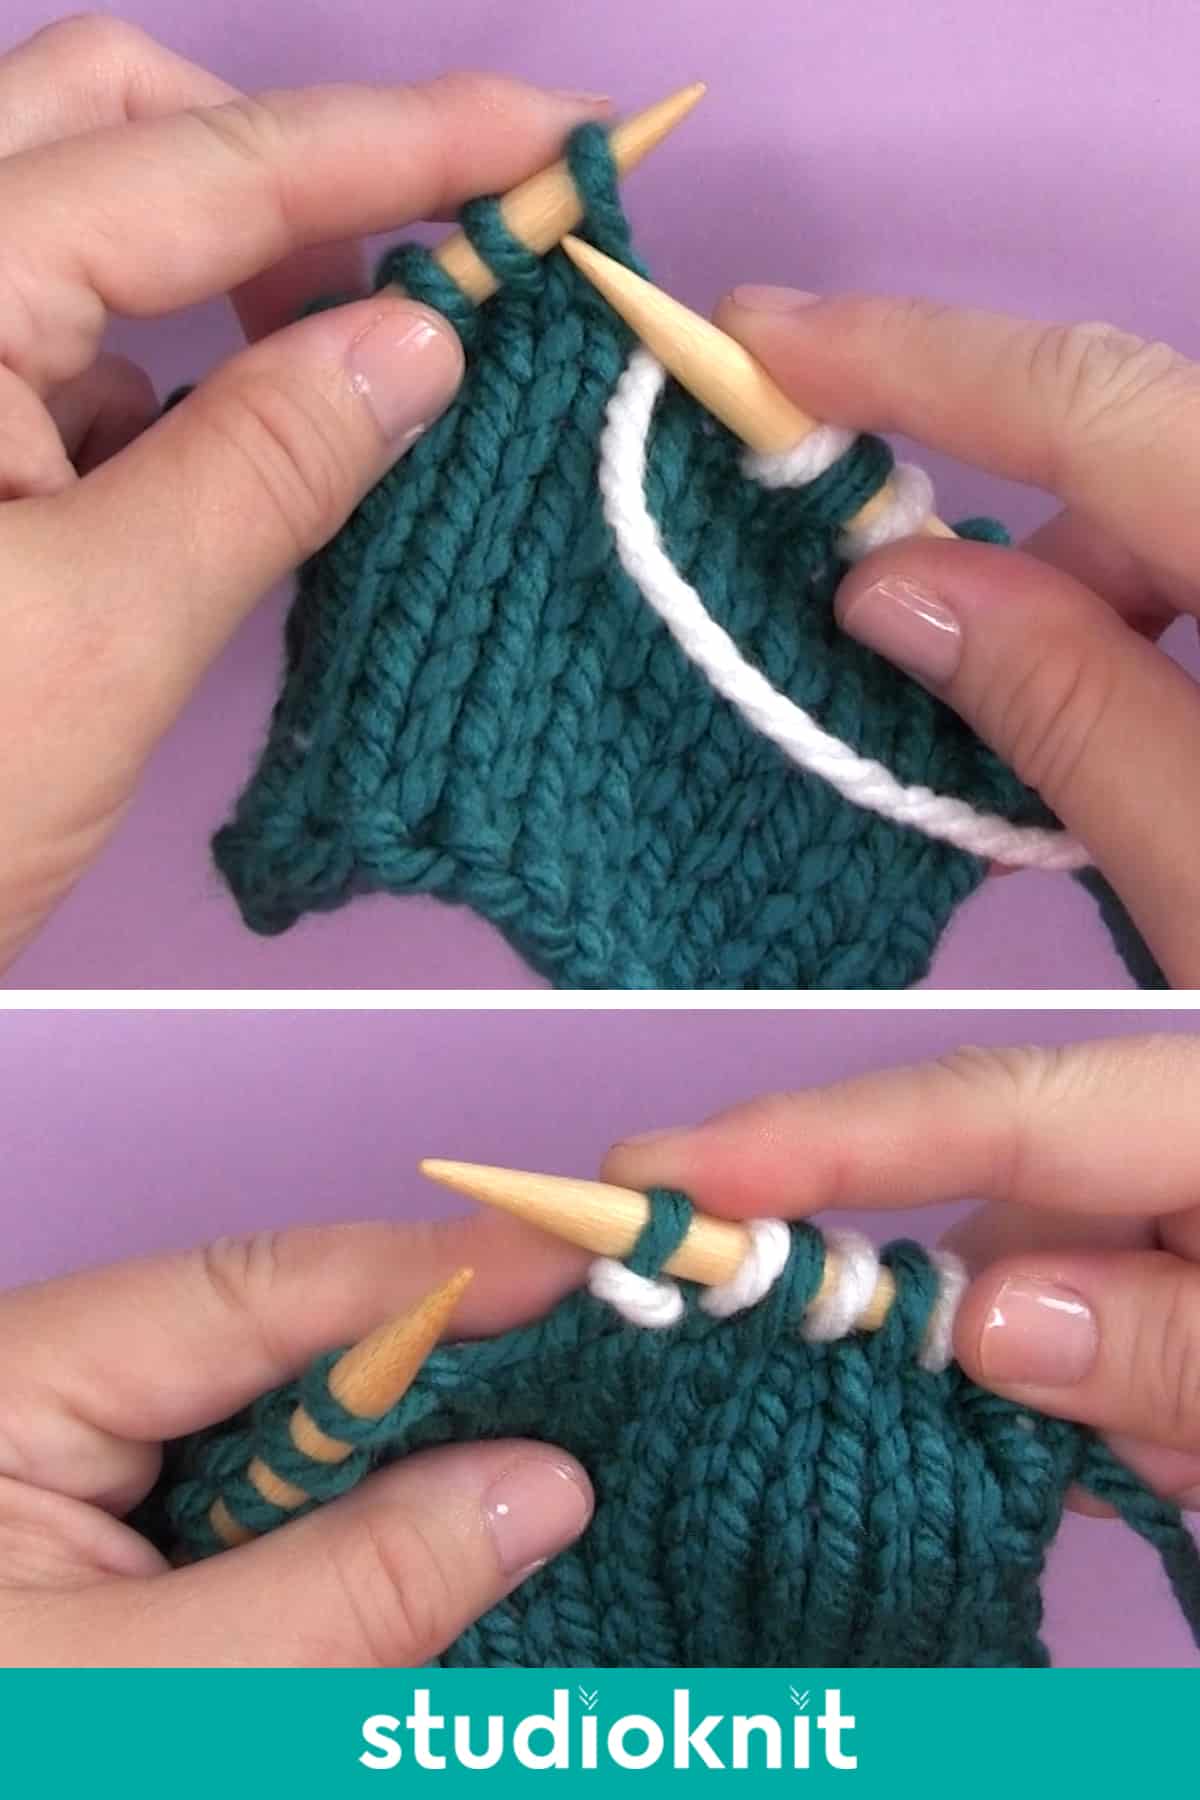
Slip Stitch Knitwise on a Knit Row with Yarn in Front
Technique: Bring your working yarn between your needles to the front of your knit row. Insert your right-hand needle the the left and inside of the next stitch on the left-hand needle. Slip it to the right-hand needle without knitting it.
Your slipped stitch is now wrapped. You can see there is a little bar of yarn of that slipped stitch on the knit row’s right side of our work.
Knitting Abbreviation: Sl1K WYIF
Slip a Stitch Knitwise on a Purl Row with Yarn in Front
Technique: With your working yarn in the front of your purl row, insert your right-hand needle the the left and inside the next stitch on the left-hand needle as if to knit. Slip it to the right-hand needle without knitting it.
Knitting Abbreviation: Sl1K WYIF
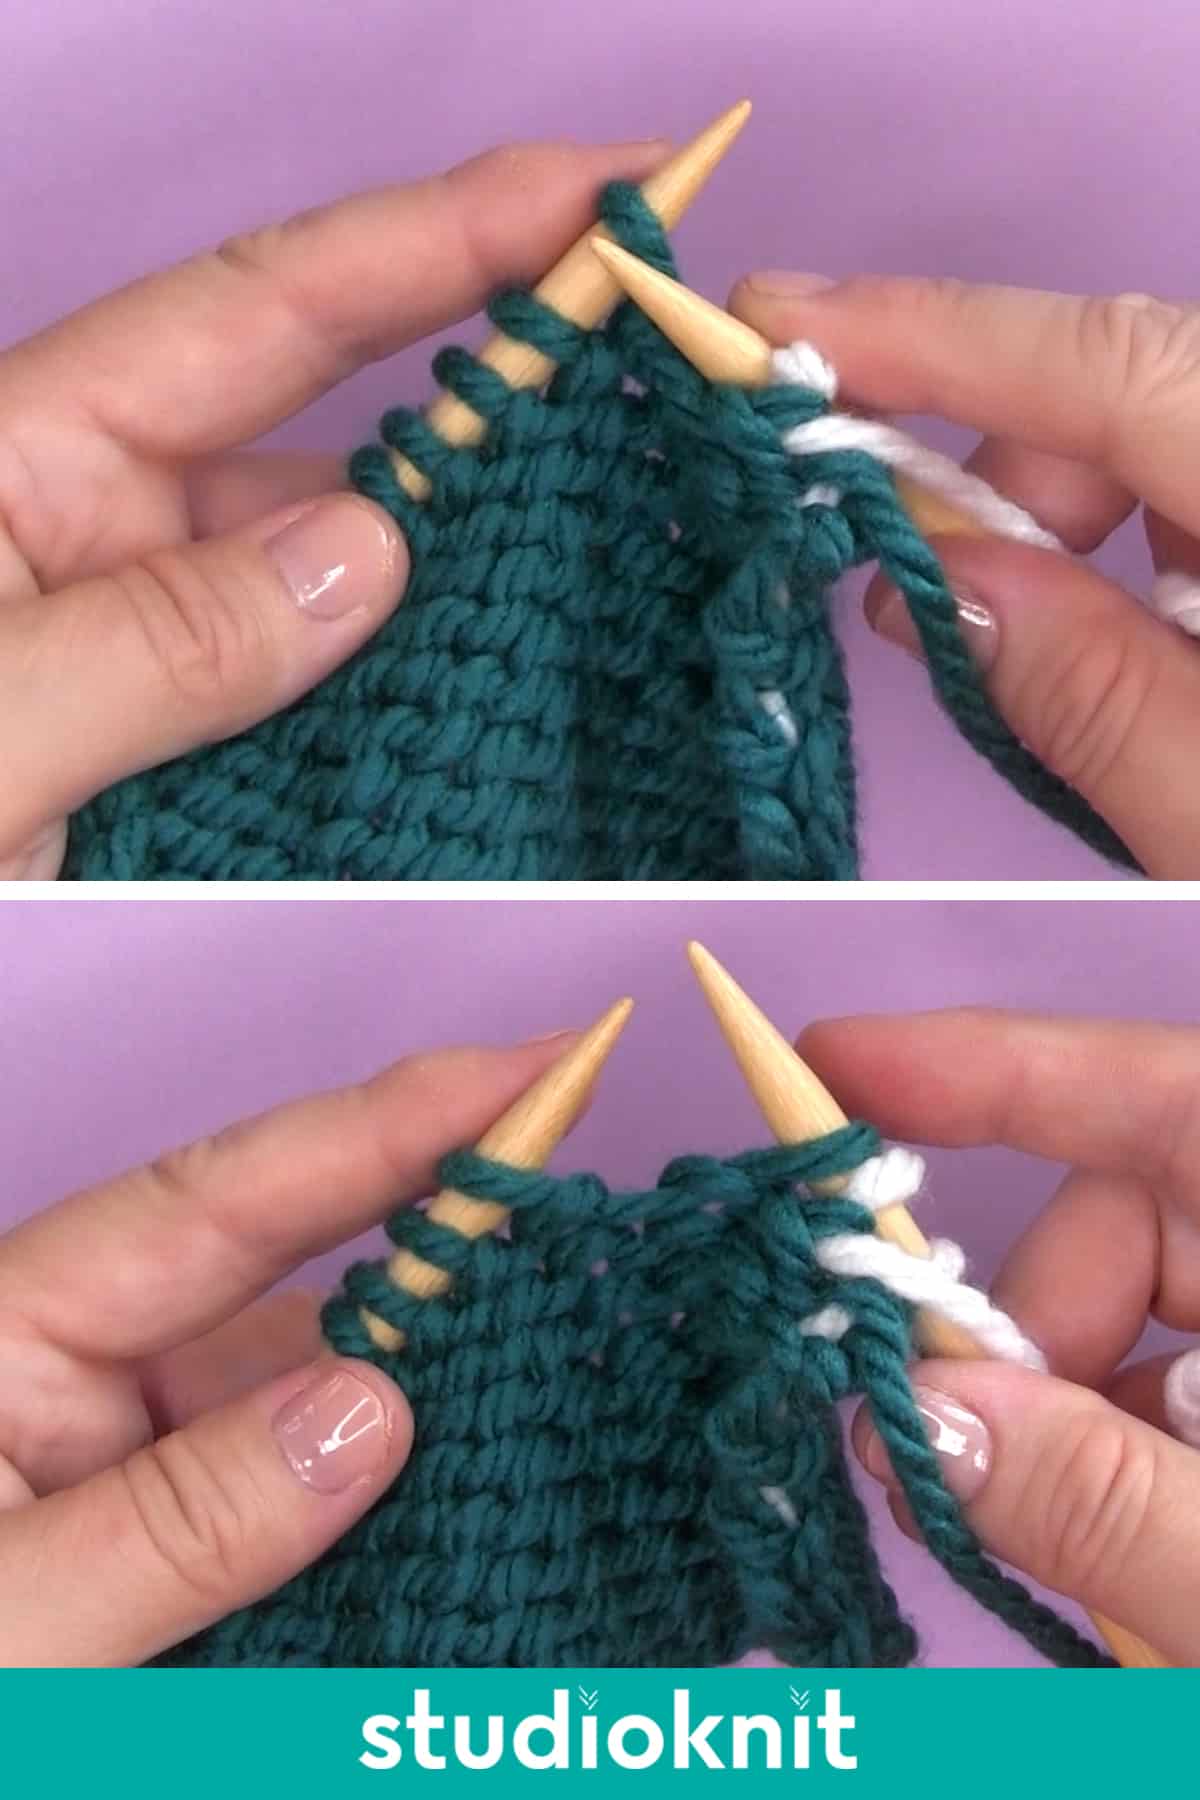
Slip a Stitch Knitwise on a Purl Row with Yarn in Back
Technique: Bring your working yarn between your needles to the back of your purl row. Insert your right-hand needle the the left and inside the next stitch on the left-hand needle as if to knit. Slip it to the right-hand needle, then bring the yarn between the needles to the front again in preparation to purl.
Your slipped stitch is now wrapped. You can see there is a little bar of yarn of that slipped stitch on the knit row’s right side of our work.
Knitting Abbreviation: Sl1K WYIB

Kristen McDonnell
Author • Designer • Teacher
Kristen from StudioKnit LLC produces knitting video lessons and pattern designs from her vibrant production studio on Half Moon Bay’s California coast.
Kristen McDonnell is the author of the highly acclaimed book Knit Stitch: 50 Knit + Purl Patterns featuring vintage and unique designs.

