Make One Knitting Increase (M1, M1L, M1R)
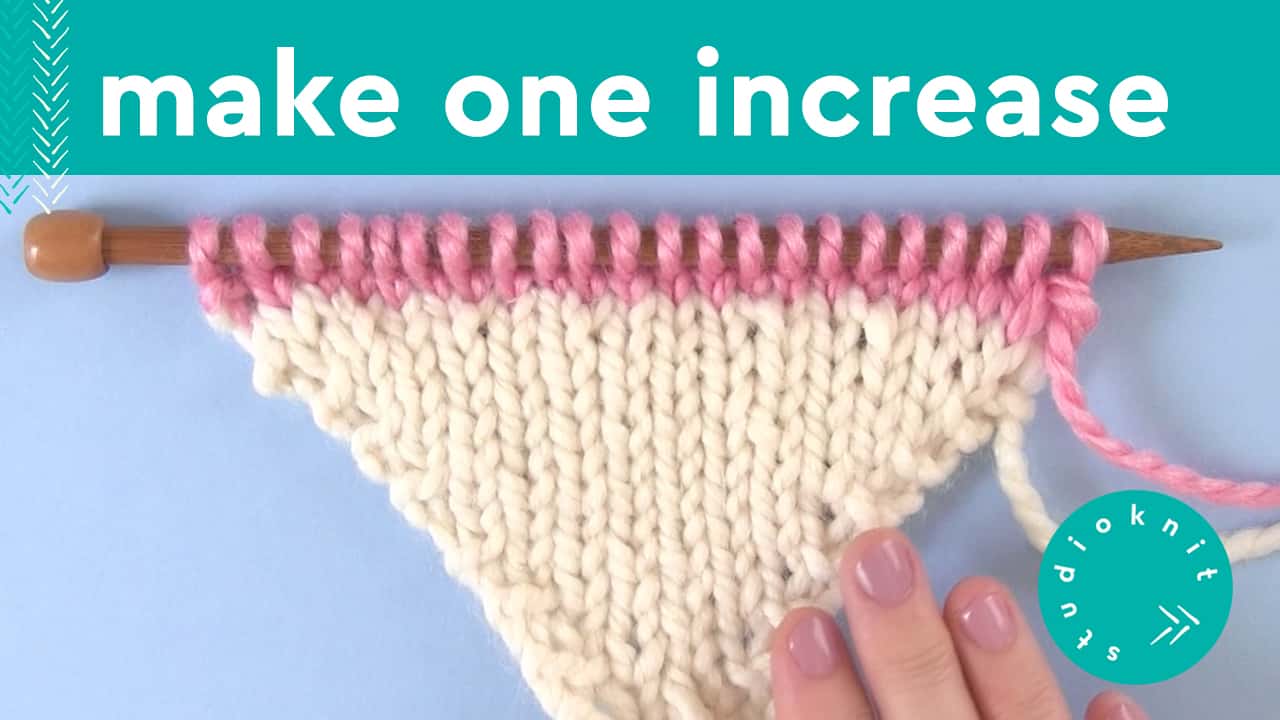
Does your pattern tell you to Make One Knitting Increase and you need to know exactly how? Easily learn how to increase in knitting by creating an invisible increase in your knitted work with my slow and up-close lesson!
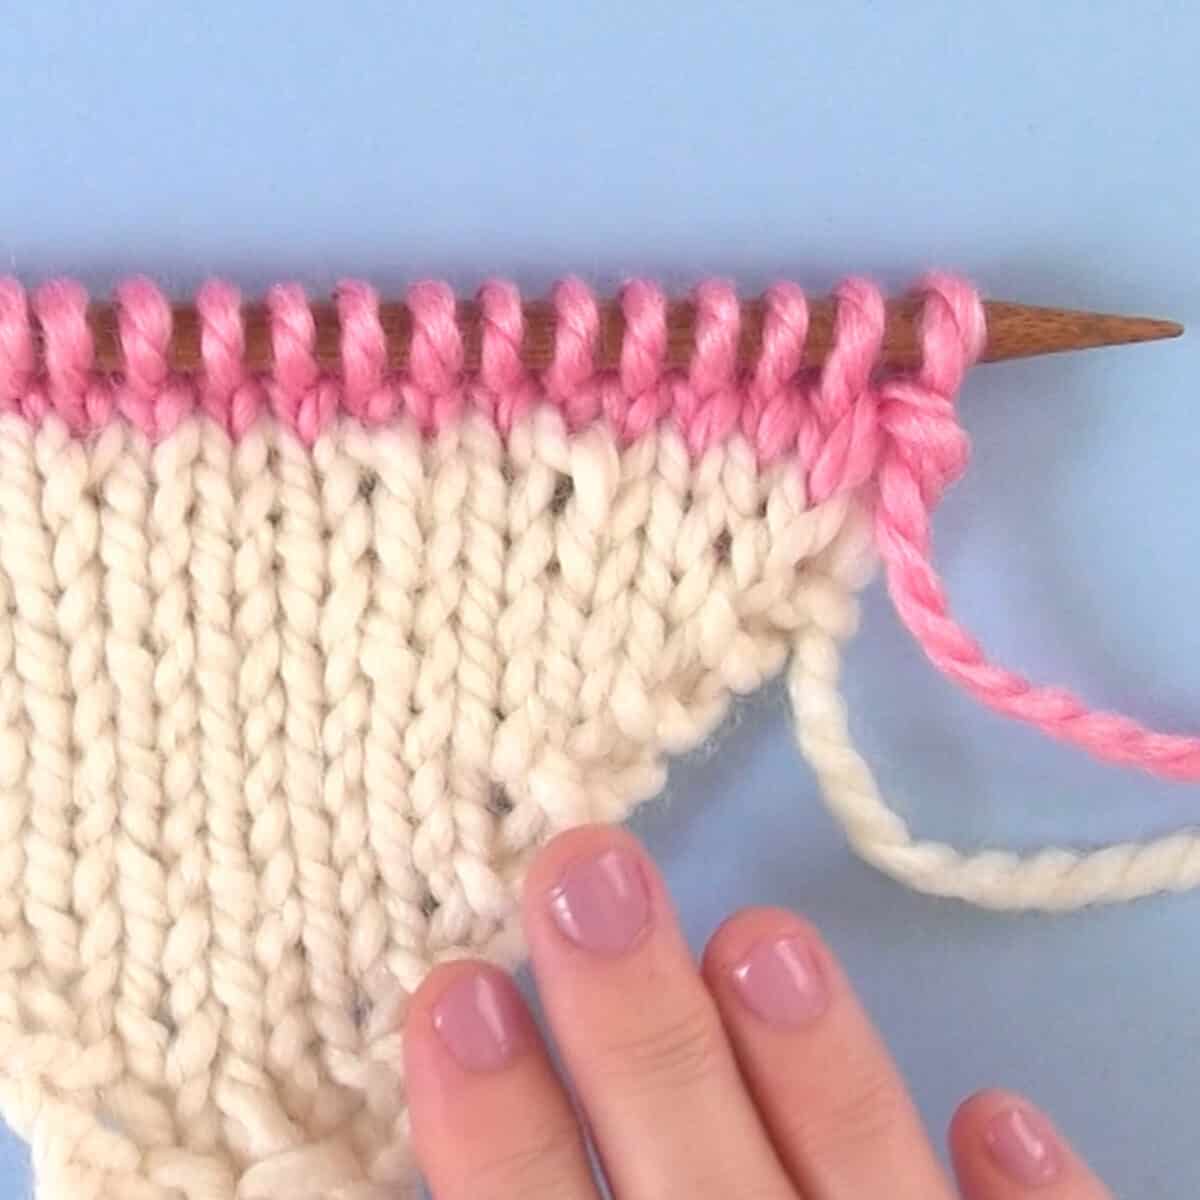
When your pattern abbreviates this technique as M1, it is the same as M1L which is a left-leaning increase. Conversely, the M1R is a right-leaning increase stitch technique.
The Bar Between Stitches
Let’s take a look at exactly how to increase in both directions to power up your knitting skills and help you continue knitting up that pattern.
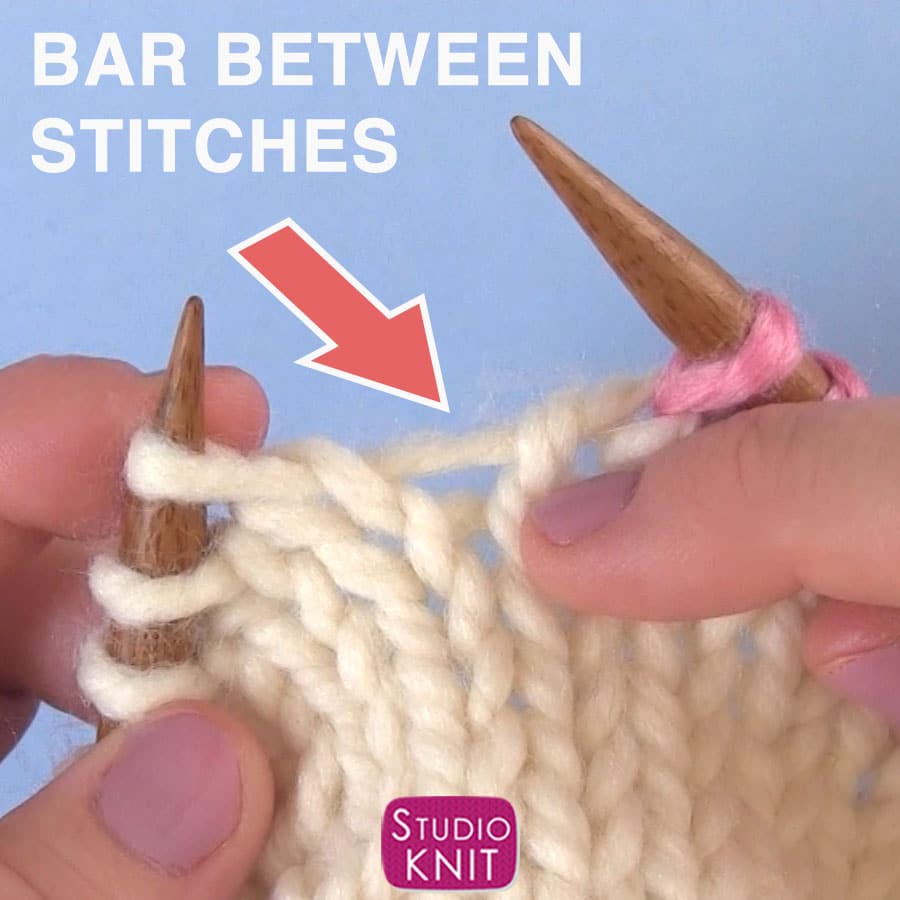
Before we knit M1L and M1R, we first need to identify exactly where we begin to increase in our work. The horizontal yarn strand that runs between each stitch is called the “bar between stitches” in the instructions below. Familiarizing yourself with it now sets you up for success to increase your knitting correctly.
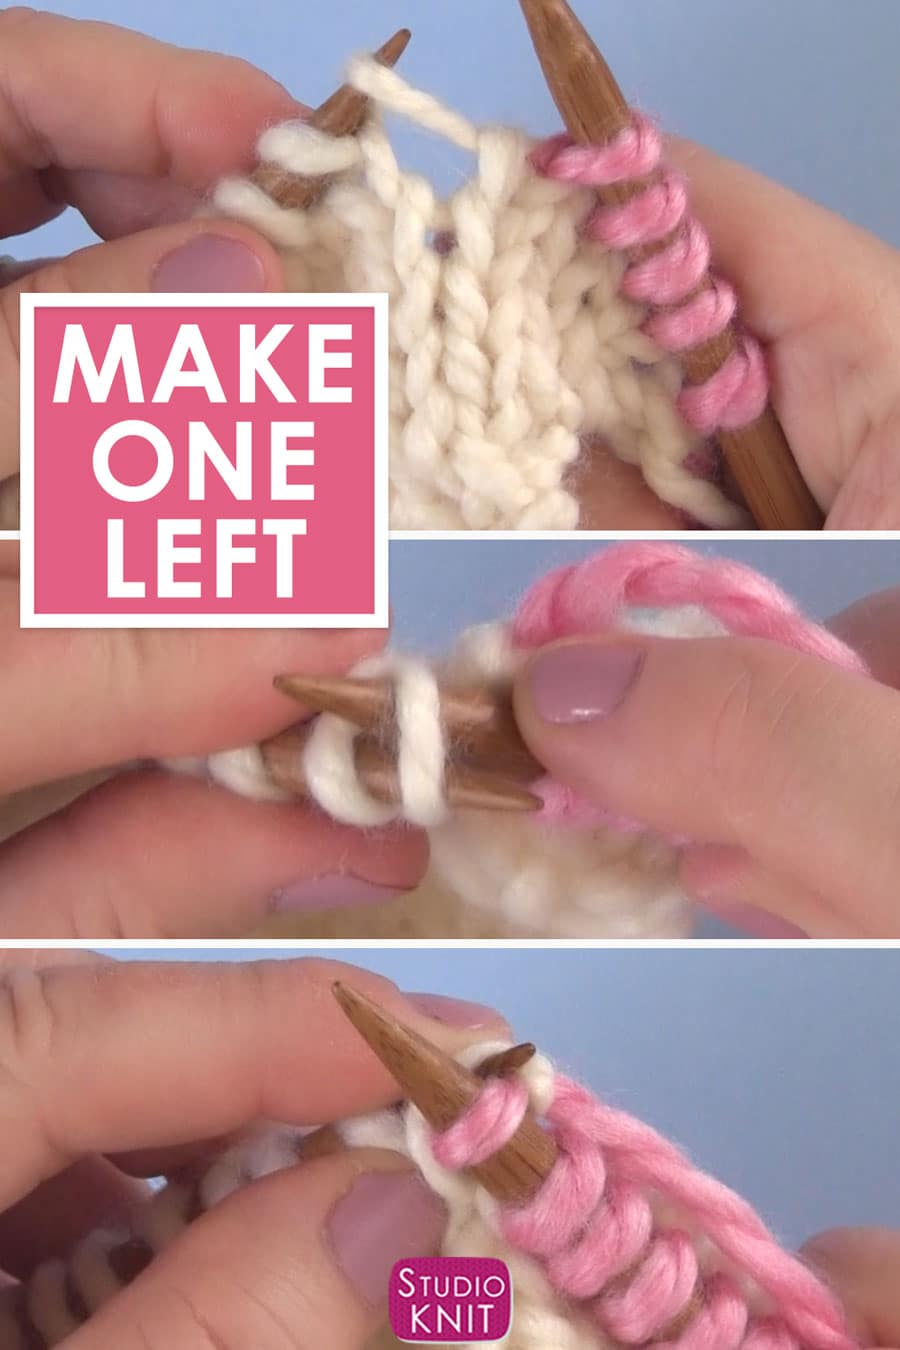
Left Knitting Increase M1, M1L
If your pattern simply tells you to Make 1 (M1), this is the same as M1L. This technique creates an invisible increase that slants to the left (\). Typically, this will be used when making an increase in the first half of the right side of your knitted work.
1 – Inserting Left Needle: Using your left knitting needle, pick up the bar between stitches from front to back.
2 – Right Needle Knitting Through: With your right needle, knit through the back loop. Bring your needle to the back, insert directly into the stitch, then wrap and knit your working yarn through.
Right Knitting Increase M1R
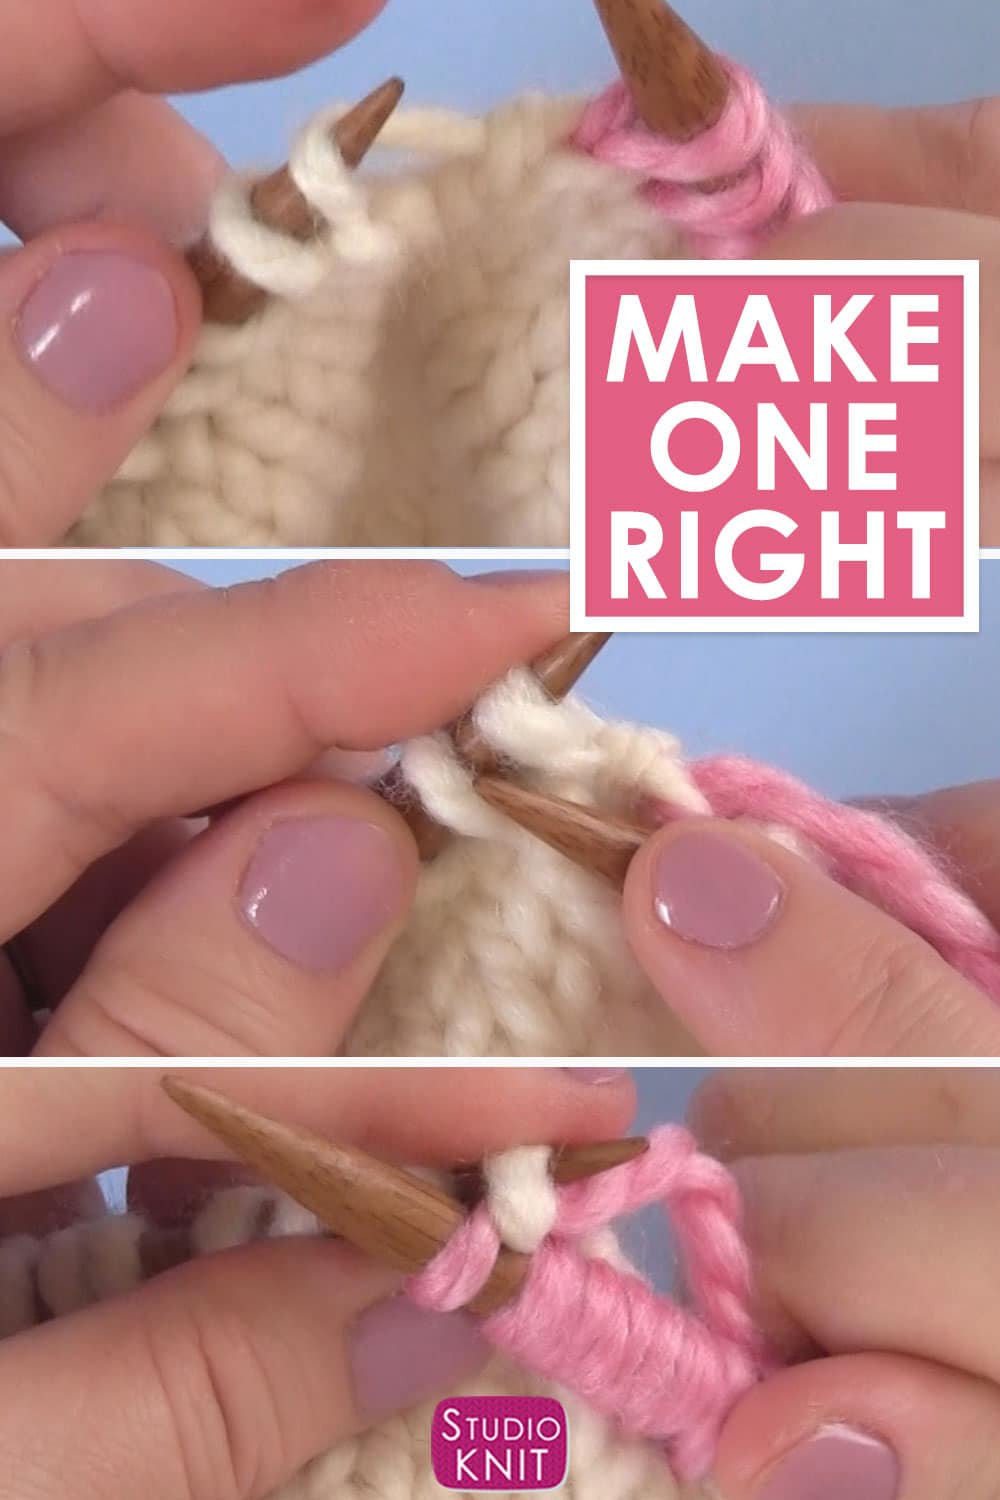
When your pattern specifies Make 1 Right (M1R), we are creating an invisible increase that slants to the right (/). This technique is often used to create a slanting increase within the last half of the right side of your knitted work.
1 – Inserting Left Needle: Using your left knitting needle, pick up the bar between stitches from back to front.
2 – Right Needle Knitting Through: With your right needle, knit through the front. Bring your needle to the front, around to the left side of the stitch, then wrap and knit your working yarn through.
Thank You for Visiting Studio Knit
I hope you are inspired to Make One Knitting Increases with confidence in your next knitting project. Find more knitting help with all of my technique tutorials. My lesson on How to Knit a Yarn Over Increase Stitch is another really helpful lesson to check out!
