Knitted Pumpkin Pattern on Straight Needles
This festive Pumpkin Knitting Pattern shares how to easily these adorable softies. You’ll love how quickly they knit up with straight needles and any yarn fiber of your choice. These cute quick-knits are a seasonal favorite here at Studio Knit.
Get your free written pattern instructions with video tutorial below. You may also purchase my ad-free printable pdf pattern in my Studio Knit Pattern Shop.
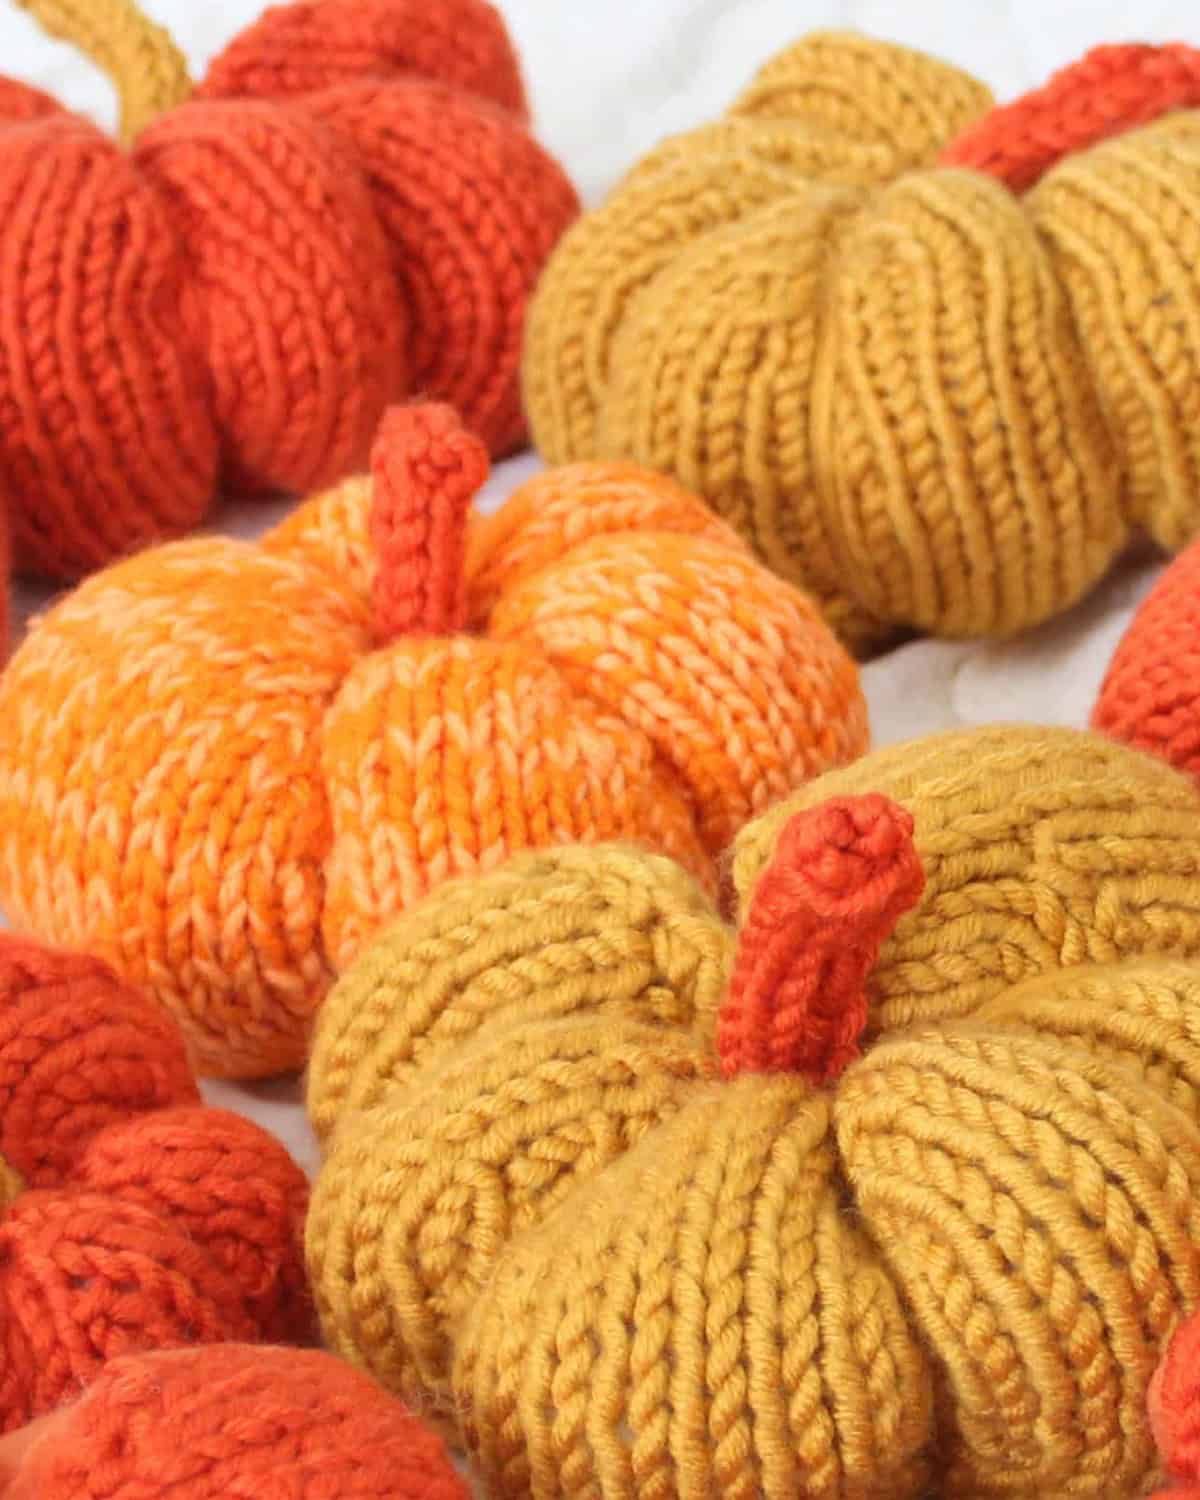
Table of Contents
Pumpkin Spice Season Has Arrived!
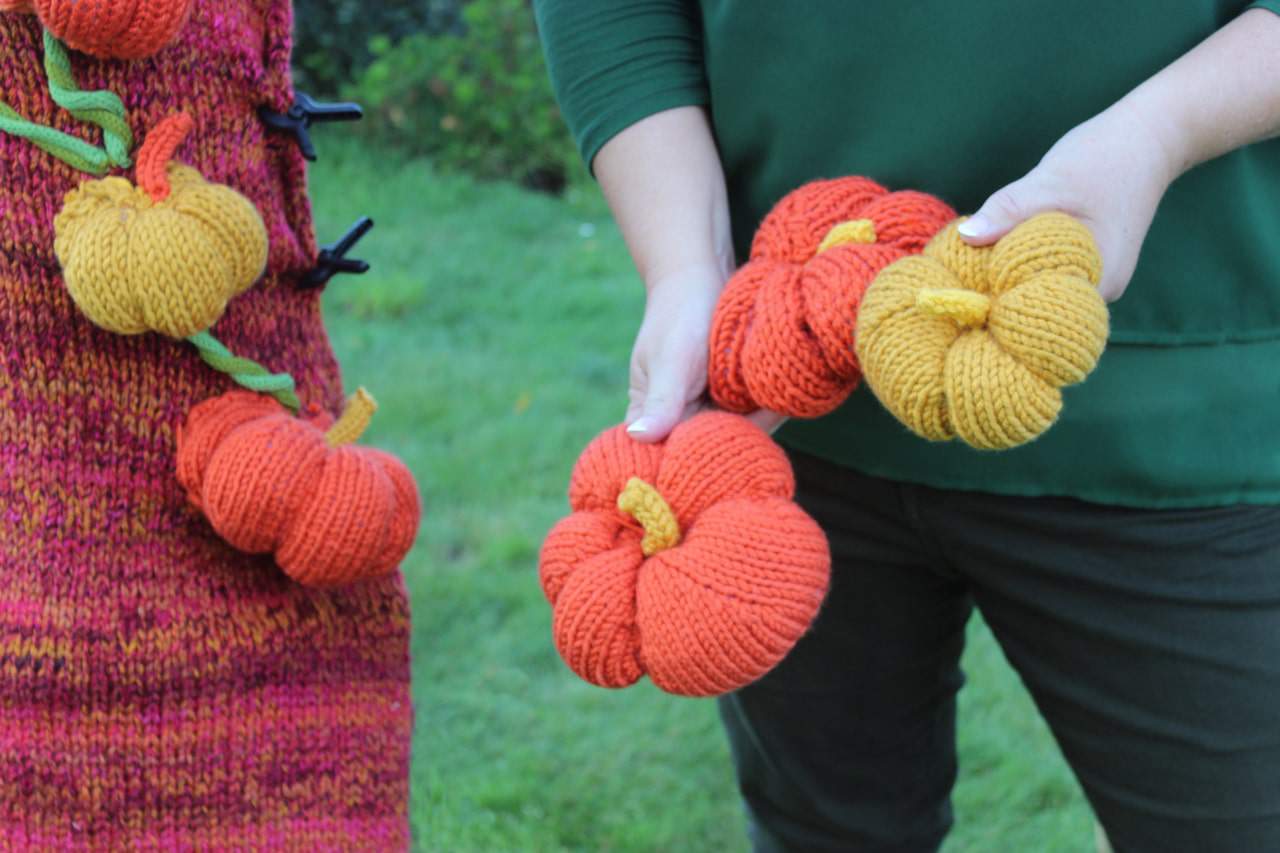
Pumpkin Spice everything has arrived already at Starbucks here in the US and Canada. Why do we care? It kicks off our Knitting Season, of course! I love knitting pumpkins sooooo much, that I yarn bombed an entire pumpkin patch.
Watch Video Tutorial
Printable Knitting Pattern (ad-free)
Want the free pattern? Keep scrolling, it’s up next!
PRINTABLE DOWNLOAD: Purchase the ad-free version in my Studio Knit Pattern Shop. A great way to support my knitting work!
Knitting Supplies
These Pumpkins knit up with one or two colors of your choice.
As an Amazon Associate, I earn from qualifying purchases.
- Yarn: Bulky Size #5 Weight Yarn (10 – 100 yards)
- Poly-fill, or any stuffing of your choice
- 2 Straight Knitting Needles or Circulars 7 US / 4.5 mm
- 2 Double Pointed Needles 7 US / 4.5 mm
- Tapestry Needle
- Scissors
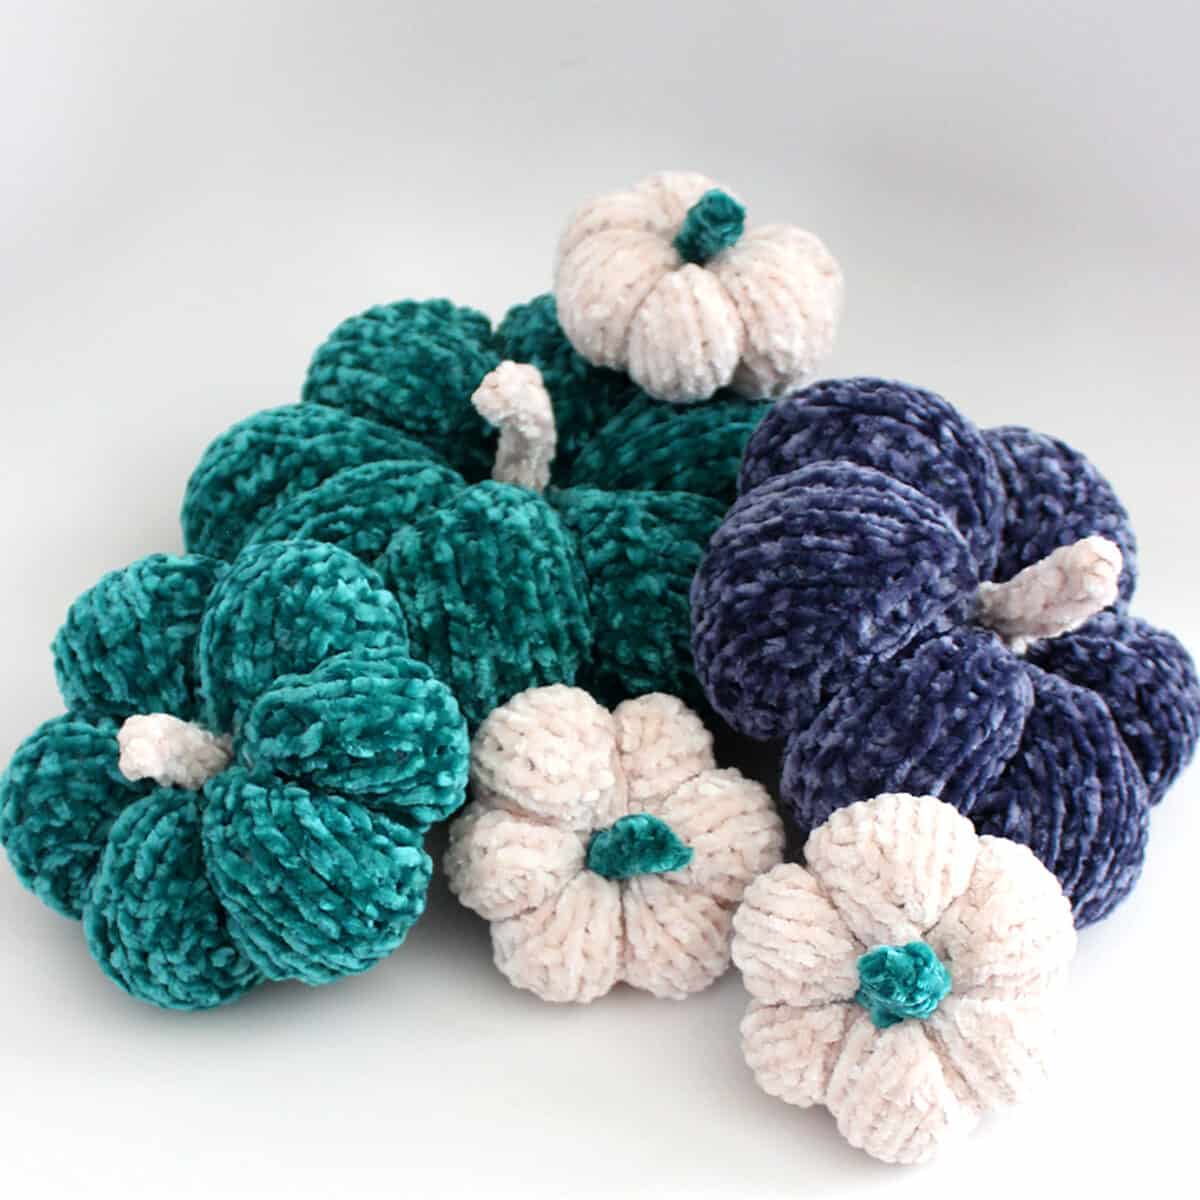
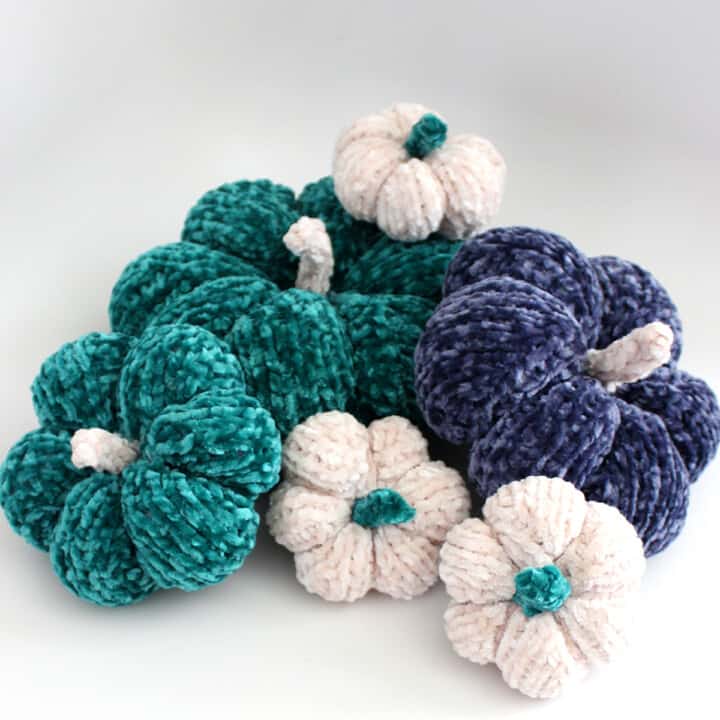
Enjoy decorating your home in whimsical pumpkin softies throughout the holidays… a new tradition for autumn Halloween and Thanksgiving home decor! The winter Christmas holidays are brightened up with cool, icy colors like blue and teal. My samples are knit in velvet yarn, but absolutely any fiber looks cozy.
Knitting Techniques
Need to brush up or learn a new technique? Check out my entire library of Knitting Techniques to help you along as you knit up this project.
• Slip Knot
• CO = Cast On Long Tail Method
• I-Cord
• K = Knit Stitch
• P = Purl Stitch
• KFB = Knit Front + Back to Increase
• K2TOG = Knit 2 Sts Together to Decrease
• Bind Off
• Weave in Yarn Tails
Printable Knitting Instructions
Printable Knitting Pattern
This festive Pumpkin Knitting Pattern creates easy holiday decor. Knit up pumpkins easily flat with straight needles and any yarn fiber of your choice.
Materials
- Recommended Yarn: Bernat Velvet. Bulky Size #5 Weight Yarn (10 - 100 yards)
- Polyfill, or any stuffing of your choice
Tools
- 2 Straight Knitting Needles or Circulars 7 US / 4.5 mm
- 2 Double Pointed Needles 7 US / 4.5 mm
- Tapestry Needle - Clover Chibi Jumbo Bent Tip Darning Needle Set
- Scissors - Gold Stork Crane Scissors
Instructions
- STEP 1: CAST ON 6 Stitches onto your Straight Knitting Needles.
Note: Knit flat on circular needles if you are knitting larger sizes to help hold multiple stitches. - STEP 2: INCREASE SECTION
Row 1 (RS): * KFB * (repeat btwn * *, 12 sts remain)
Row 2 (WS): Purl All
Row 3: * KFB, K1 * (18 sts)
Row 4: Purl All
Row 5: * KFB, K2 * (24 sts)
Row 6: Purl All
Row 7: * KFB, K3 * (30 sts)
Row 8: Purl All
Row 9: * KFB, K4 * (36 sts)
Row 10: Purl All
Mini size ►Jump to Stockinette Section
Small, Medium, and Large sizes ► Continue Increases
Row 11: * KFB, K5 * (42 sts)
Row 12: Purl All
Row 13: * KFB, K6 * (48 sts)
Row 14: Purl All
Small size ►Jump to Stockinette Section
Medium and Large sizes ► Continue Increases
Row 15: * KFB, K7 * (54 sts)
Row 16: Purl All
Row 17: * KFB, K8 * (60 sts)
Row 18: Purl All
Medium size ► Jump to Stockinette Section
Large size ► Continue Increases
Row 19: * KFB, K9 * (66 sts)
Row 20: Purl All
Row 21: * KFB, K10 * (72 sts)
Row 22: Purl All
Large size ► Jump to Stockinette Section - STEP 3: STOCKINETTE PATTERN
Row 1: Knit All
Row 2: Purl All
Mini: Knit 4 Rows of Stockinette, then Jump to Decrease Section Row 13
Small: Knit 6 Rows of Stockinette, then Jump to Decrease Section Row 9
Med: Knit 8 Rows of Stockinette, then Jump to Decrease Section Row 5
Large: Knit 10 Rows of Stockinette, then Jump to Decrease Section Row 1 - STEP 4: DECREASE SECTION
Row 1: * K2Tog, K10 * (66 sts)
Row 2: Purl All
Row 3: * K2Tog, K9 * (60 sts)
Row 4: Purl All
Row 5: * K2Tog, K8 * (54 sts)
Row 6: Purl All
Row 7: * K2Tog, K7 * (48 sts)
Row 8: Purl All
Row 9: * K2Tog, K6 * (42 sts)
Row 10: Purl All
Row 11: * K2Tog, K5 * (36 sts)
Row 12: Purl All
Row 13: * K2Tog, K4 * (30 sts)
Row 14: Purl All
Row 15: * K2Tog, K3 * (24 sts)
Row 16: Purl All
Row 17: * K2Tog, K2 * (18 sts)
Row 18: Purl All
Row 19: * K2Tog, K1 * (12 sts)
Row 20: Purl All
Row 21: * K2Tog * (6 sts)
Row 22: Purl All
Bind Off, Break Yarn.
With Right Sides Touching, Seam Edge ¾ up, Turn Right-Side Out, Insert Stuffing, Finish Seaming.
Weave Thru Remaining Stitches. - STEP 5: PUMPKIN WEDGING
With a new strand of yarn on your tapestry needle, weave through the center of your stuffed pumpkin ball a couple of times until secure. Doubling up yarn helps to prevent it from breaking since we are pulling it tightly.
Wrap around the perimeter of your pumpkin and cinch it up.
Repeat wraps 5 more times evenly distributed around your pumpkin to create its wedges. Feel free to get creative and make even more wedges, if you’d like! - STEP 6: PUMPKIN STEM I-CORD
New to knitting I-Cords? Watch my I-Cord video >
Cast On 4 Stitches onto Double-Pointed Knitting Needle
Slide 4 Stitches to opposite end of the needle and knit all.
Repeat until your stem is approximately 2 inches (8 rows), or the length you desire.
Break yarn, weave through ends.
Using tapestry needle, attach to the center of your pumpkin.
Notes
KNITTING GAUGE14 Sts x 20 Rows = 4” x 4” / 10 x 10 cm in Stockinette Stitch Pattern
PUMPKIN SIZESThese sizes are approximations when using size 7 US knitting needles and bulky weight yarn. Smaller or larger sizes can also be achieved by changing your needle size and yarn gauge.
MINI: 11" circumference / 2" height
SMALL: 15" circumference / 2.5" height
MEDIUM: 20" circumference / 3.5" height
LARGE: 24" circumference / 4" height
Knitting Techniques
- Slip Knot
- CO = Cast On Long Tail Method
- I-Cord
- K = Knit Stitch
- P = Purl Stitch
- KFB = Knit Front + Back to Increase
- K2TOG = Knit 2 Stitches Together to Decrease
- Bind Off
- Weave in Yarn Tails

Kristen McDonnell
Author • Designer • Teacher
Kristen from StudioKnit LLC produces knitting video lessons and pattern designs from her vibrant production studio on Half Moon Bay’s California coast.
Kristen McDonnell is the author of the highly acclaimed book Knit Stitch: 50 Knit + Purl Patterns featuring vintage and unique designs.


