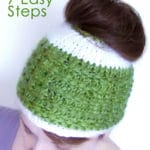
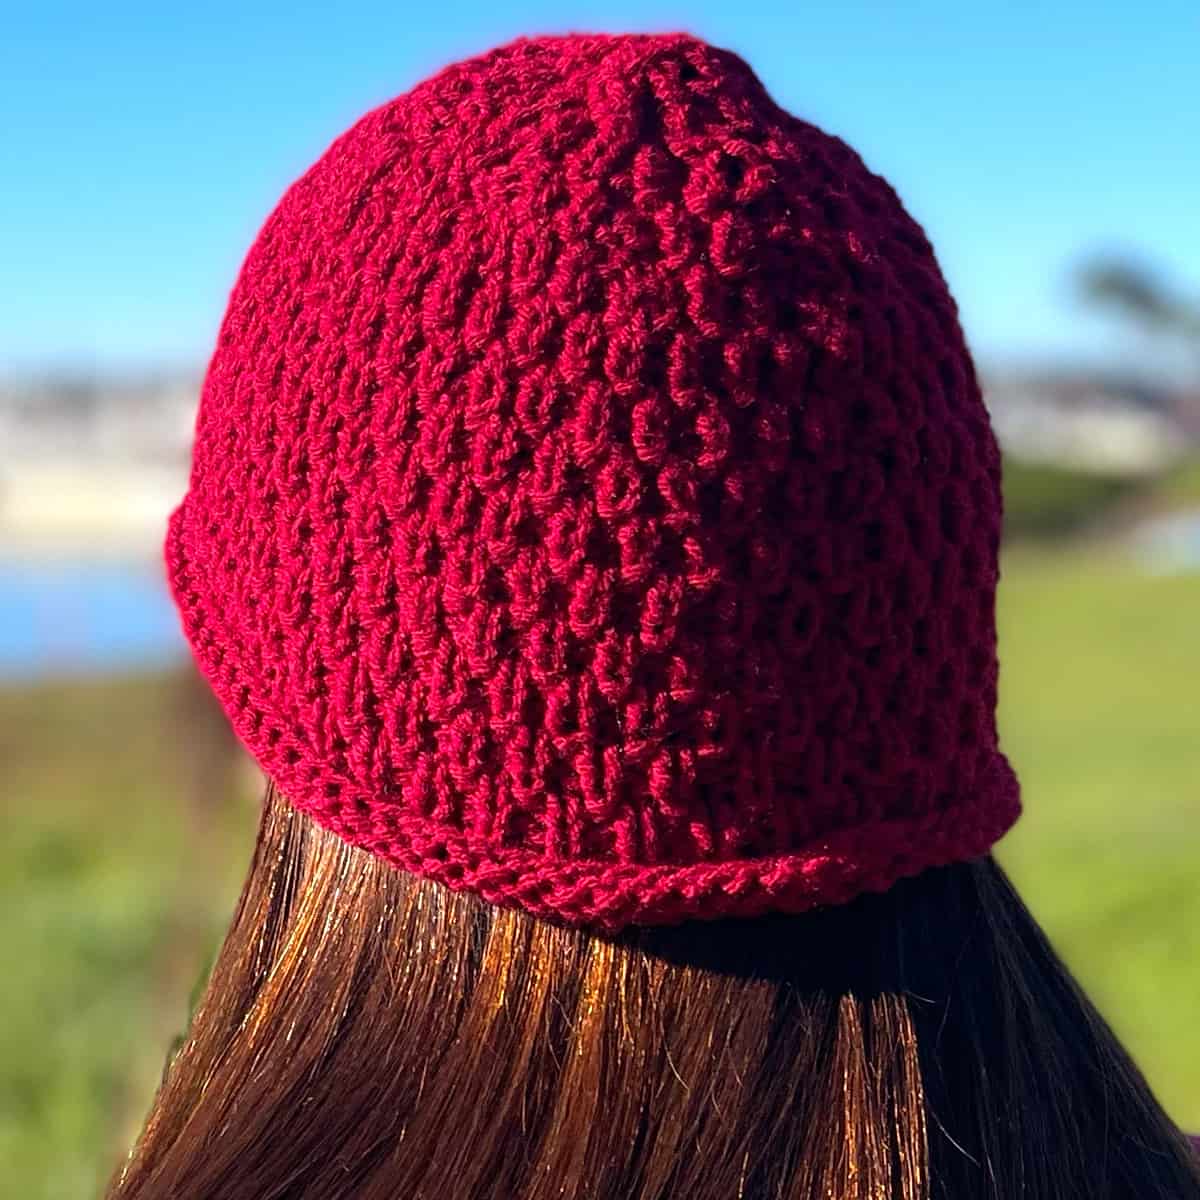
How to Knit a Messy Bun Hat Pattern
Learn how to knit a Messy Bun Hat in seven easy steps!
I’ve gotten lots of requests from you, so I’ve designed a very basic knitting pattern for this knitted beanie with room for your messy bun or ponytail. I encourage you to get really creative with changing up your yarn colors and mixing knit stitch patterns.
This hat is knitted flat, with bulky weight yarn, so it’s a one sitting quick knit. And you can get really creative with patterns and colors. Let’s get started!
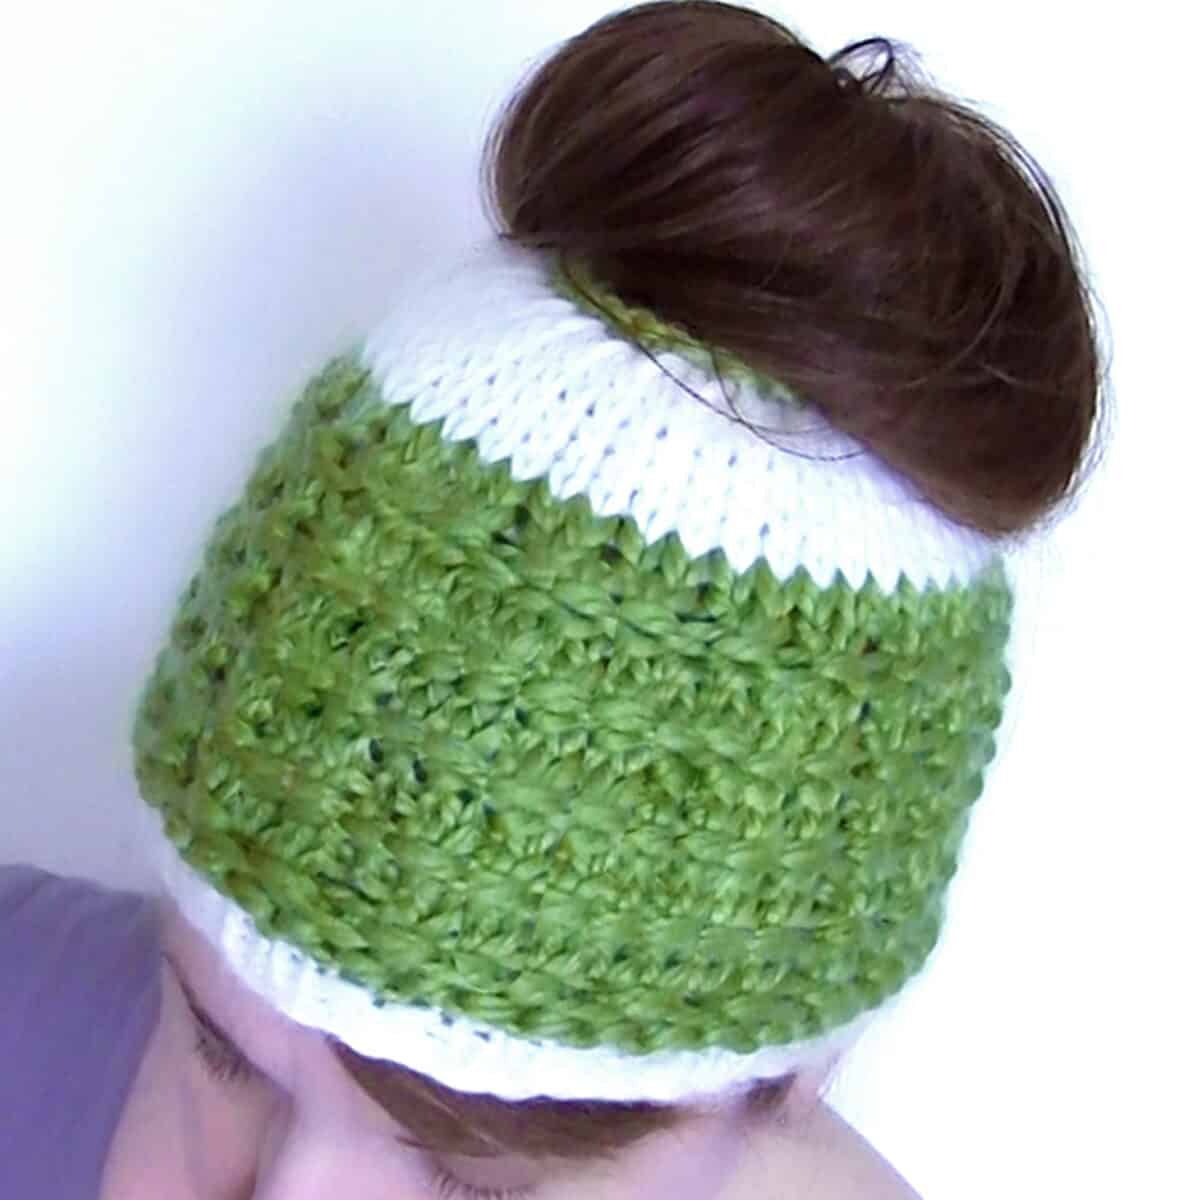
Table of Contents
KNITTING TECHNIQUES
• Slip Knot
• Cable Cast On Method
• Knit Stitch
• Purl Stitch
• Stretchy Bind Off
KNITTING MATERIALS for the Messy Bun Hat Pattern
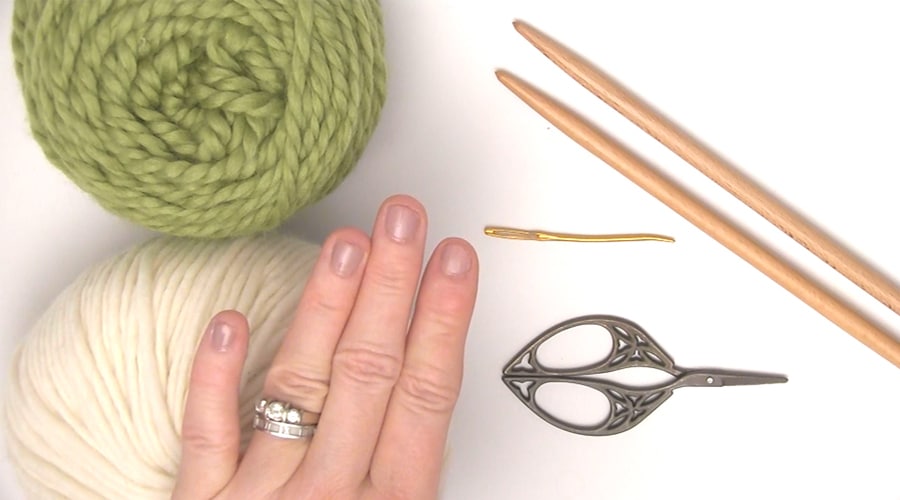
This is a really simple hat pattern because it is knitted flat on straight knitting needles. I’m using large size 11 US knitting needles and bulky weight yarn, so it knits up really fast!
• Yarn in Bulky weight. Any fiber and colors of your choice. I’m using wool for extra warmth.
• Straight Knitting Needles size 11 US (8.0 mm)
• Scissors
• Tapestry Needle
Watch Video Tutorial
Knit Stitch Patterns
SEE ALL KNIT STITCH PATTERNS FOR MORE INSPIRATION
• 2×2 Rib Stitch Pattern
• Stockinette Knit Stitch Pattern
• Garter Knit Stitch Pattern
• Granite Knit Stitch Pattern
• Bamboo Knit Stitch Pattern
KNITTING PATTERN for the Messy Bun Hat
Step 1 | Casting On
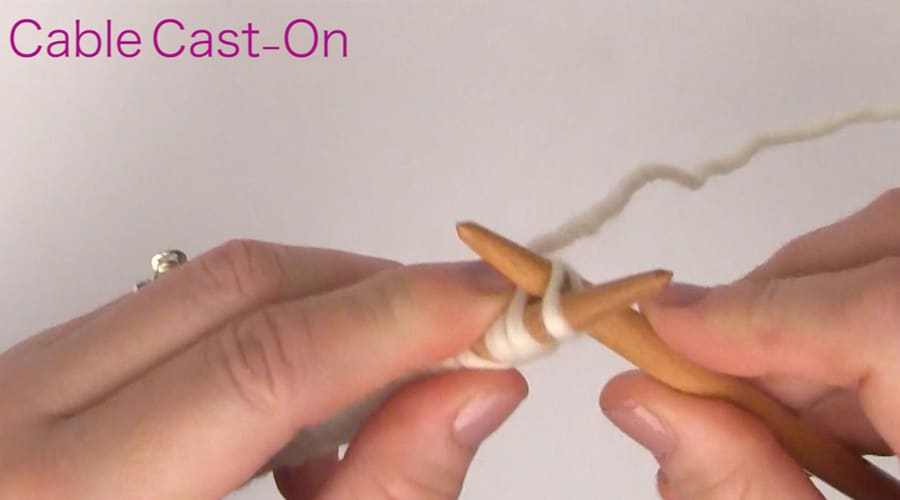
Cast On 52 Stitches. We begin with our beloved Slip Knot and are using the Cable Cast On Method to cast on 52 stitches onto our knitting needle. You may use the Long Tail Cast On Method, if you’re more comfortable with it. I just personally prefer the look of the Cable Cast On for adult hats.
Step 2 | Knit Hat Brim
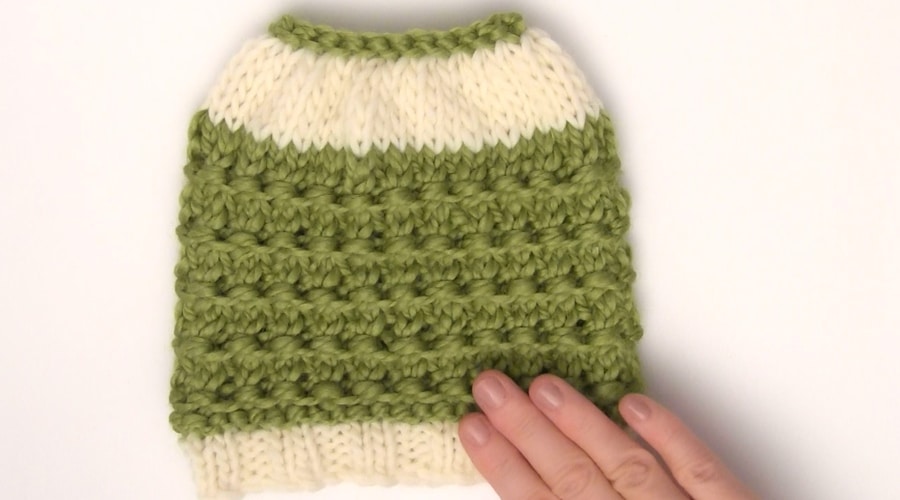
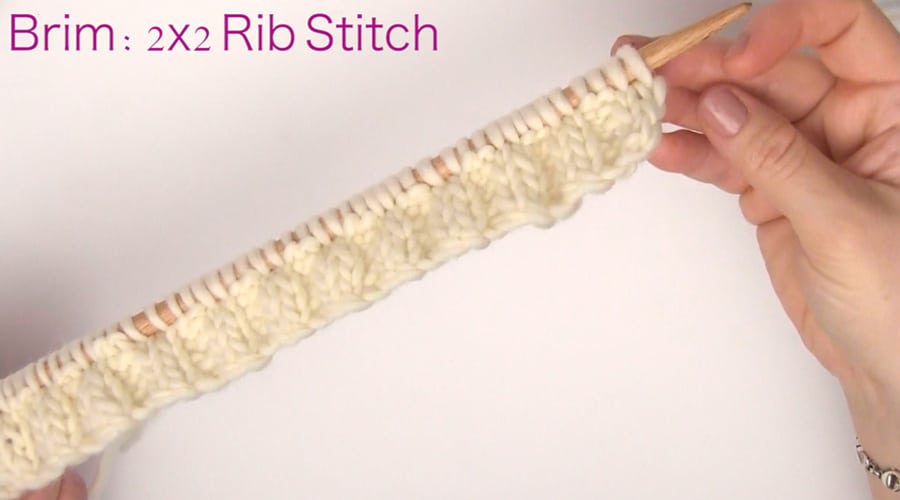
We are going to knit a 2×2 rib stitch pattern for the brim of our hat.
Rows 1 – 4: * K2, P2 *
Repeat pattern between the asterisks on all rows.
We begin by knitting two stitches, then bring our yarn to the front to purl two stitches. Simply continue this 2×2 rib stitch pattern on all four rows.
Step 3 | Knit Length of Hat
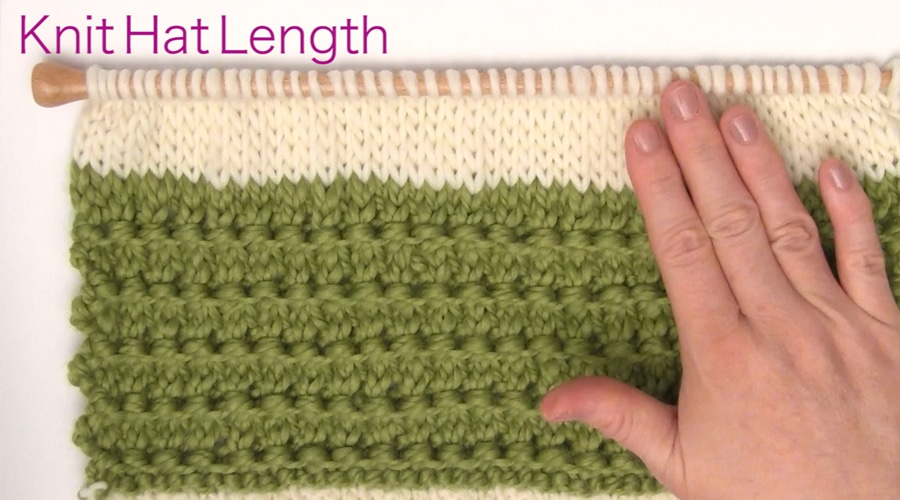
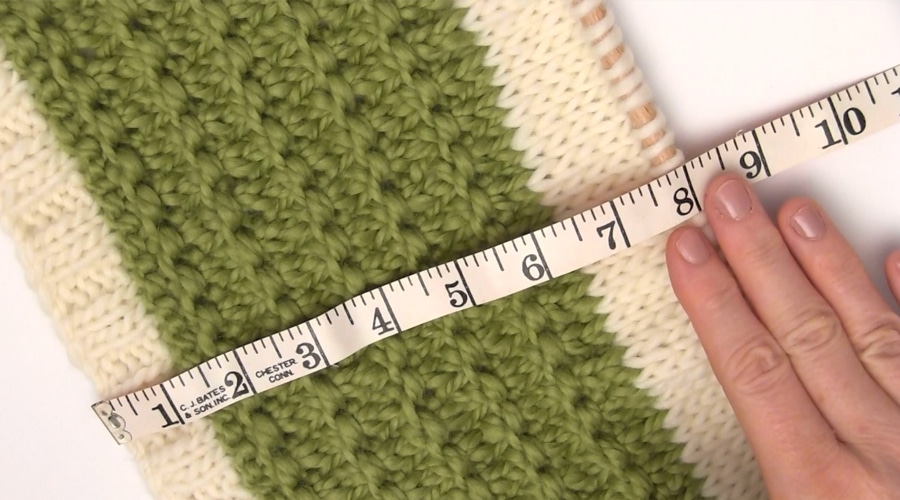
Knit your hat the length you desire! I recommend measuring where you’d like to your hat to hit from just an inch below the crown of your head to the middle of your ears.
My adult hat fits best at 8.5″ inches long.
A child’s hat fits great around 6″ long.
Step 4 | Decrease Top of Hat
Just one super easy decrease row! That’s part of the beauty of this hat. We bypass all those decrease rows!
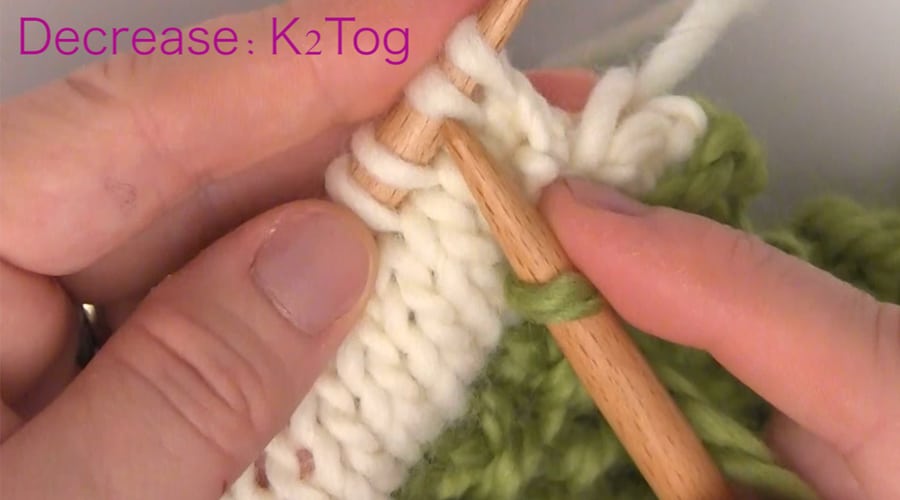
Simply decrease with the Knit 2 Together (K2Tog) stitch. Since I cast on 52 stitches, I now have 26.
Step 5 | Bind Off
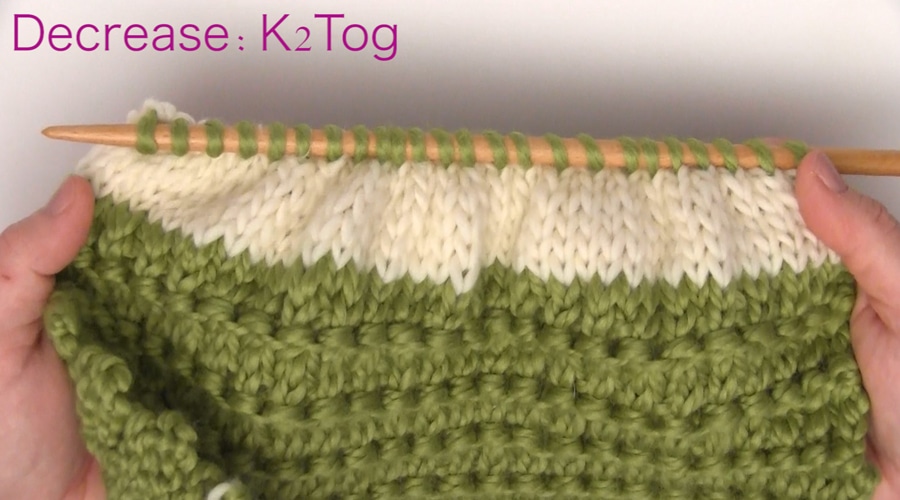
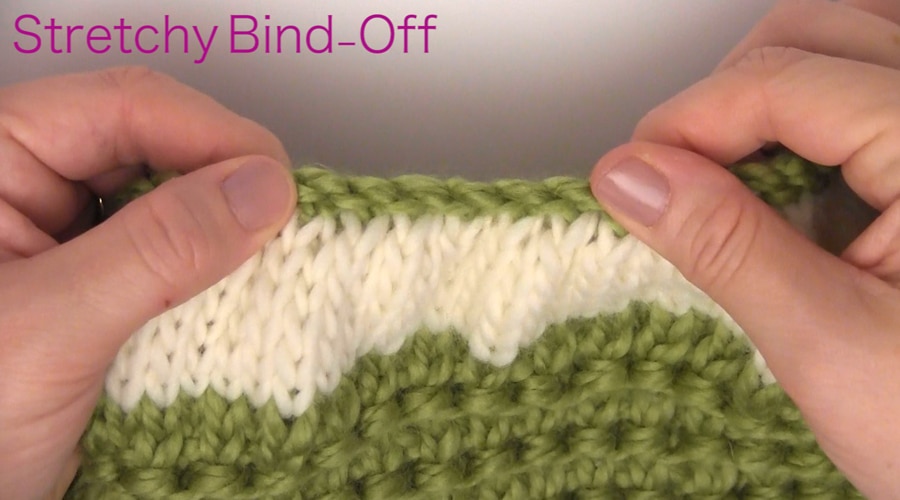
Now let’s bind off. You may bind off your normal way, but I’m going to do the Stretchy Bind Off, because it has a bit more give when pulling my hair through the opening at the top of our hat.
Step 6 | Tack Edges of Hat Together
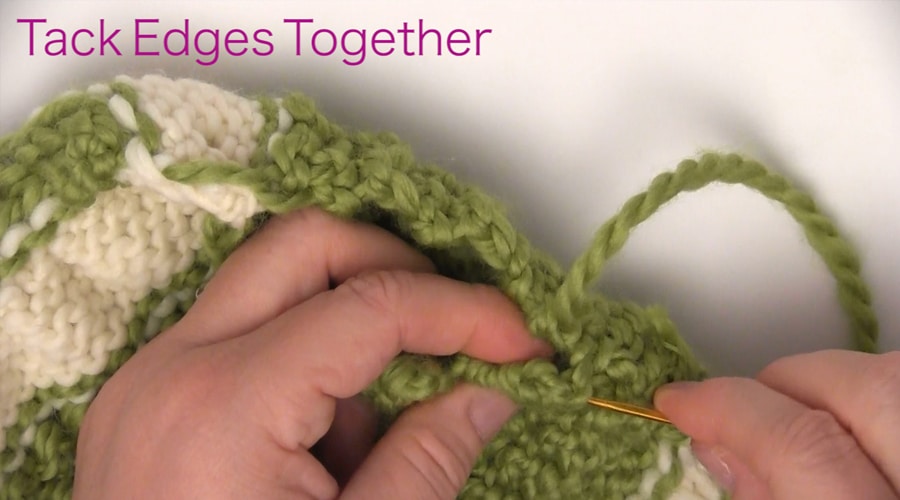
With the “right” sides of our knitted work folded into each other, go ahead and tack the edges of your hat together using your tapestry needle and yarn.
I suggest using the same yarn color to tack your edges together for a more seamless look.
Step 7 | Weave In Ends
Weave in the ends of all yarn tails, turn your hat right-side out, and you are DONE!

Kristen McDonnell
Author • Designer • Teacher
Kristen from StudioKnit LLC produces knitting video lessons and pattern designs from her vibrant production studio on Half Moon Bay’s California coast.
Kristen McDonnell is the author of the highly acclaimed book Knit Stitch: 50 Knit + Purl Patterns featuring vintage and unique designs.

