How to Knit a Birds Nest for Rescued Wildlife Animals
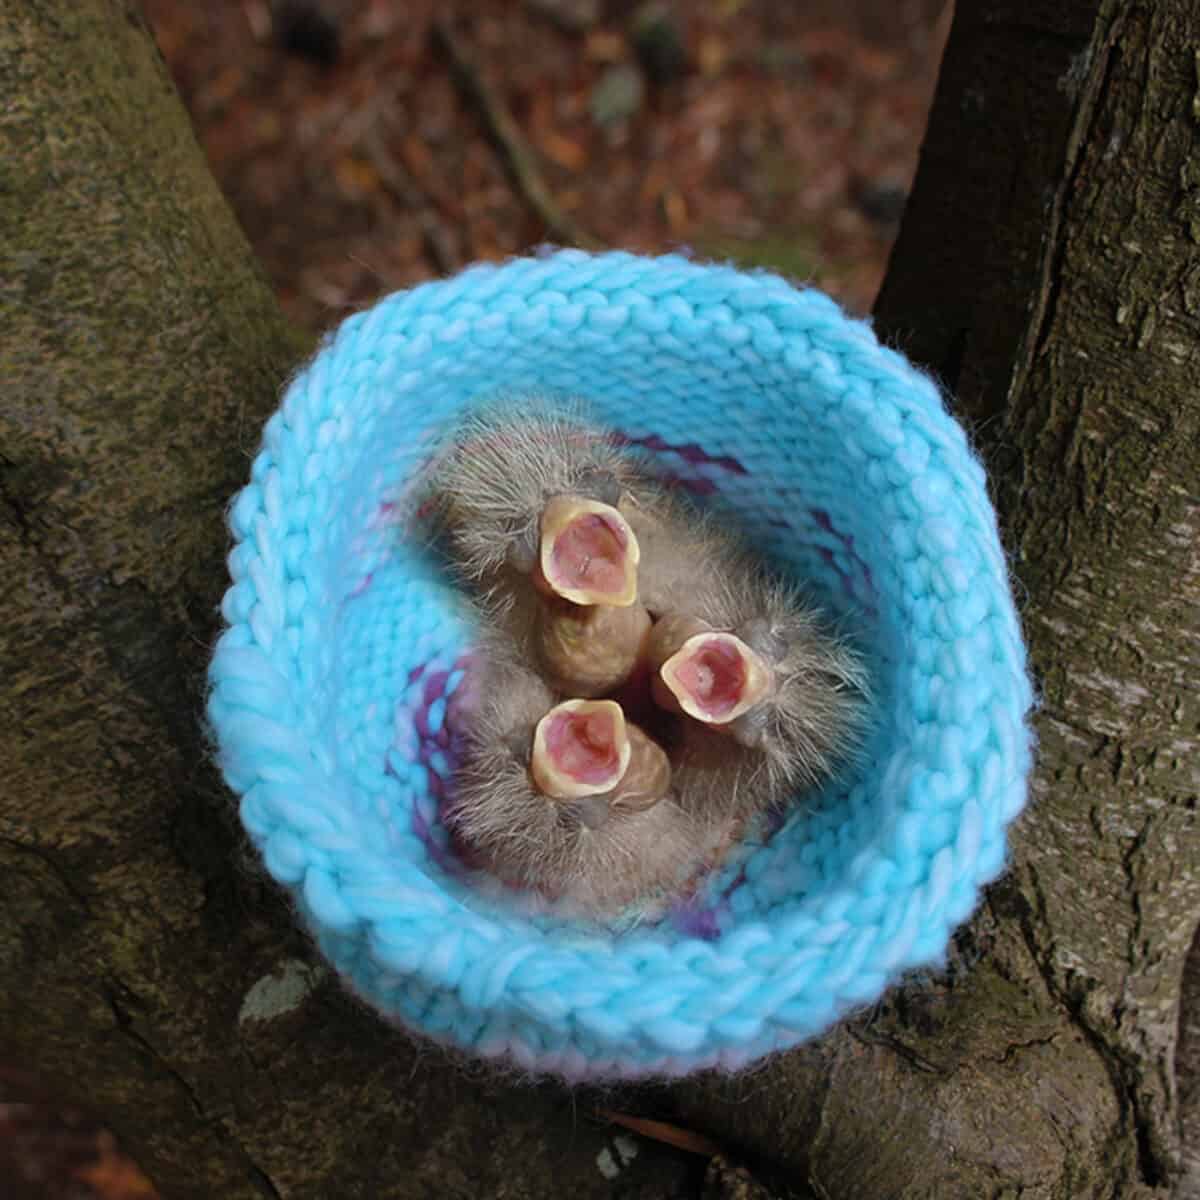
Learn how to easily knit a birds nest to help rehabilitate abandoned baby chicks and rodents rescued from emergency situations. This project is perfect for experienced beginners comfortable knitting in the round on circular needles.
Get my entire written knitting pattern below to quickly knit this medium-sized nest. I also have a comprehensive video tutorial to help you immediately start knitting for these sweet animals in need.
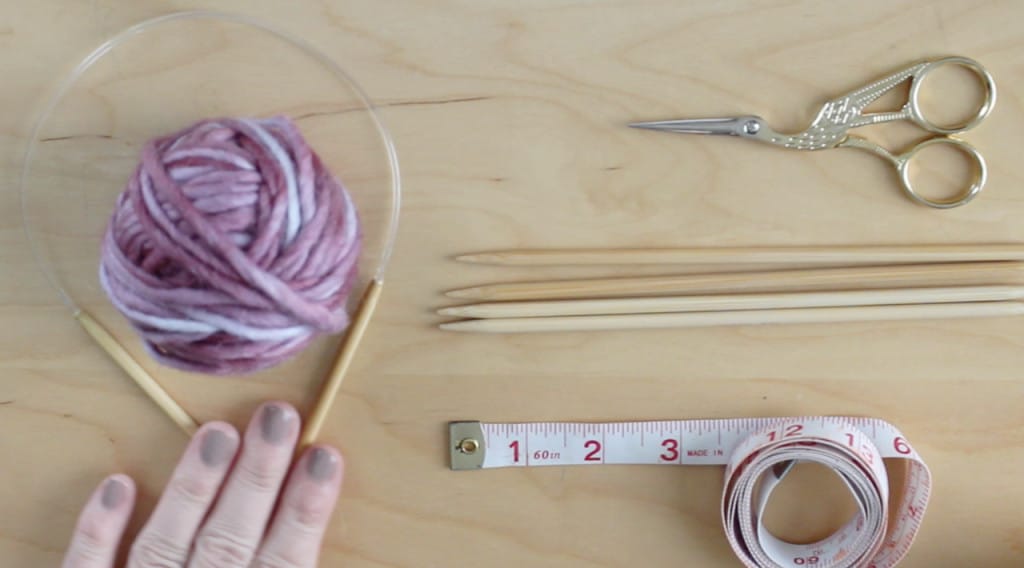
Knitting Supplies
Birds nests must be knit tightly, so little beaks and claws don’t get caught in loose stitches. As such, we are going to knit with our bulky weight yarn held double. The finished nest measures approximately 4″ tall x 6″ diameter.
Wool Yarn – Bulky Weight #5
80 grams in any fiber or color of your choice.
My Sample pictured were knitted up with Patons Classic Wool Roving that I had dyed different colors
Size 10.5 US circular needle, 16″ length
Size 10.5 double-pointed knitting needles
Tapestry Needle
Scissors
Measuring Tape
Knitting Techniques
Need to brush up or learn a new technique? Check out my entire library of Knitting Techniques to help you knit up this project.
- Slip Knot
- Cast On
- Knitting with Circular Needles
- K = Knit Stitch
- K2Tog = Knit Two Stitches Together
- Weave-in Yarn Ends
Watch Video Tutorial
How to Knit a Medium-Sized Unfelted Nest for Wildlife
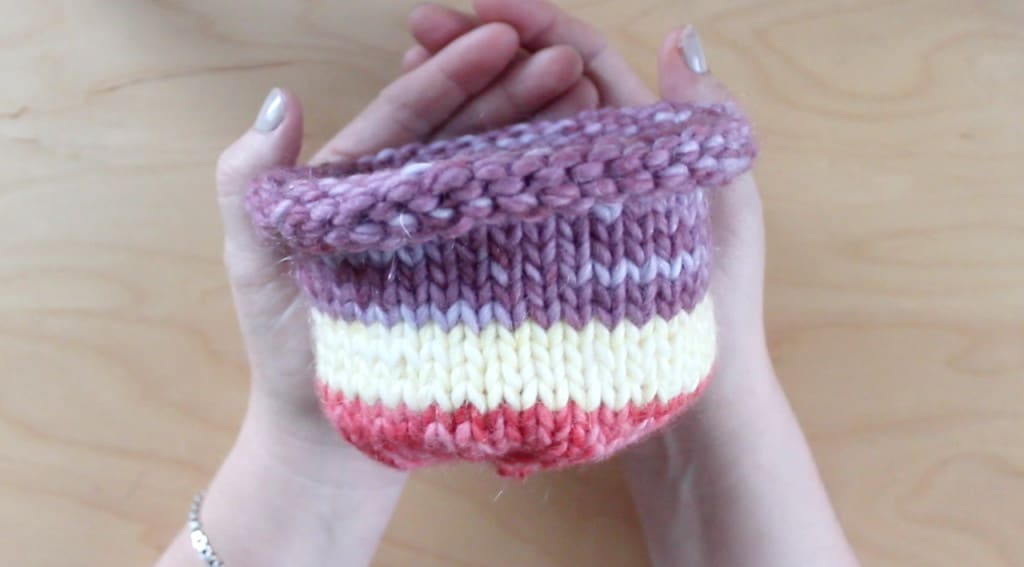
FINISHED NEST SIZE: Approximately 4″ tall x 6″ diameter.
1 – Knit Double-Stranded, with two strands of yarn. Doubling up on our yarn helps the nest to be sturdy and durable.
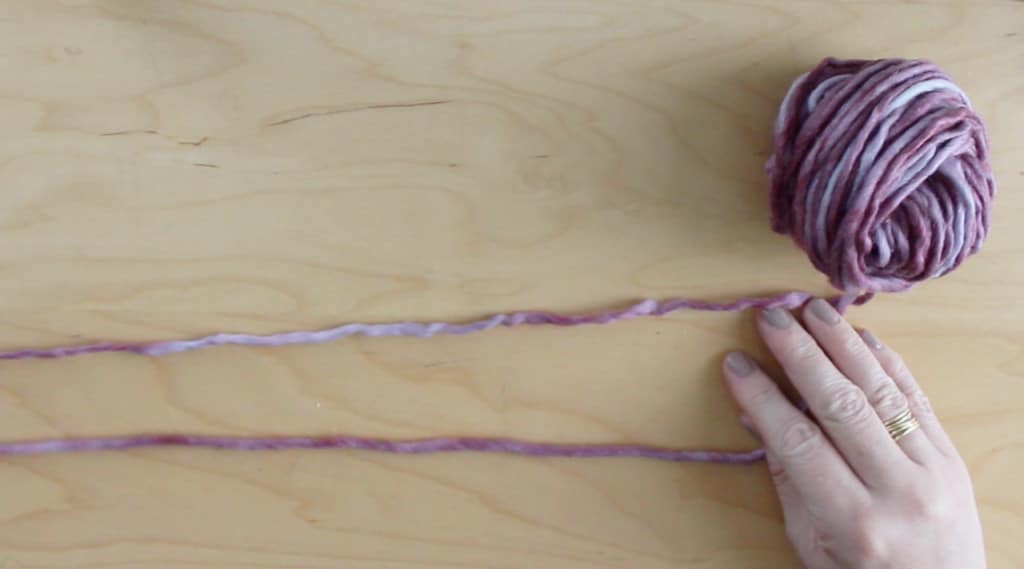
2 – Make a SLIP KNOT and CAST ON 40 stitches onto your circular needle using the simple long-tail cast on method holding your yarn double.
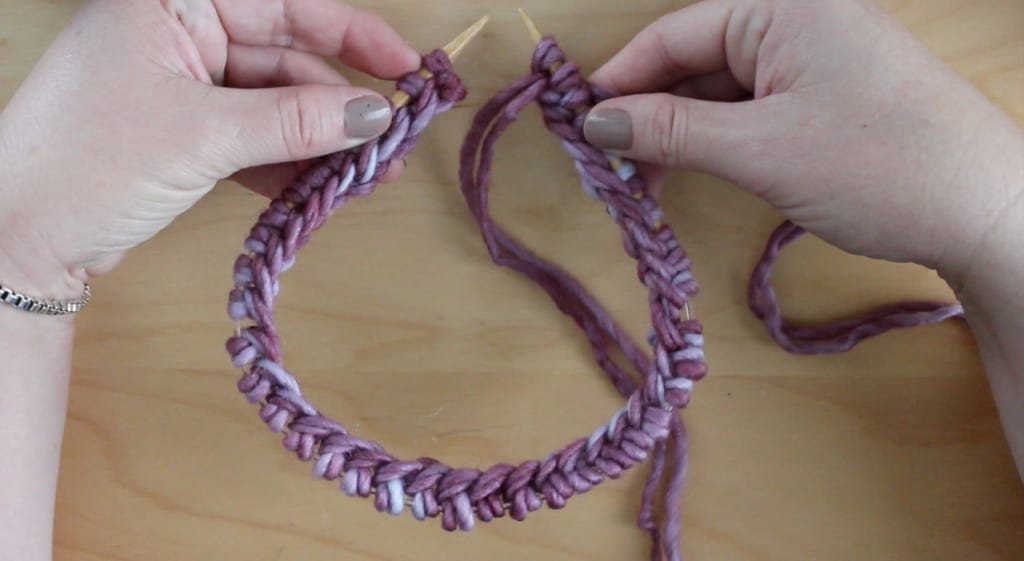
3 – Place a marker and make certain not to twist our stitches. Let us begin knitting in the round!
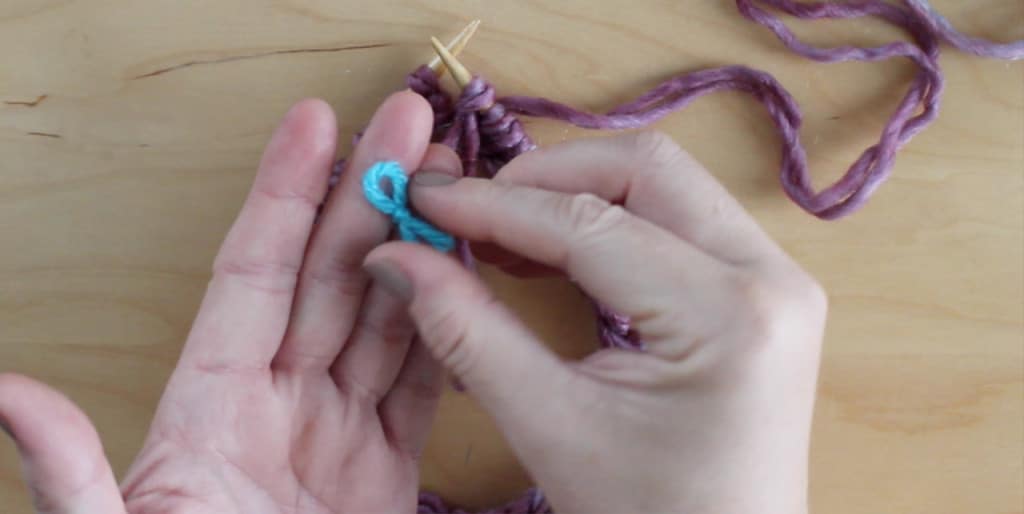
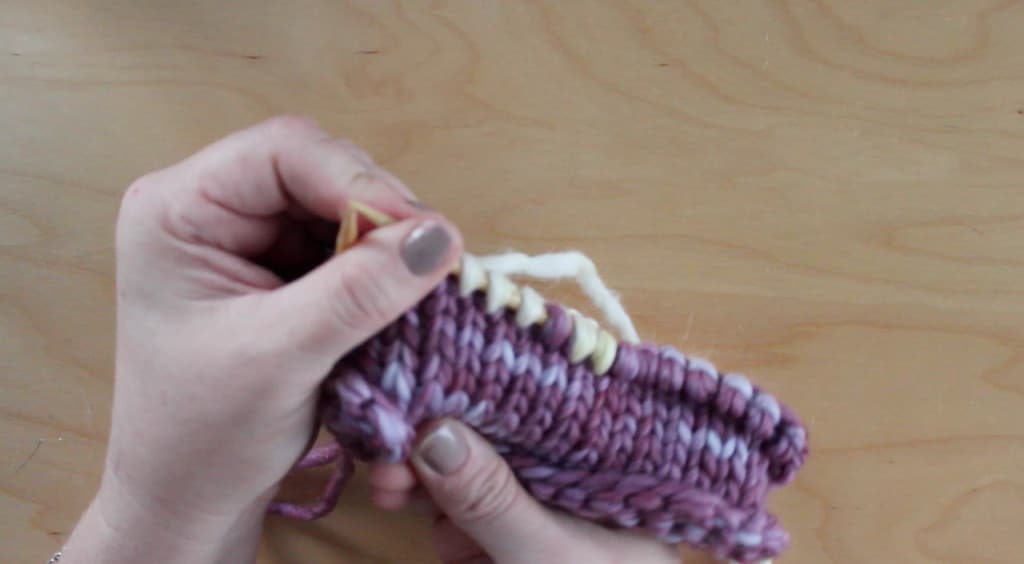
4 – Once we have knitted the Stockinette Stitch in the round for about 20 rows, or until your nest reaches at least 4 inches in height, it is time to begin our decreases.
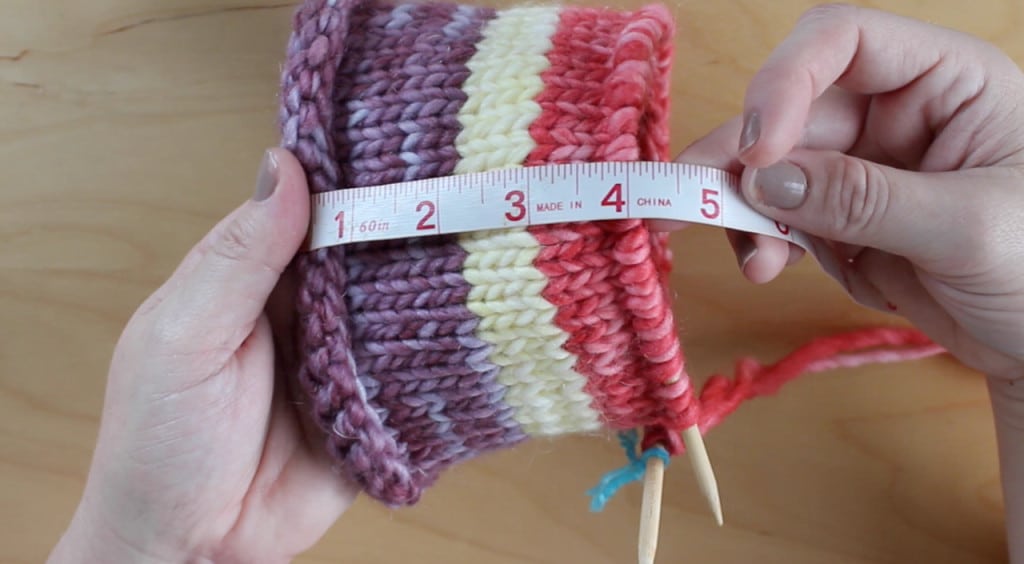
5 – Switch to double pointed needles for your decreases divided in multiples of 8 stitches ( 16 / 16 / 8 ).
Repeat pattern between the asterisks * *.
- Row 1: * K6, K2Tog * (35 stitches remain)
- Row 2: * K5, K2Tog * (30 stitches remain)
- Row 3: * K4, K2Tog * (25 stitches remain)
- Row 4: * K3, K2Tog * (20 stitches remain)
- Row 5: * K2, K2Tog * (15 stitches remain)
- Row 6: * K1, K2Tog * (10 stitches remain)
- Row 7: * K2Tog * (5 stitches remain)
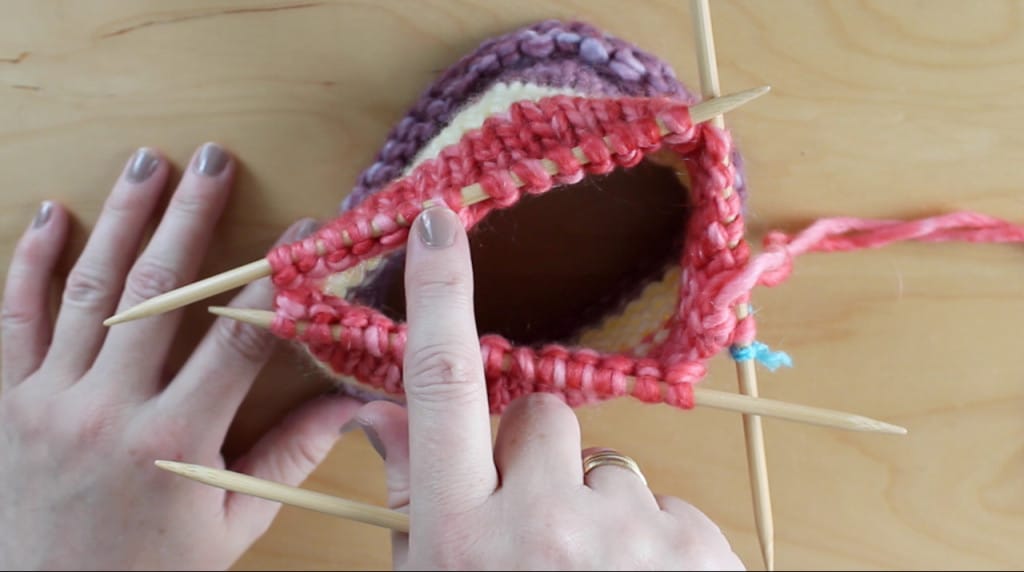
6 – Break yarn, leaving about 10 inches of yarn tail. With your tapestry needle, weave it through your remaining stitches. Weave the yarn through and break it off. You are done!

Kristen McDonnell
Author • Designer • Teacher
Kristen from StudioKnit LLC produces knitting video lessons and pattern designs from her vibrant production studio on Half Moon Bay’s California coast.
Kristen McDonnell is the author of the highly acclaimed book Knit Stitch: 50 Knit + Purl Patterns featuring vintage and unique designs.

