Fiber Feather Dreamcatcher DIY Craft
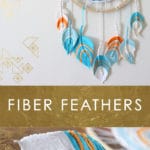
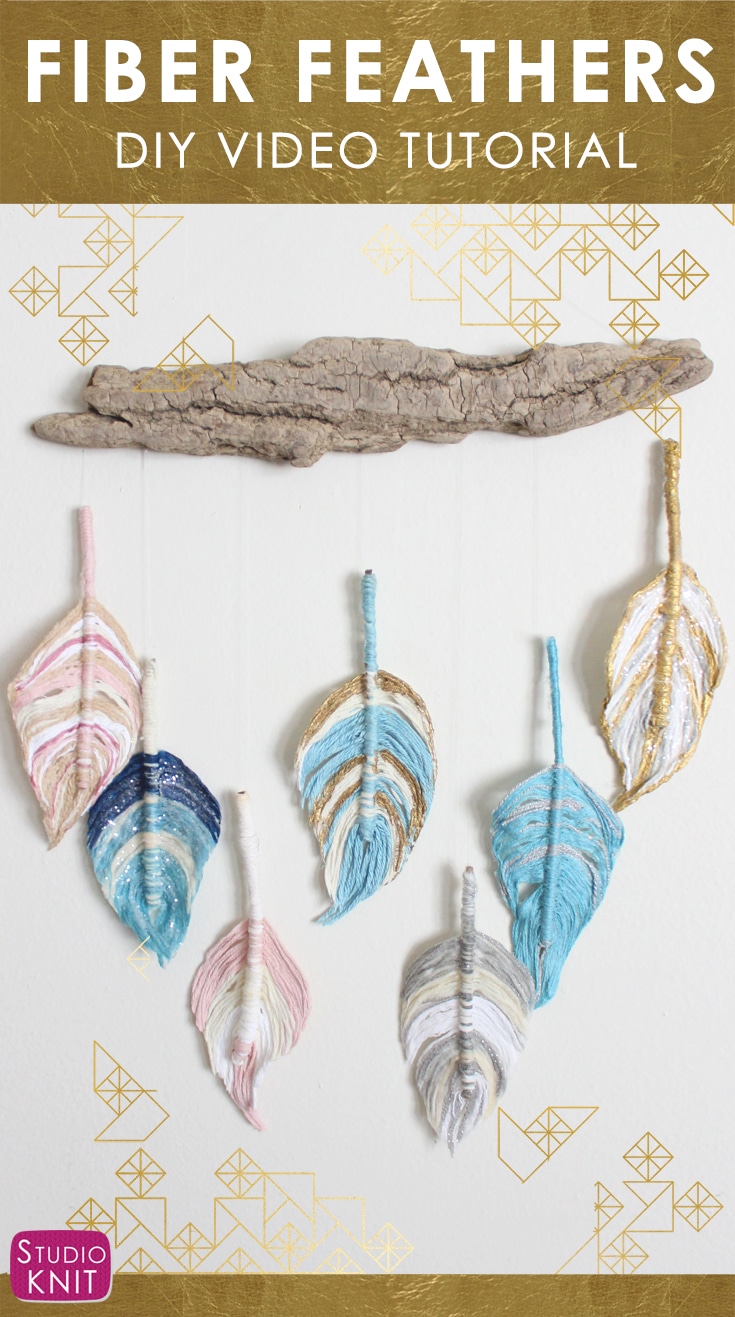
Enjoy my complete step-by-step process to create Fiber Feather Dreamcatchers. We will be making up some Fabric Starch and then designing and shaping our feathers with yarn! (No birds required.)
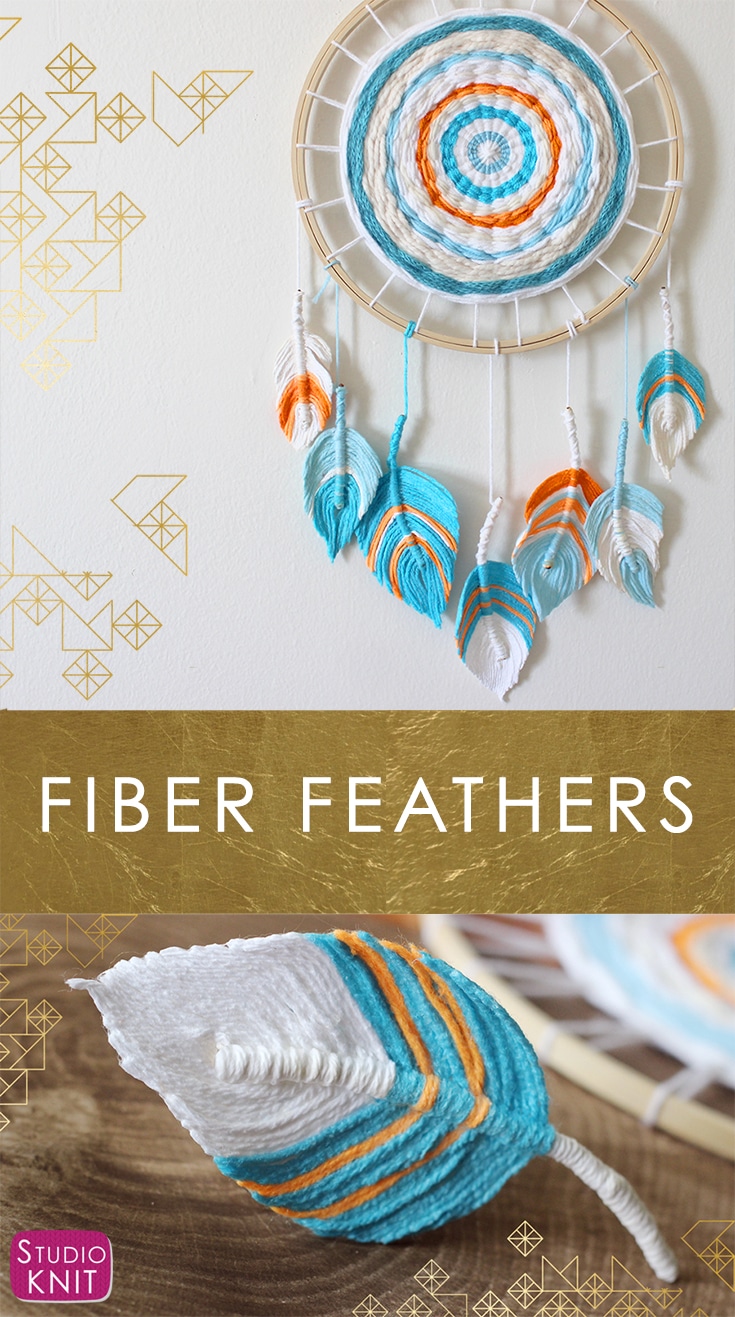
My pretty fiber feather dreamcatcher adds a sweet touch of Spring, giving your home decor fresh Boho Style! In this tutorial, I’m sharing all the craft materials you will need to have on hand. I’m also sharing how I learned to create the Hoop Weaving Wall Hanging featured in my photos. Check all this out below, including a full video tutorial. Let’s get crafting!
Craft Materials
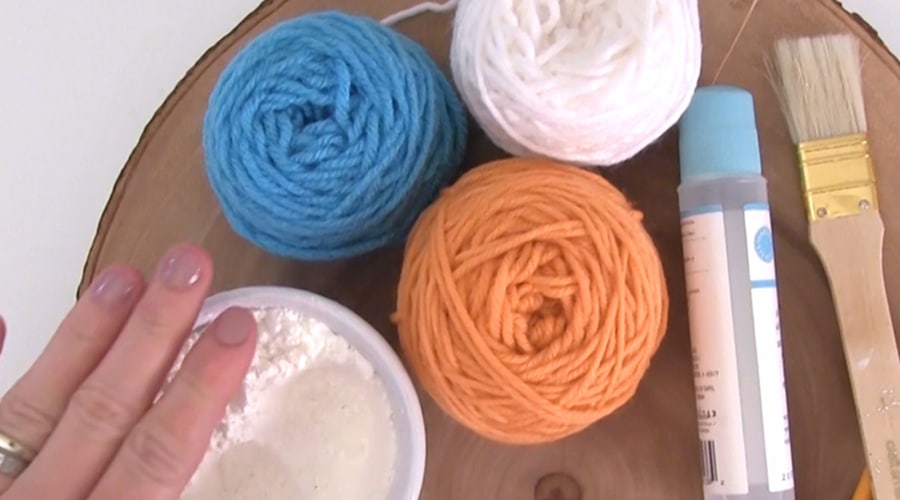
We are starting with yarn. Any colors, fiber type, and yarn gauge totally works. Want to learn more about yarn? I have a great overview of the different types of yarn here.
We also are going to be using cornstarch and some floral wire.
My floral wire is wrapped in paper, I find that this works really nicely.
Some wire cutters, we also want to have some scissors on hand. As well as a couple of paint brushes, a medium and a small size, and some craft glue.
• Yarn
• Floral Wire
• Craft Glue
• Wire Cutters
• Scissors
• Paint Brushes
• Corn Starch (and Water)
• Hair Dryer (optional)
Watch Video Tutorial
Fabric Starch
Before we get started, let’s go into the kitchen to cook up our Fabric Starch, which will hold our feather shape. No knitting required!
I love its gelatinous consistency and it’s an all natural and non-toxic binding agent, so you can shape your fiber feathers on any surface.
Recipe
• 1 + ½ Cups Cold Water
• ¼ Cup Corn Starch
Stir over low heat until thickened and remove from heat to cool. May be refrigerated in a closed container for future usage.
Designing Feathers
Let’s get our feather design started! Cut Floral wire and Yarn to length desired. My cut wires are about 4-5 inches in length.
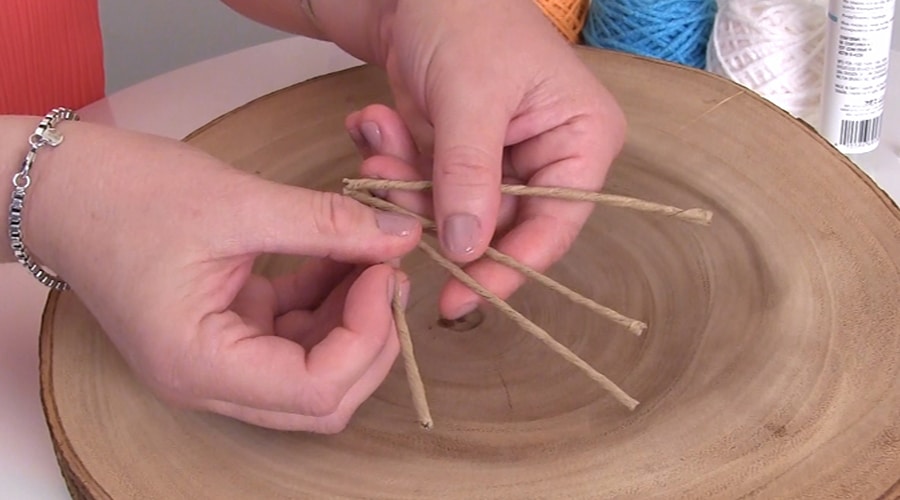
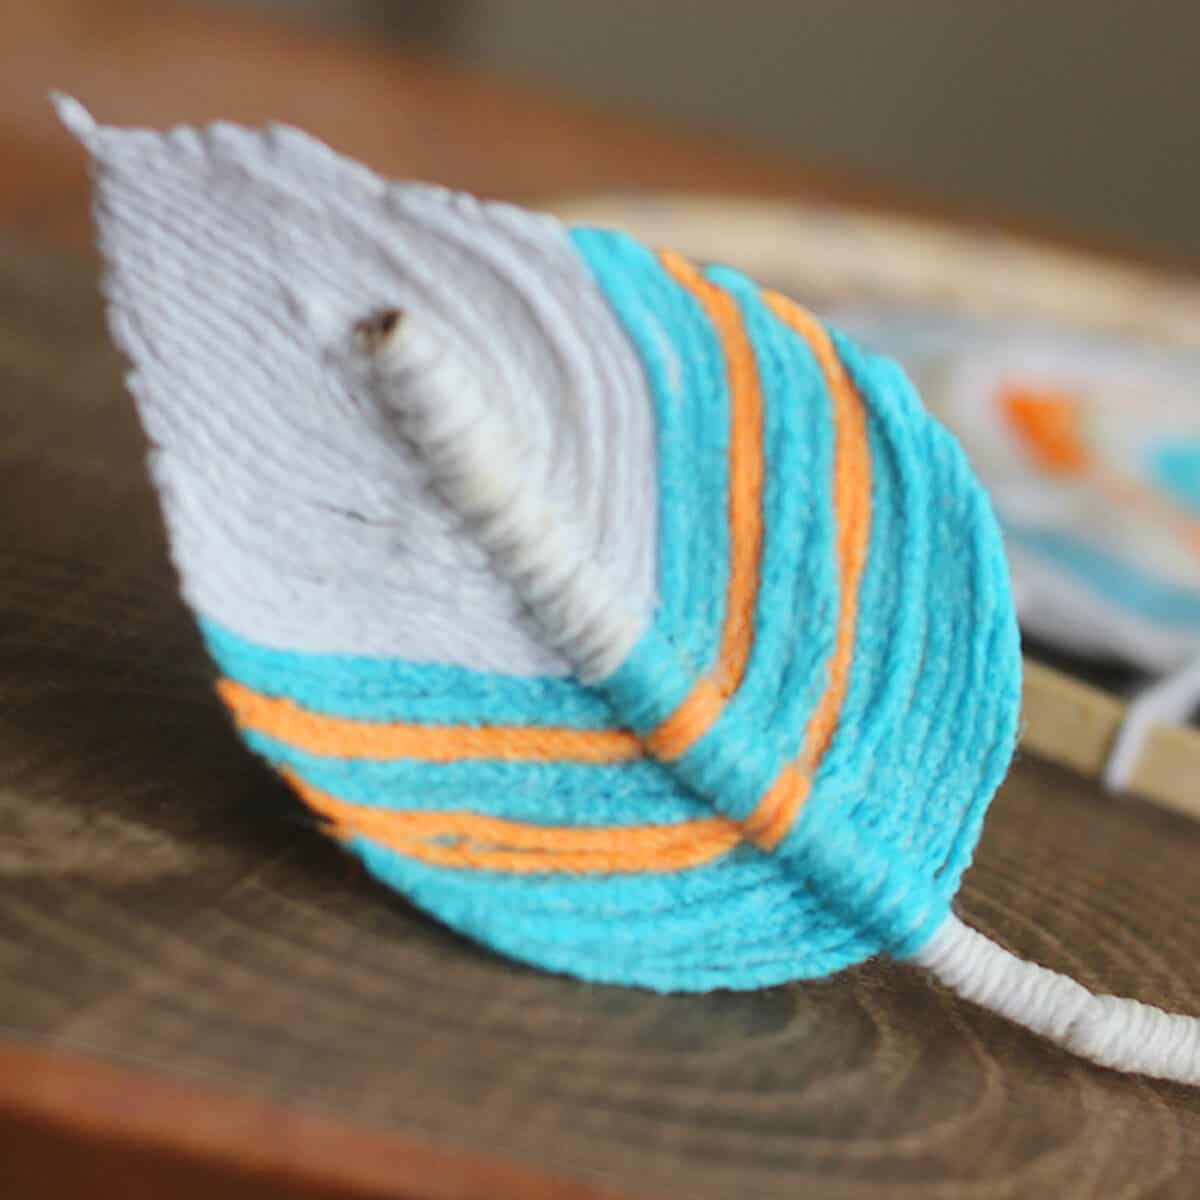
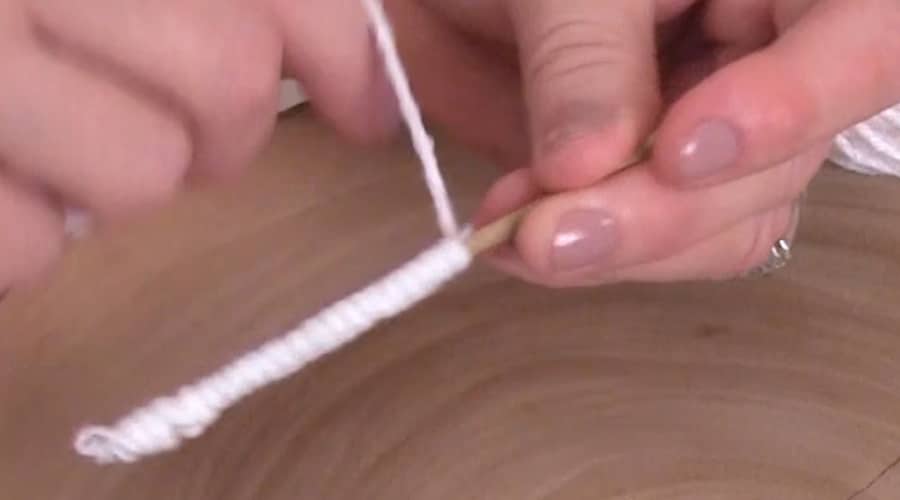
Then wrap your floral wire with any yarn of your choice to create the center of our feather, which is called the Rachis. I like to add a touch of glue to the ends to help it stay, then just tie off and cut the yarn tail.
Now it’s time to create our feathers. Your color choices will really bring your feather design to life. Tie your yarn up your center feather rachis. It’s fun to get really creative here. And this part of the feather we’re creating is called the Vane.
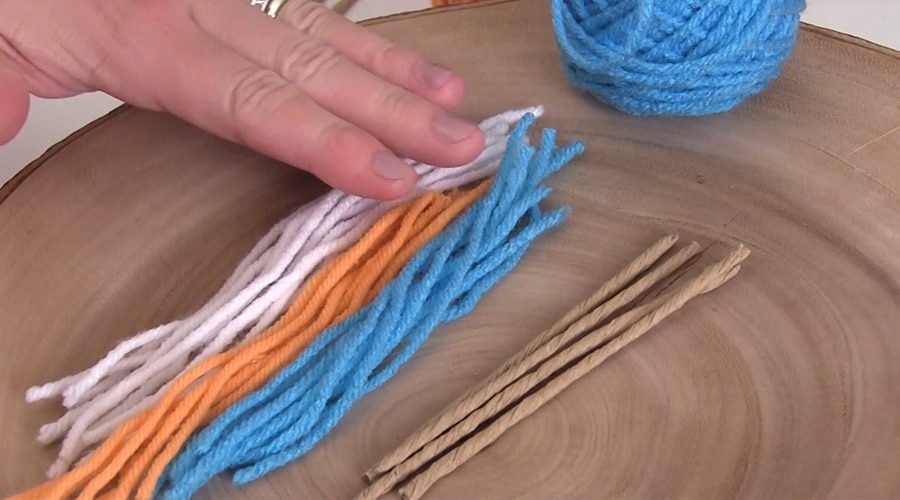
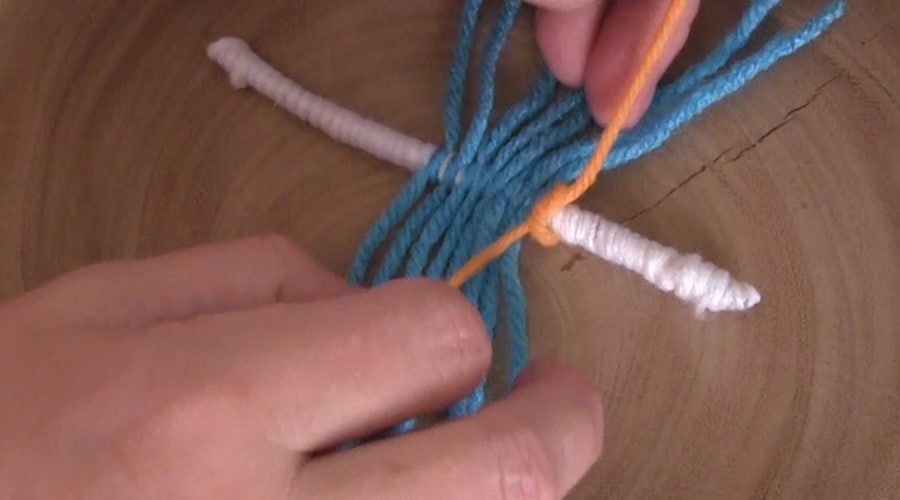
Shaping Feathers
Soak your fiber feathers in warm water for just a couple of minutes. Then we cut our yarn on either side. Again, there’s no right or wrong way to shape our feathers. I like cutting straight up.
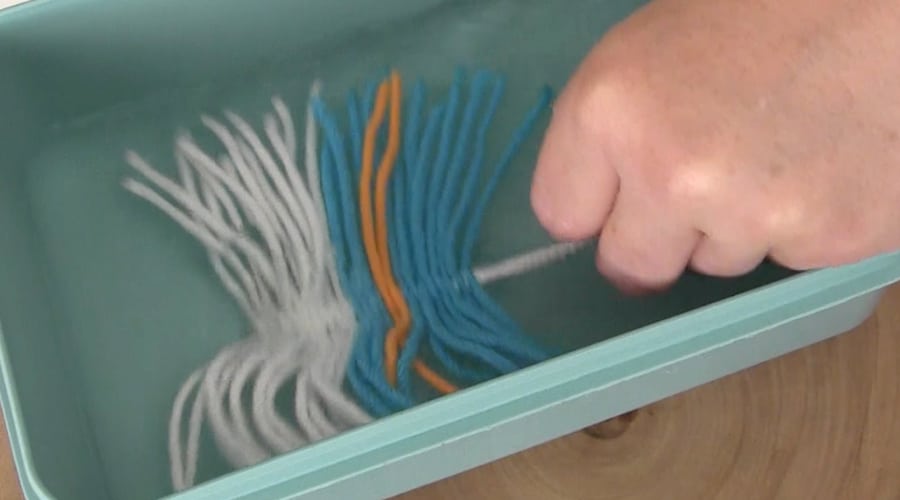
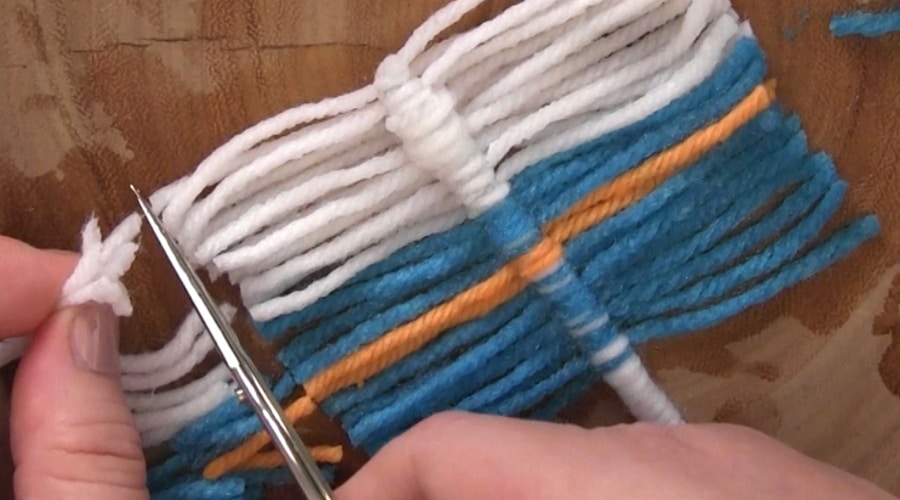
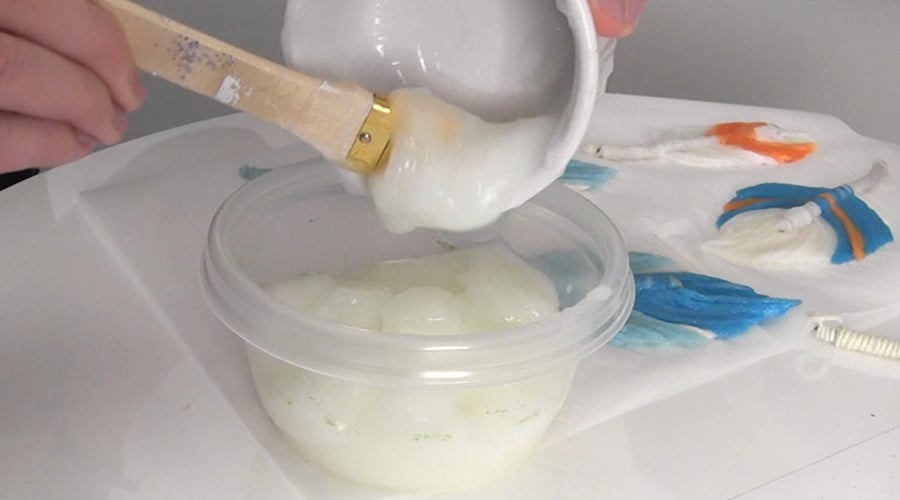
Place your feather on your working surface and begin to coat it on both sides with your cooled off fabric starch. I love its gelatinous consistency and it’s just so much fun to shape your feathers using a paintbrush up the sides, forming your feather shape.
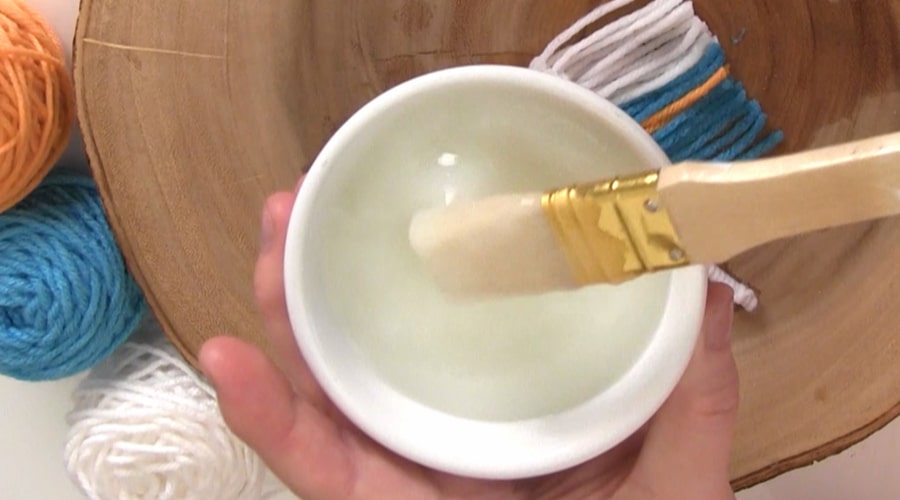
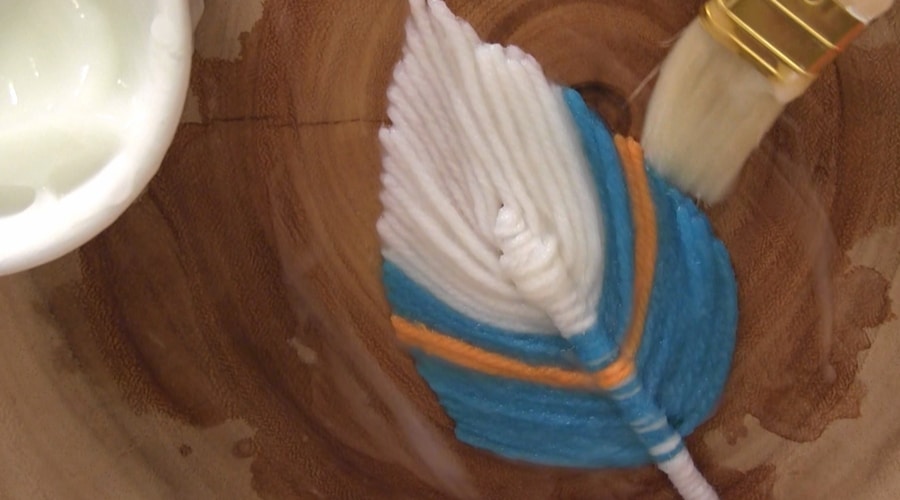
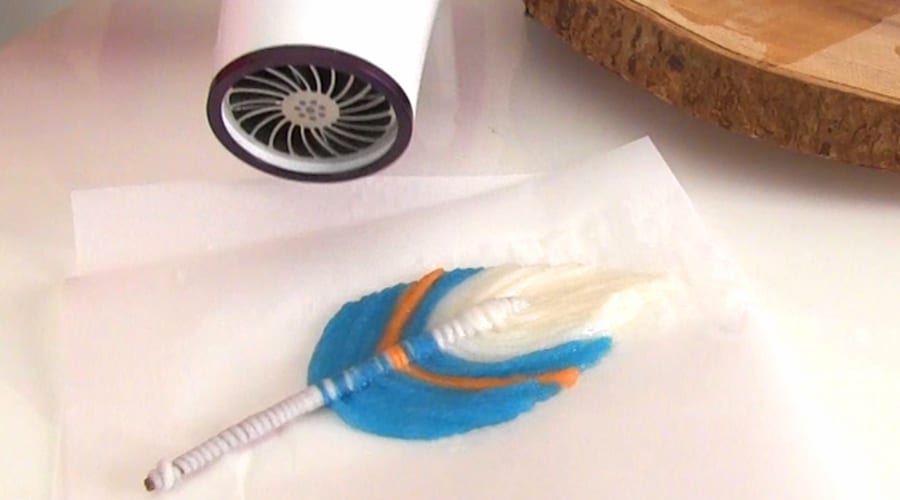
Once you are finished with your fabric starch, place in a sealed container in the fridge to use again. I’m going to transfer my feathers to a piece of parchment paper to let it dry. If you air dry, it could take as long as 2-3 days to totally dry. If you want to speed up the process, just use a hairdryer!
Hoop Weaving Wall Hanging
While I’m waiting for my feathers to dry, I am going to create a dreamcatcher wall hanging using a wonderful DIY craft project by my friend Robert Mahar. Robert has shared a great Hoop Weaving DIY video from his World Crafted video series.

Kristen McDonnell
Author • Designer • Teacher
Kristen from StudioKnit LLC produces knitting video lessons and pattern designs from her vibrant production studio on Half Moon Bay’s California coast.
Kristen McDonnell is the author of the highly acclaimed book Knit Stitch: 50 Knit + Purl Patterns featuring vintage and unique designs.

