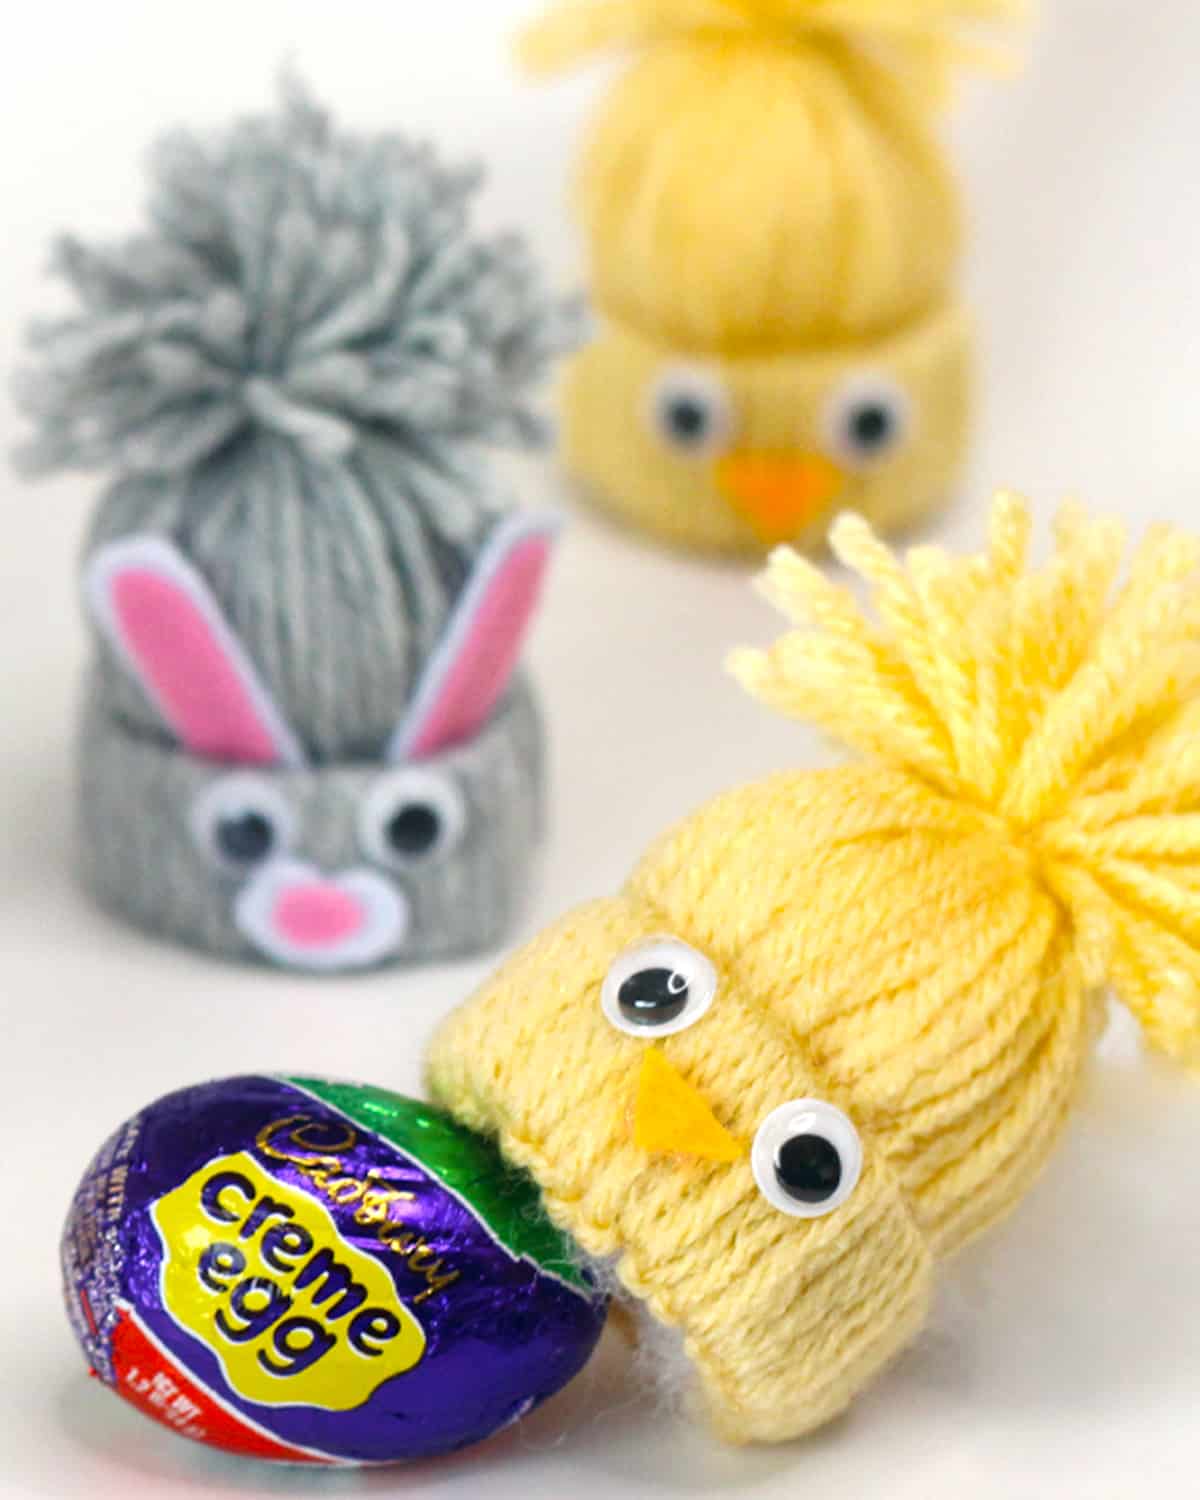
Creme Egg Covers Yarn Craft
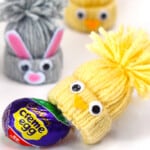
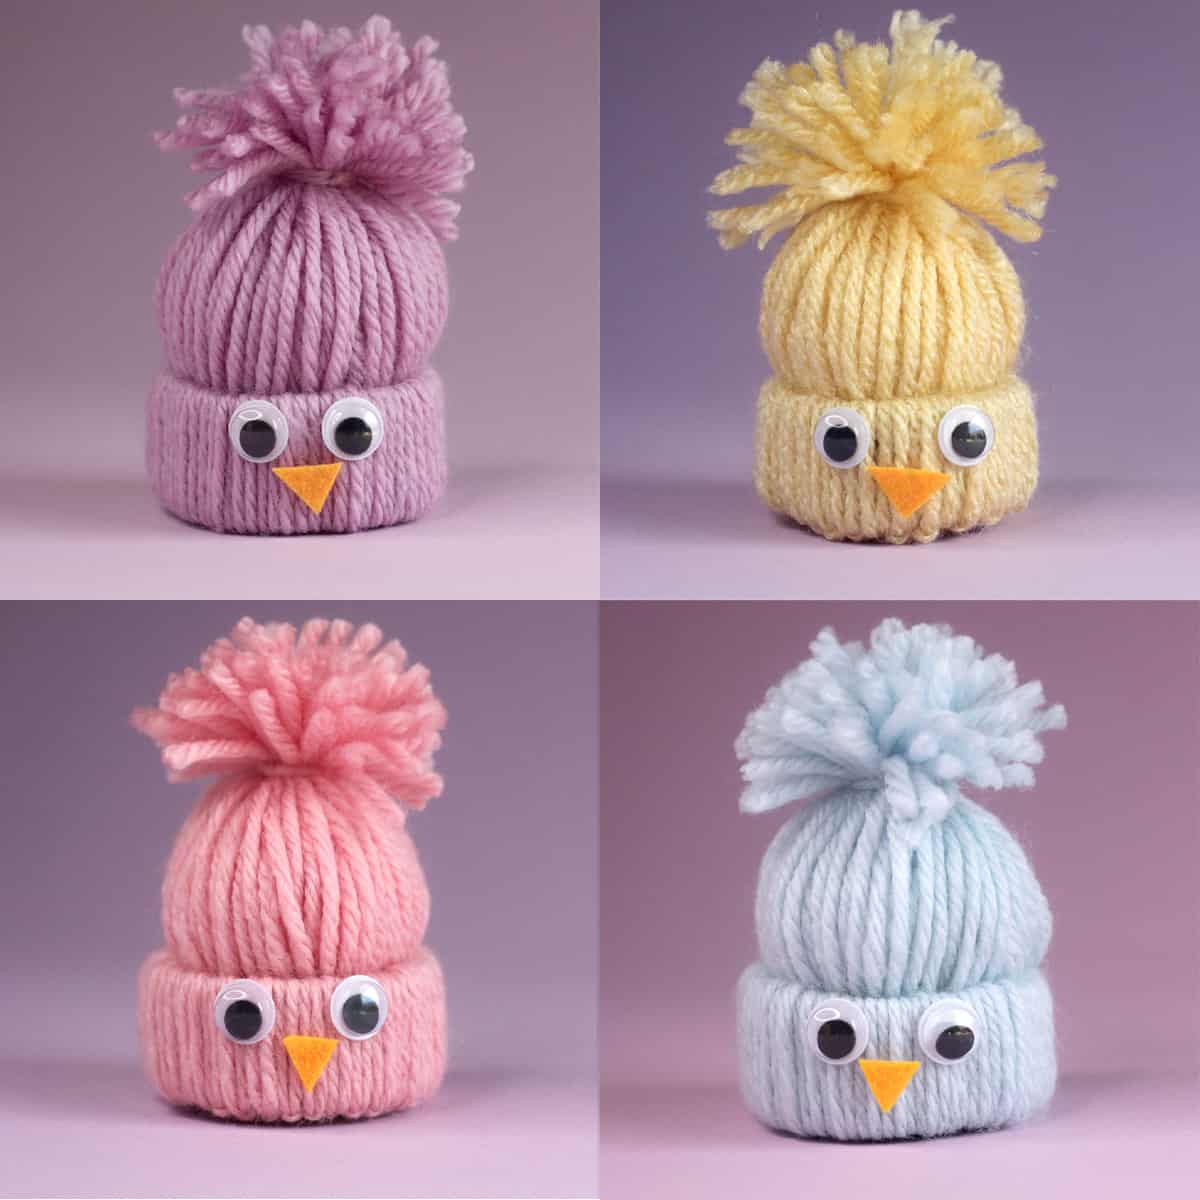
These adorable Creme Egg Covers are an easy yarn craft project. Perfect for beginners and seasoned crafters alike, this project requires no knitting skills, making it an ideal activity to enjoy with friends and family. Get creative with different color combinations to give each little friend its own unique personality.
Keep reading to get easy written steps with photos, along with my fun step-by-step video lesson and craft supply list, then get started making your new little chick and bunny friends.
Ten Steps to Craft Yarn Creme Egg Covers
Step 1: Cutting Your Materials
- Cut 12 inch (30 cm) strands of yarn, approximately 40 strands total.
- Trim ¾ inch (2 cm) from your paper roll.
Step 2: Wrapping and Cinching Yarn
Create a loop and insert it into your small circle. Place the yarn ends on the outside and cinch it up, repeating this process all the way around the brim.
Step 3: Threading Yarn Ends
Simply push the yarn ends through to the other side. It’s as easy as that!
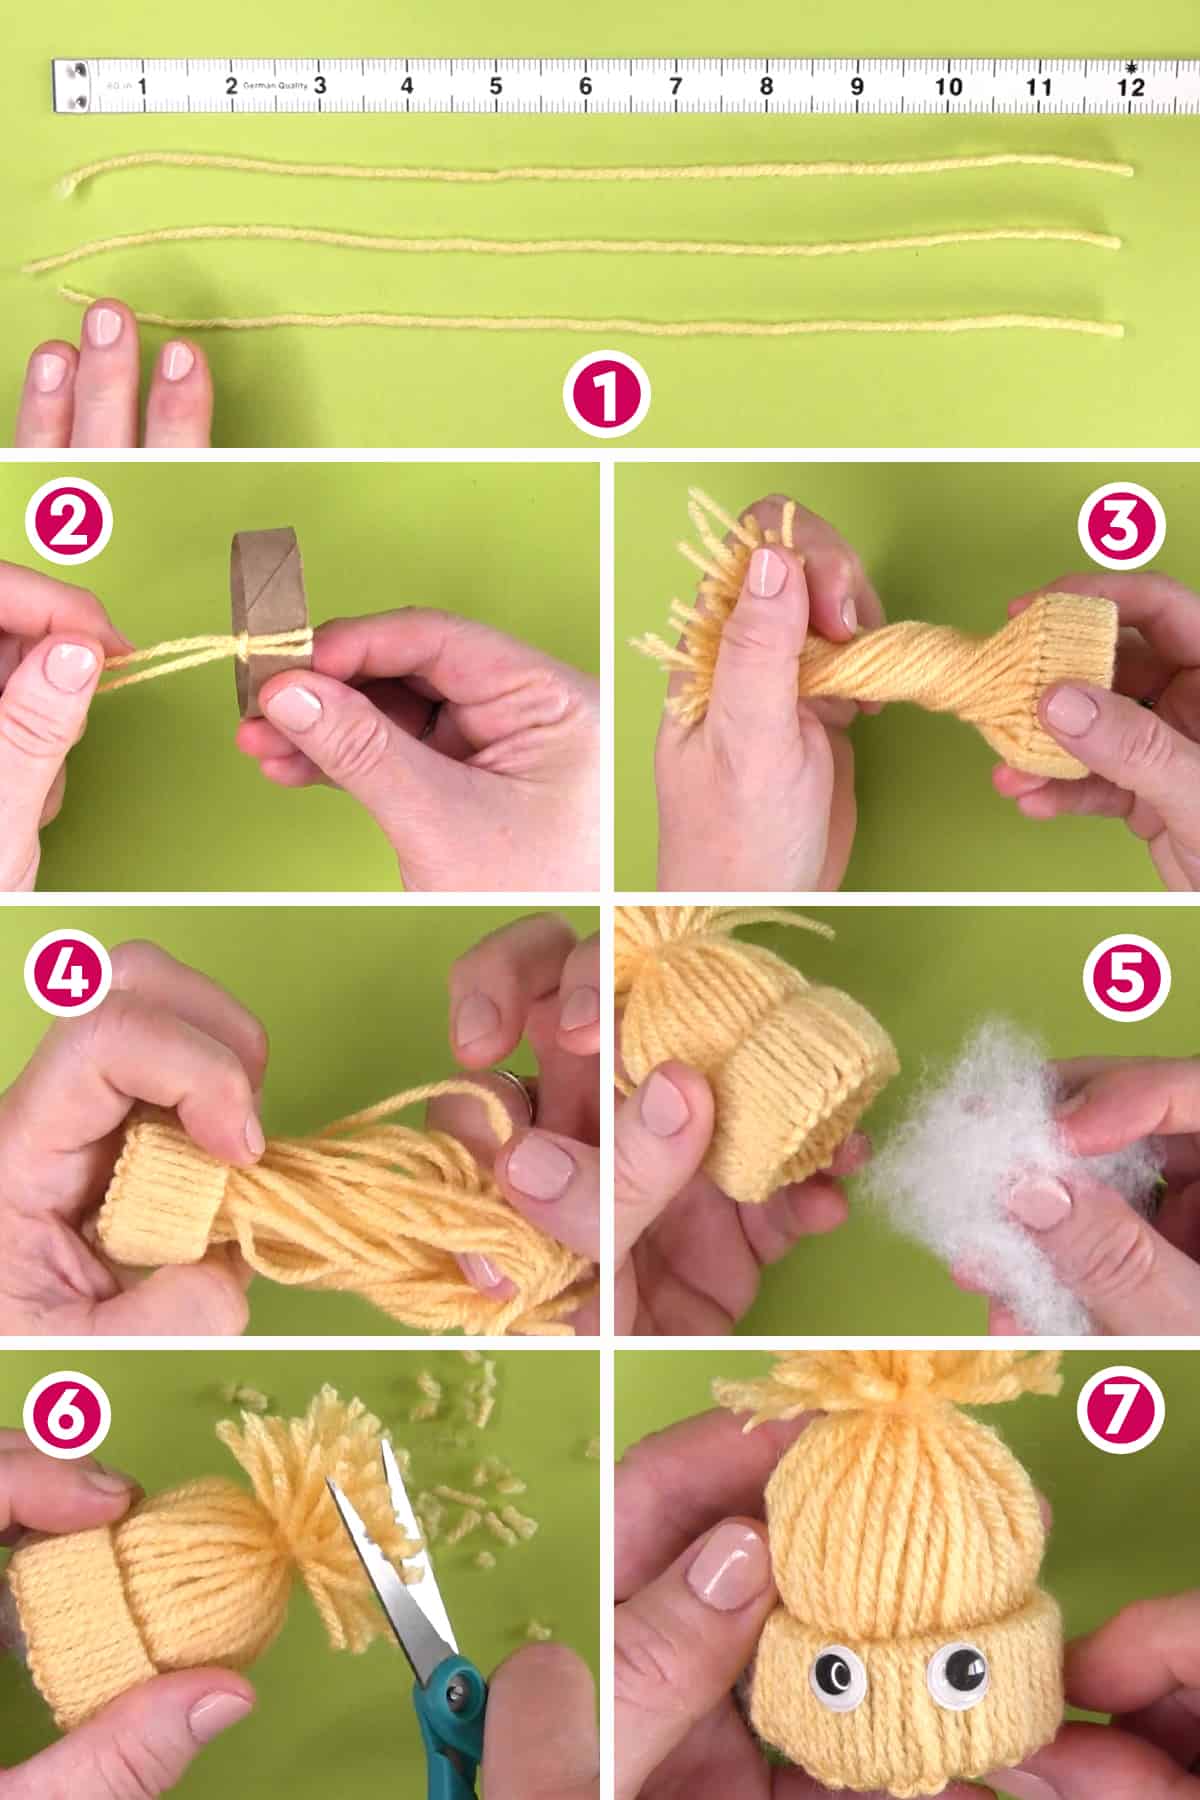
Step 4: Shaping the Hat
Straighten out your yarn ends, then take another 12 inch strand of yarn. Cinch it up and tie it off to form the top of the hat.
Step 5: Stuffing Poly-fill
To give your hat volume and shape, add a small amount of stuffing. It will remain snugly inside, completing your cozy creation.
Step 6: Crafting the Pom Pom Top
With your scissors, shape the yarn to create a pom pom at the top of your hat.
Watch Video Tutorial
Step 7: Adding Googly Eyes
Peel off the backing from each googly eye or apply a small dab of glue to the back of each eye. Place two eyes on the top of your yarn hat brim to give your creation a playful touch.
Step 8: Cutting Felt Embellishments
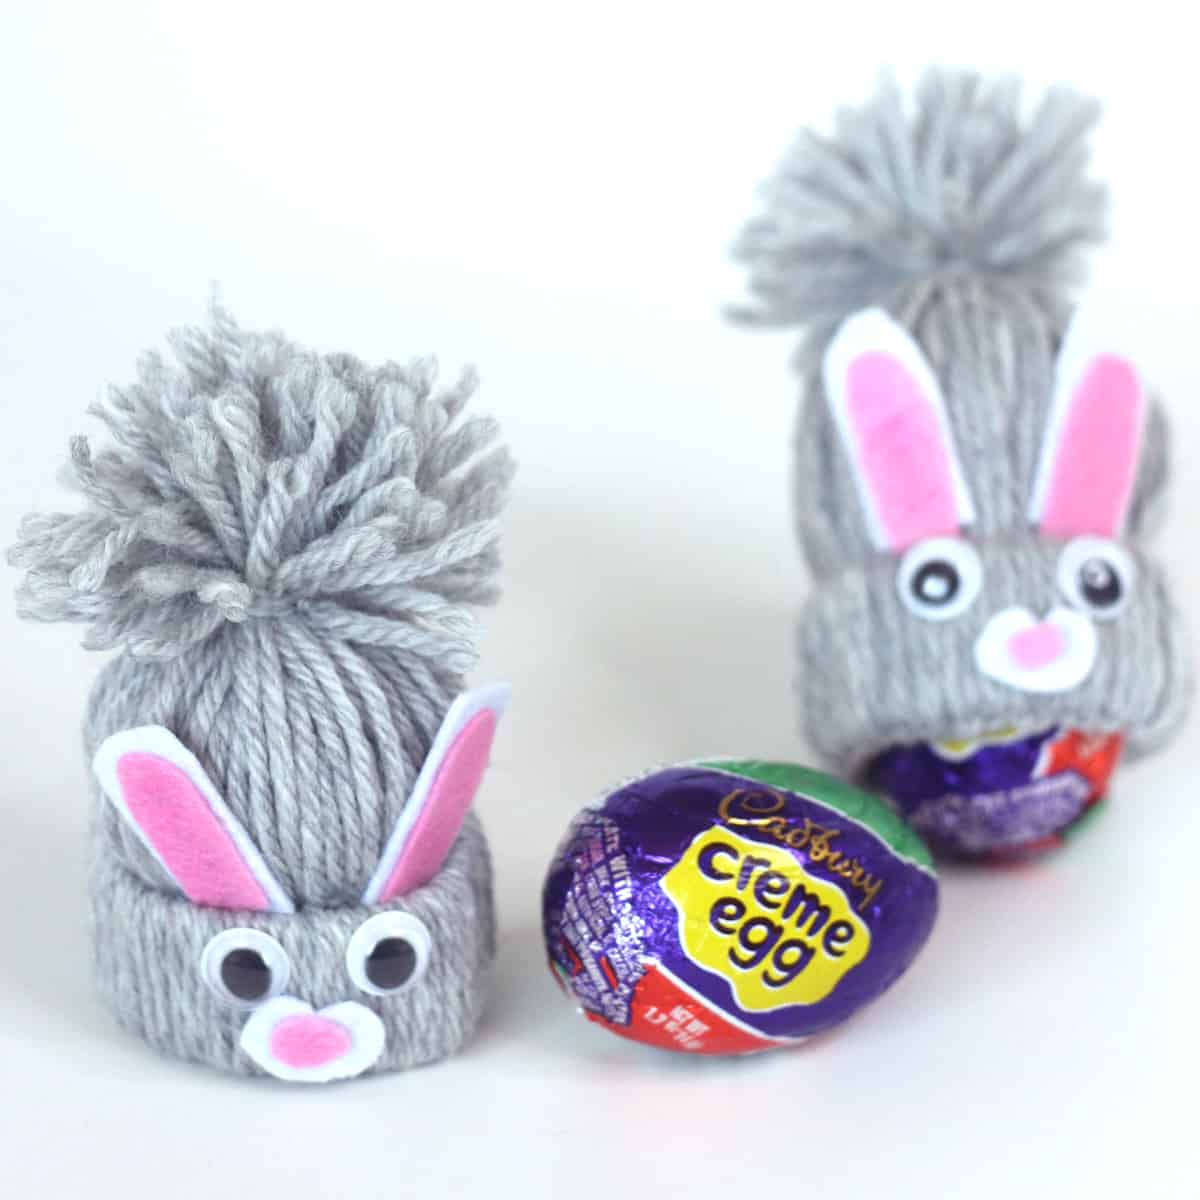
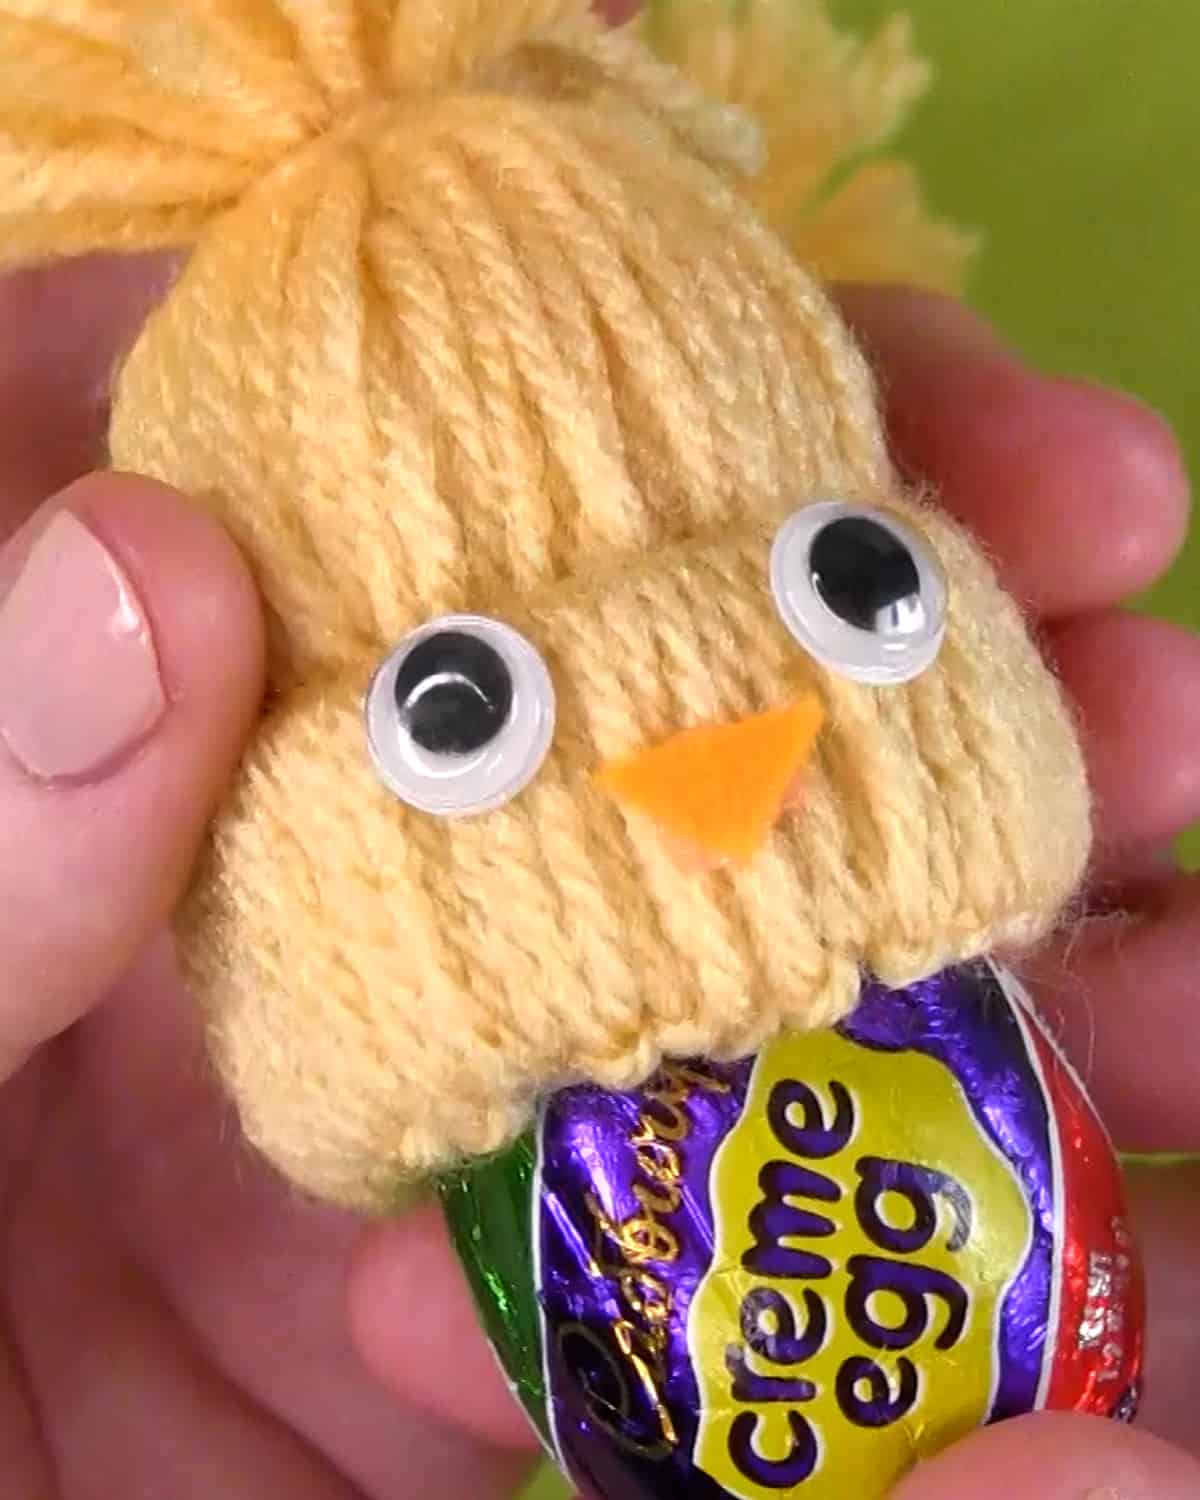
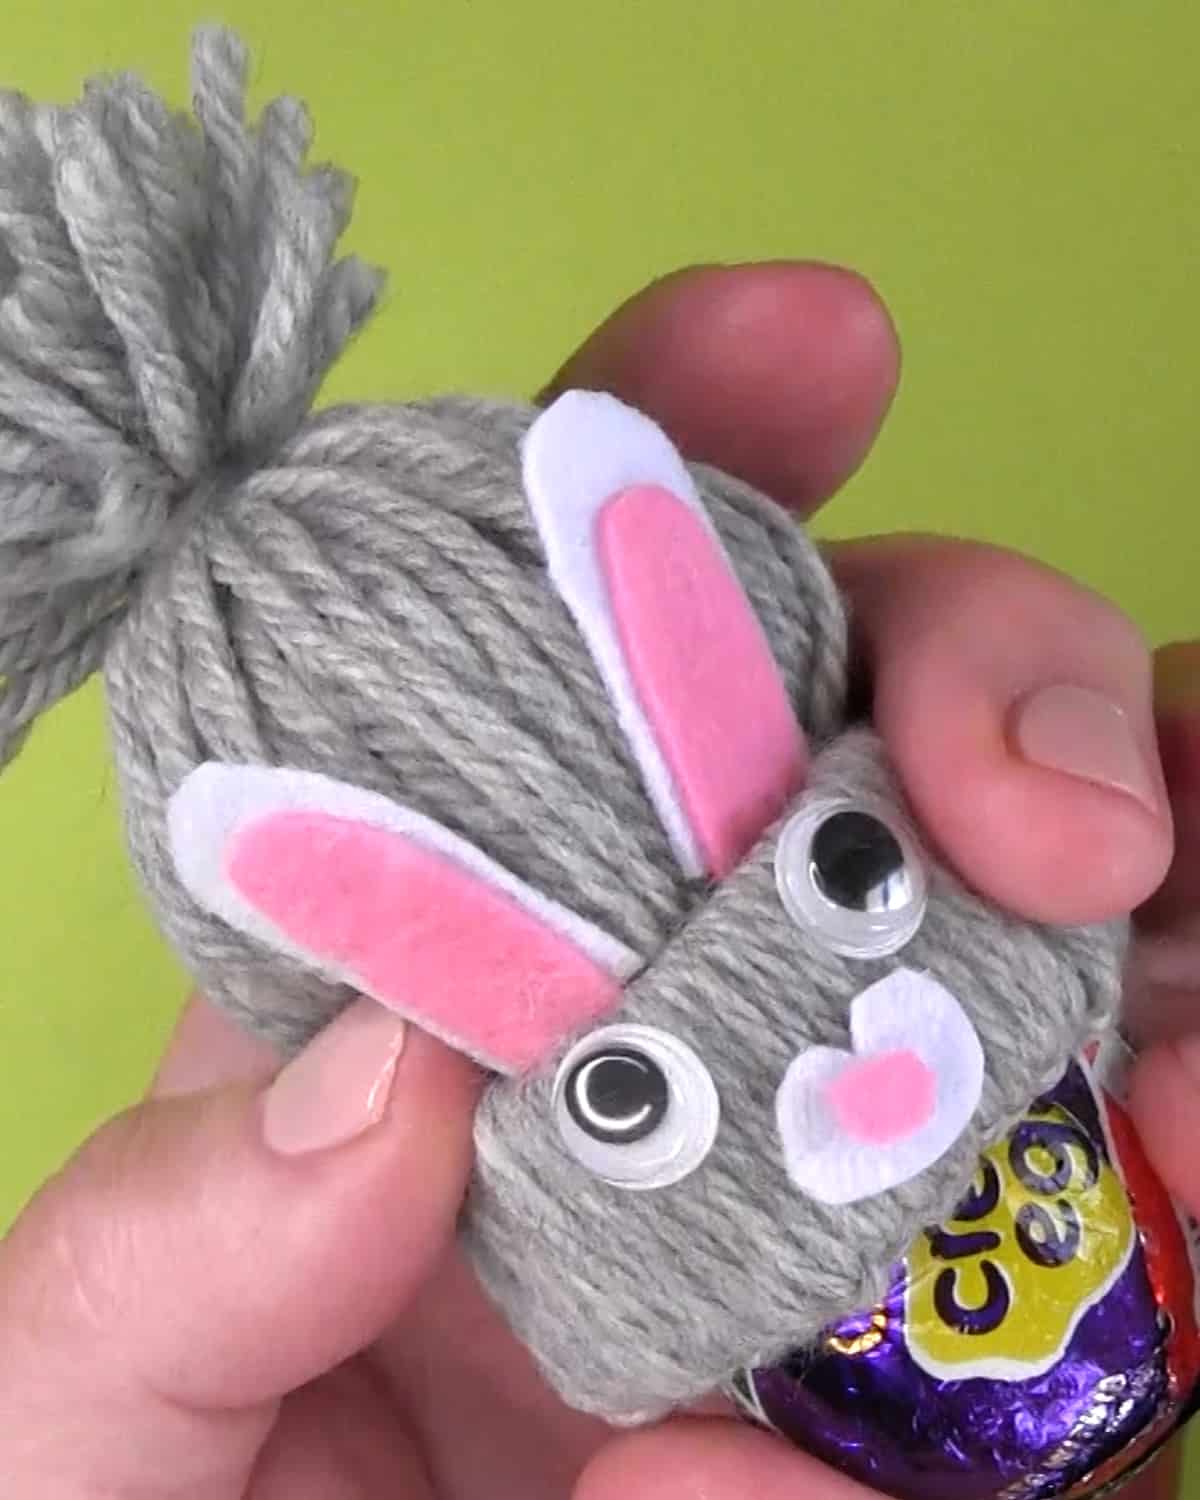
For chicks, cut out a triangle-shaped beak from felt in any color of your choice. For bunnies, cut out long ears using two different colors of felt. Additionally, cut a small mouth area and tiny nose to complete the bunny’s face.
Step 9: Adhering Felt Embellishments
Using a touch of glue, attach the felt embellishments you’ve cut out onto your hat. For chicks, glue the triangle-shaped beak just below the eyes. For bunnies, attach the ears to the top of the hat and the nose and mouth just below.
Step 10: Preparing for the Creme Egg
Before inserting your delicious Creme Egg, remove a bit of Poly-fill from the bottom of the yarn hat, ensuring you retain enough filling to shape the top. This step will make room for the chocolate egg candy while maintaining the hat’s structure.
Craft Supplies
Crafting with yarn is a fantastic way to introduce kids to the joys of fiber arts, and these Spring Easter cuties are sure to spark their creativity. It’s a fun yarn-busting project that also upcycles your paper rolls. With just a few simple materials like a toilet paper roll, stash yarn, stuffing, and craft embellishments, you can whip up these charming animal friends in no time and at minimal cost.
Over the years, my yarn hat ornaments have been a popular holiday project. I decided to update this simple craft with a few whimsical embellishments to celebrate the spring season.
As an Amazon Associate, I earn from qualifying purchases.
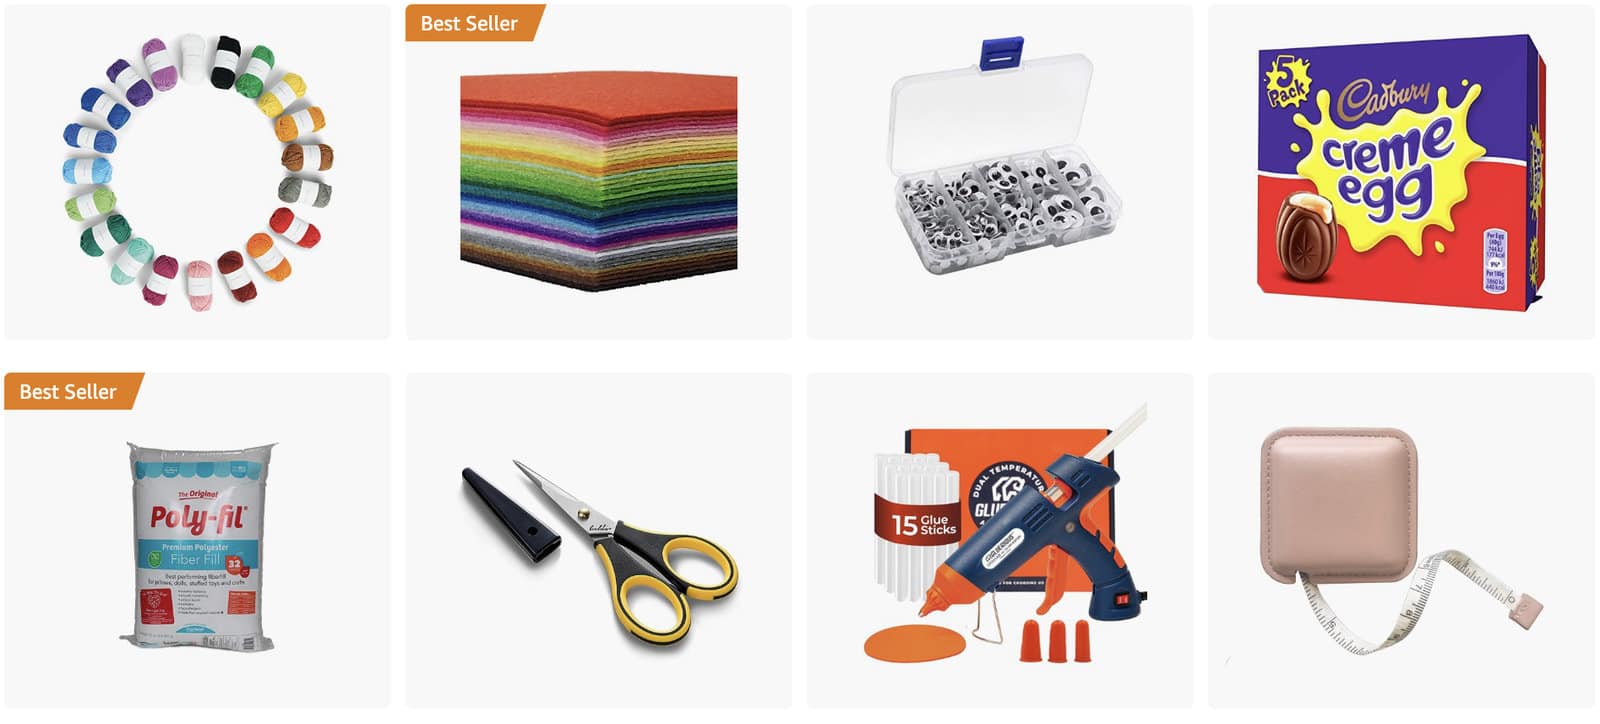
Shop the entire Creme Egg Covers craft supplies collection in my Amazon Shop.
Tools
- Sharp Scissors
- Glue Gun and Glue Sticks: The lowest temperature setting is my favorite.
- Measuring Tape
Materials
- Yarn in Medium Aran/Worsted Weight in any fiber + colors of your choice
- Polyfill stuffing or tissues
- Felt Fabric Sheets in Various Colors
- Googly Eyes – 10m size recommended
- Empty Paper Roll – Toilet Paper or Paper Towel
Easter Springtime Knitting Patterns

Kristen McDonnell
Author • Designer • Teacher
Kristen from StudioKnit LLC produces knitting video lessons and pattern designs from her vibrant production studio on Half Moon Bay’s California coast.
Kristen McDonnell is the author of the highly acclaimed book Knit Stitch: 50 Knit + Purl Patterns featuring vintage and unique designs.

